How to update the basic settings of the CRM
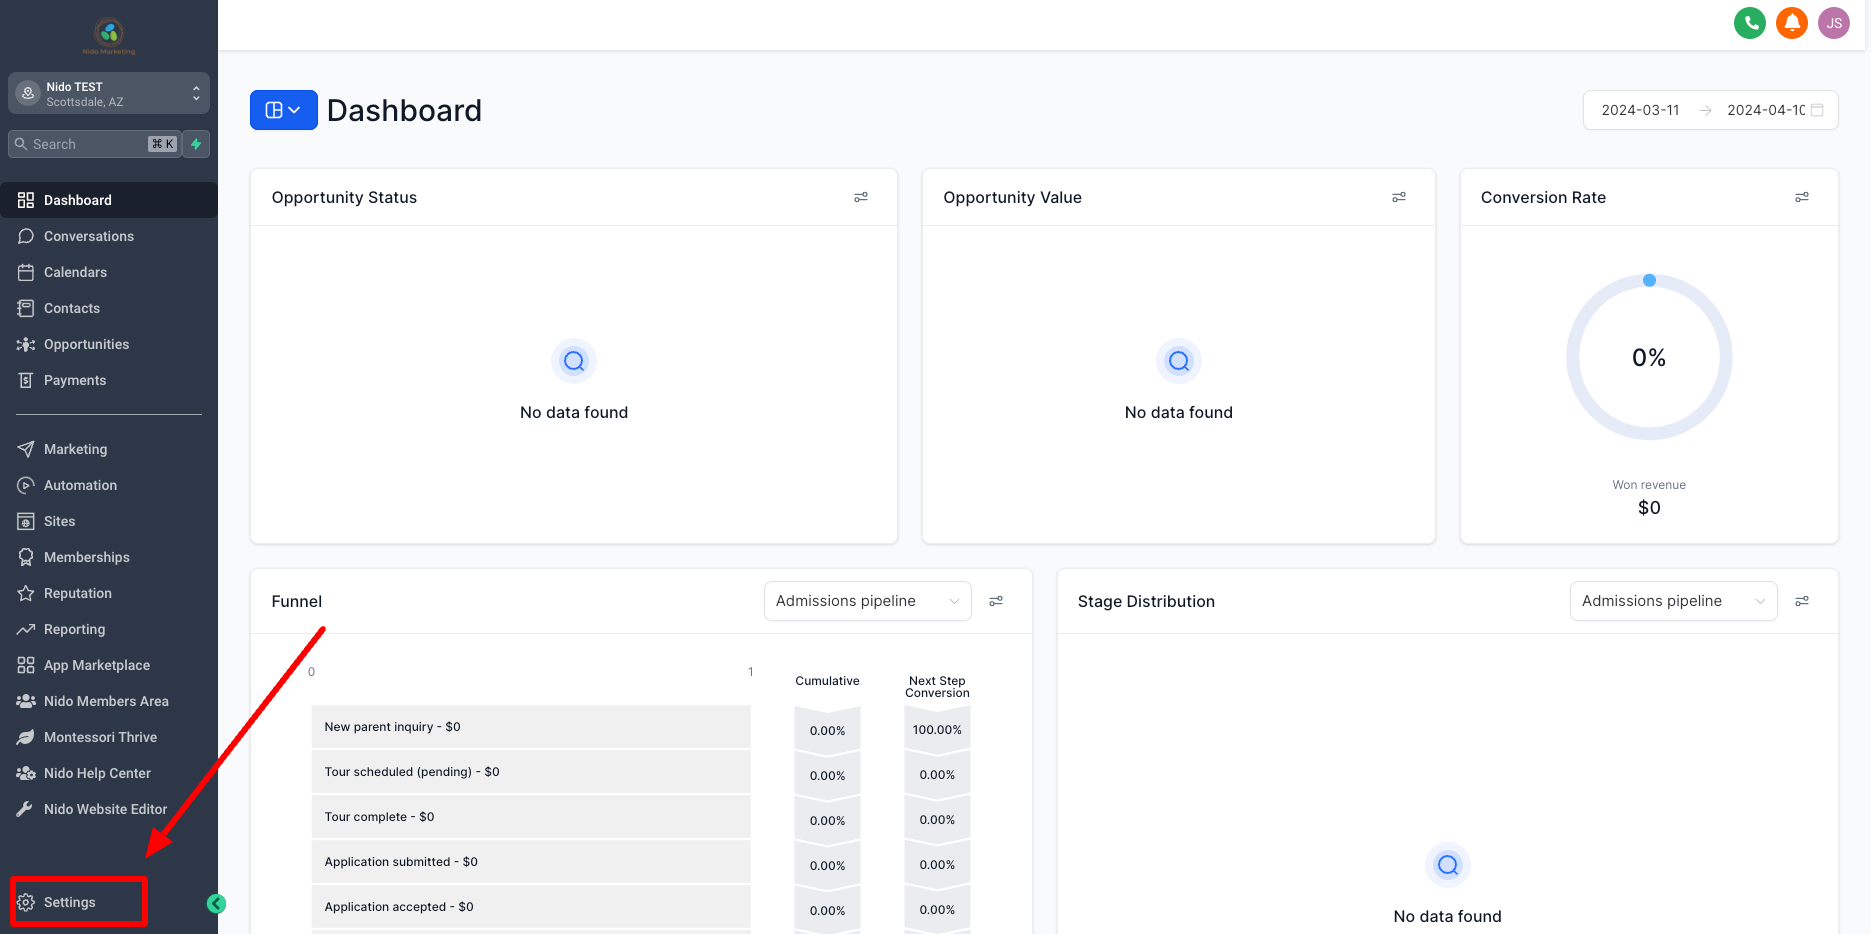
1. Click on Settings on the left-hand side
2. Enter the information about your school in the General Information section (logo, name, general school email, phone, website) and click update information.
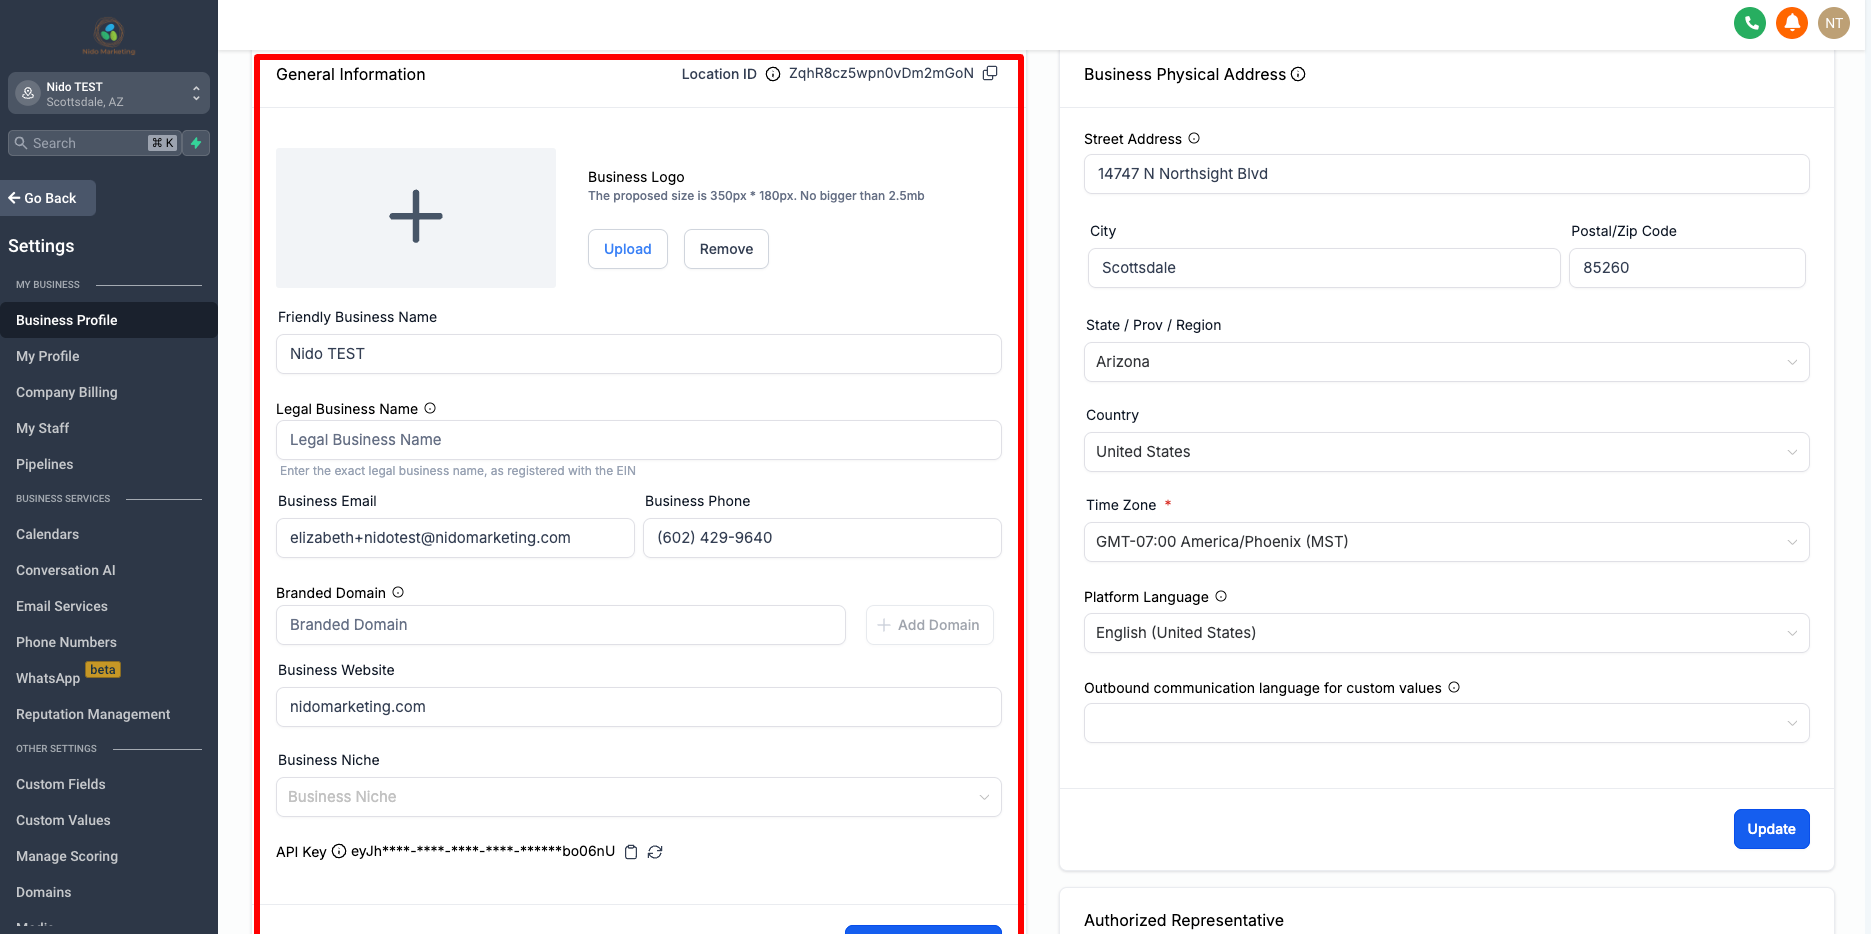
3. Update your physical business address and click update.
If you have more than one location pick your main one and enter the details.
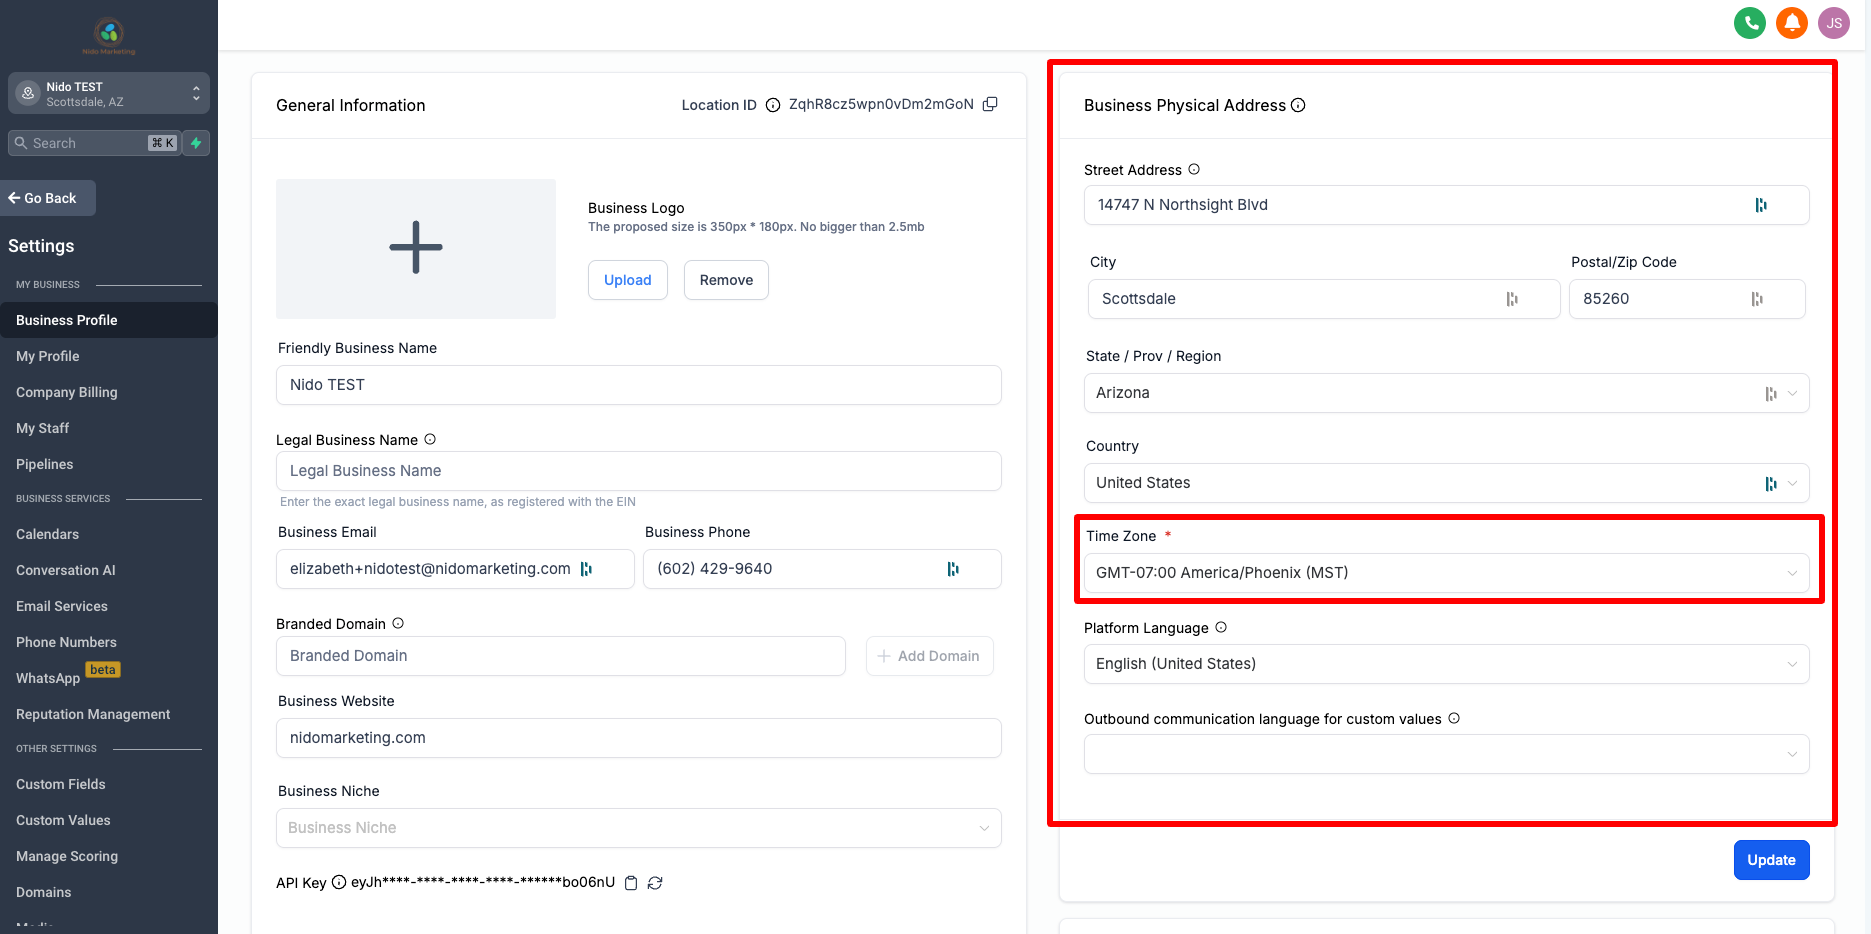
Be sure that you select the correct timezone
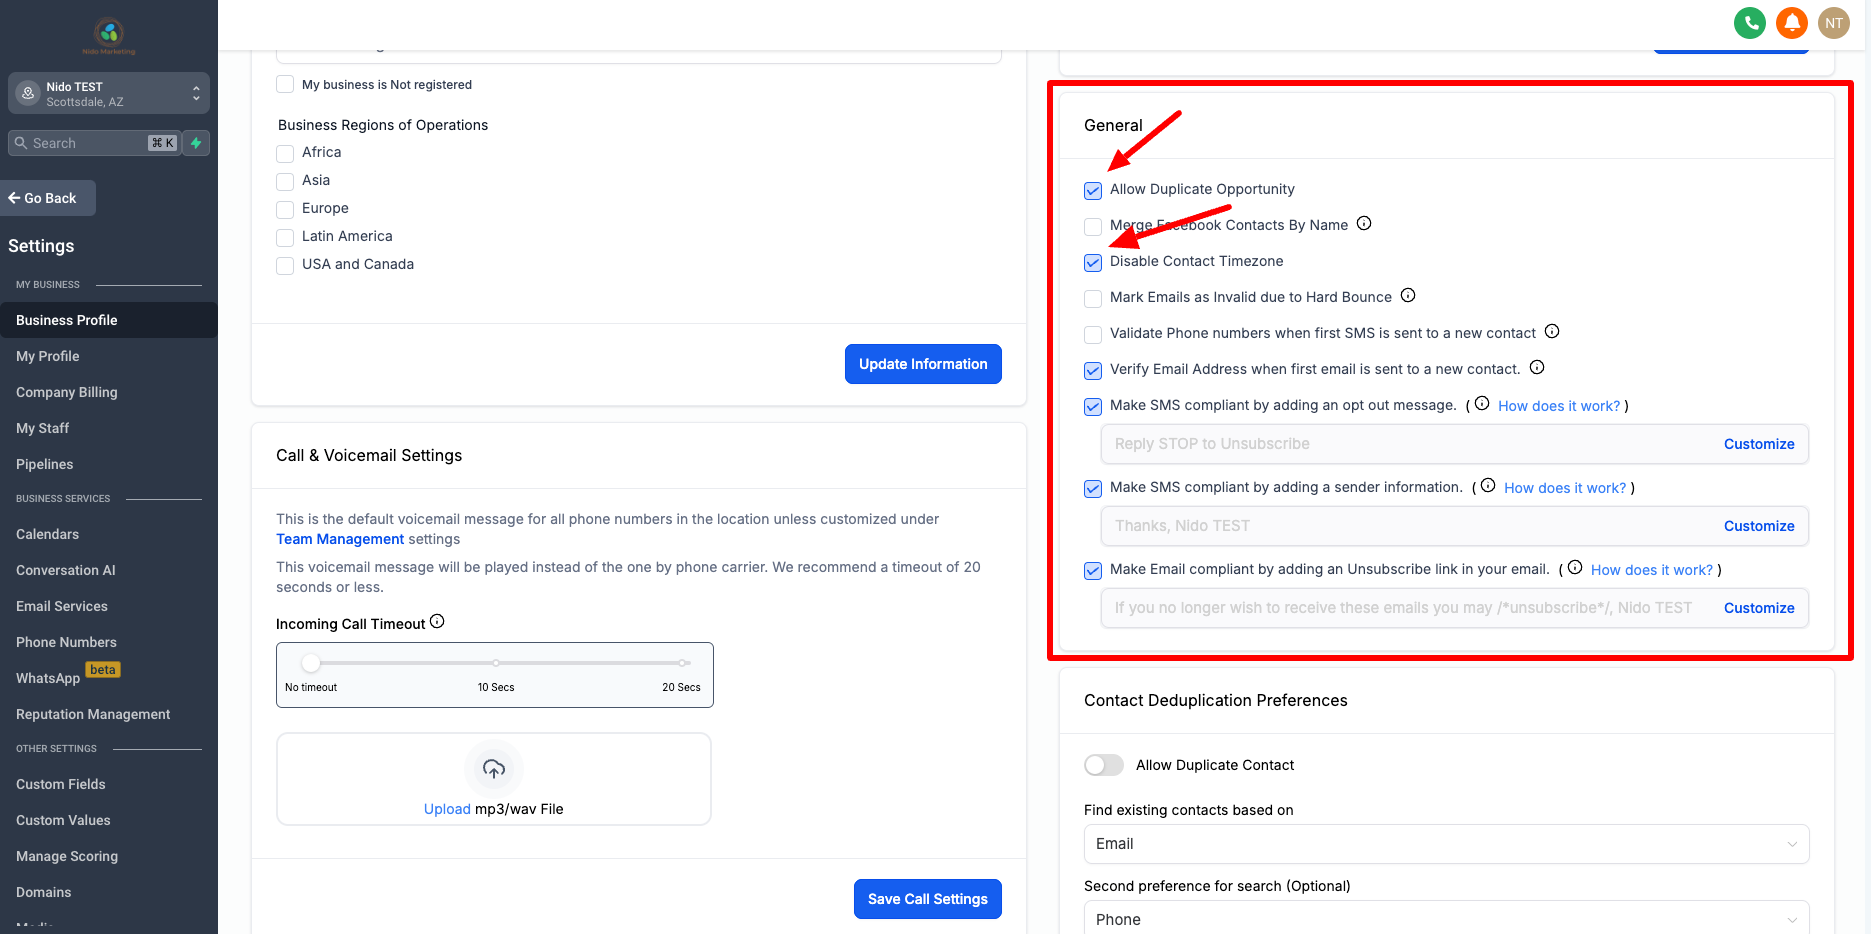
4. Scroll down to the General section and be sure that you check allow duplicate opportunities and disable contact timezone.
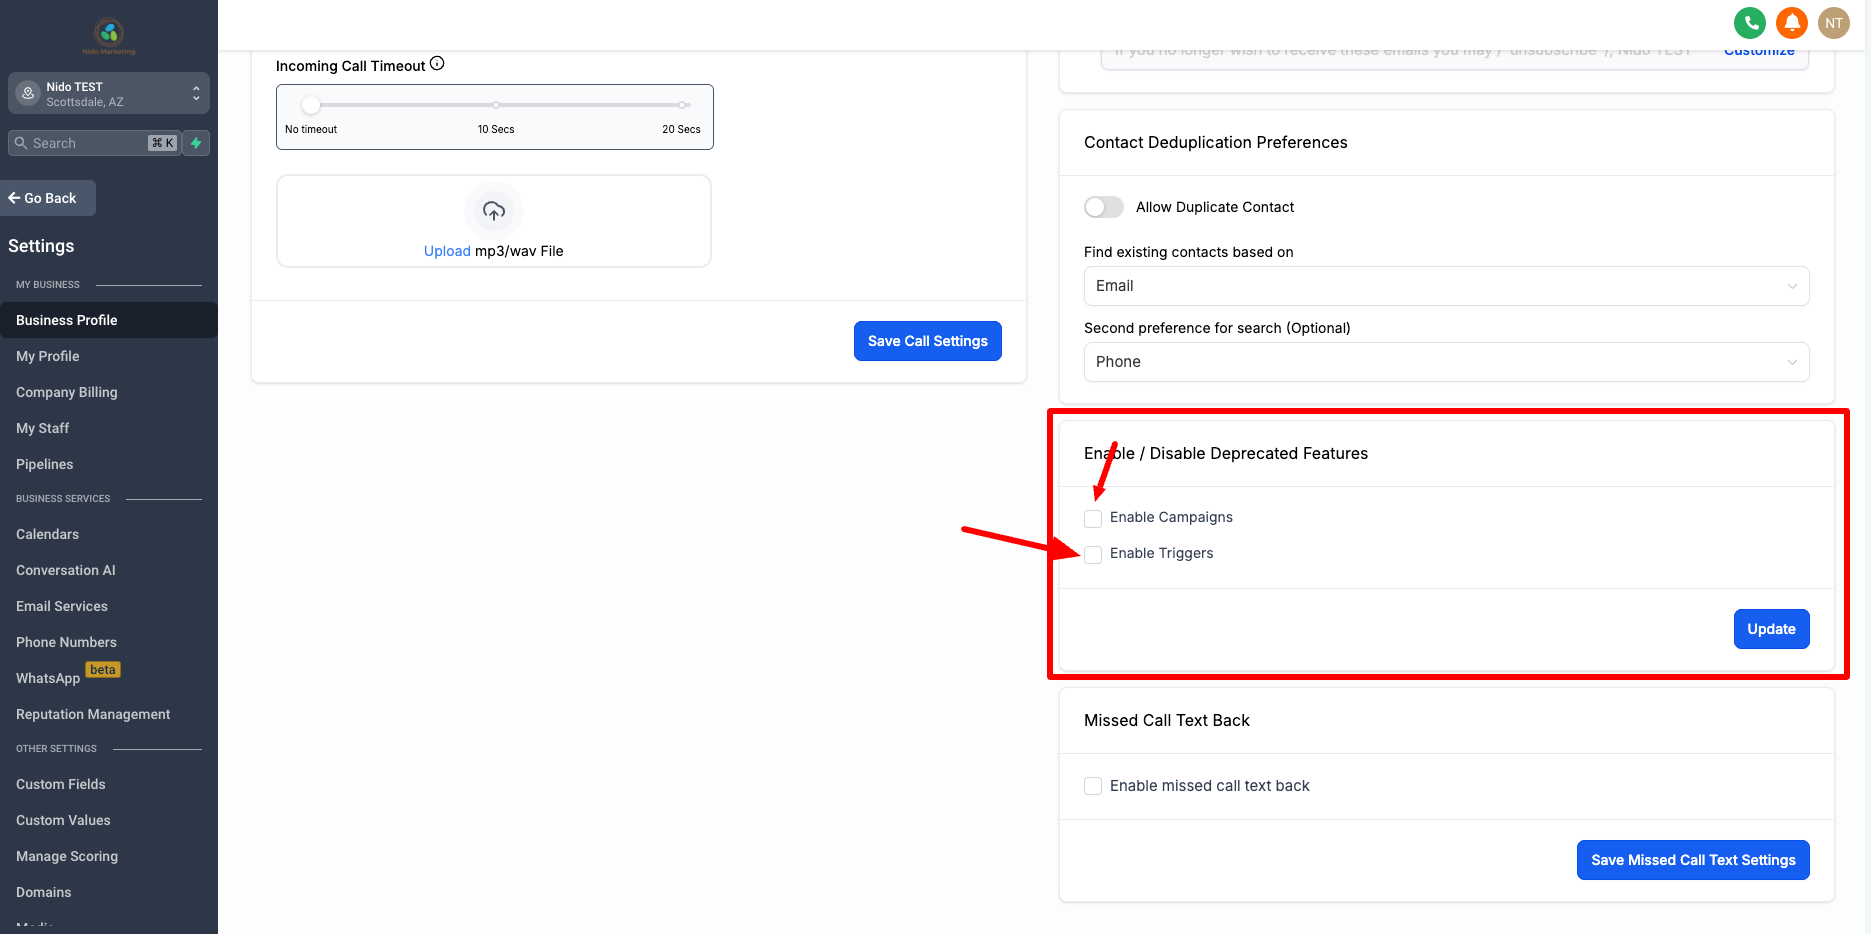
5. Scroll down to Enable / Disable Deprecated Features and be sure to uncheck enable campaigns and enable triggers. You will be using workflows instead. Click update.
6. Go to the left-hand side and click on My Profile.
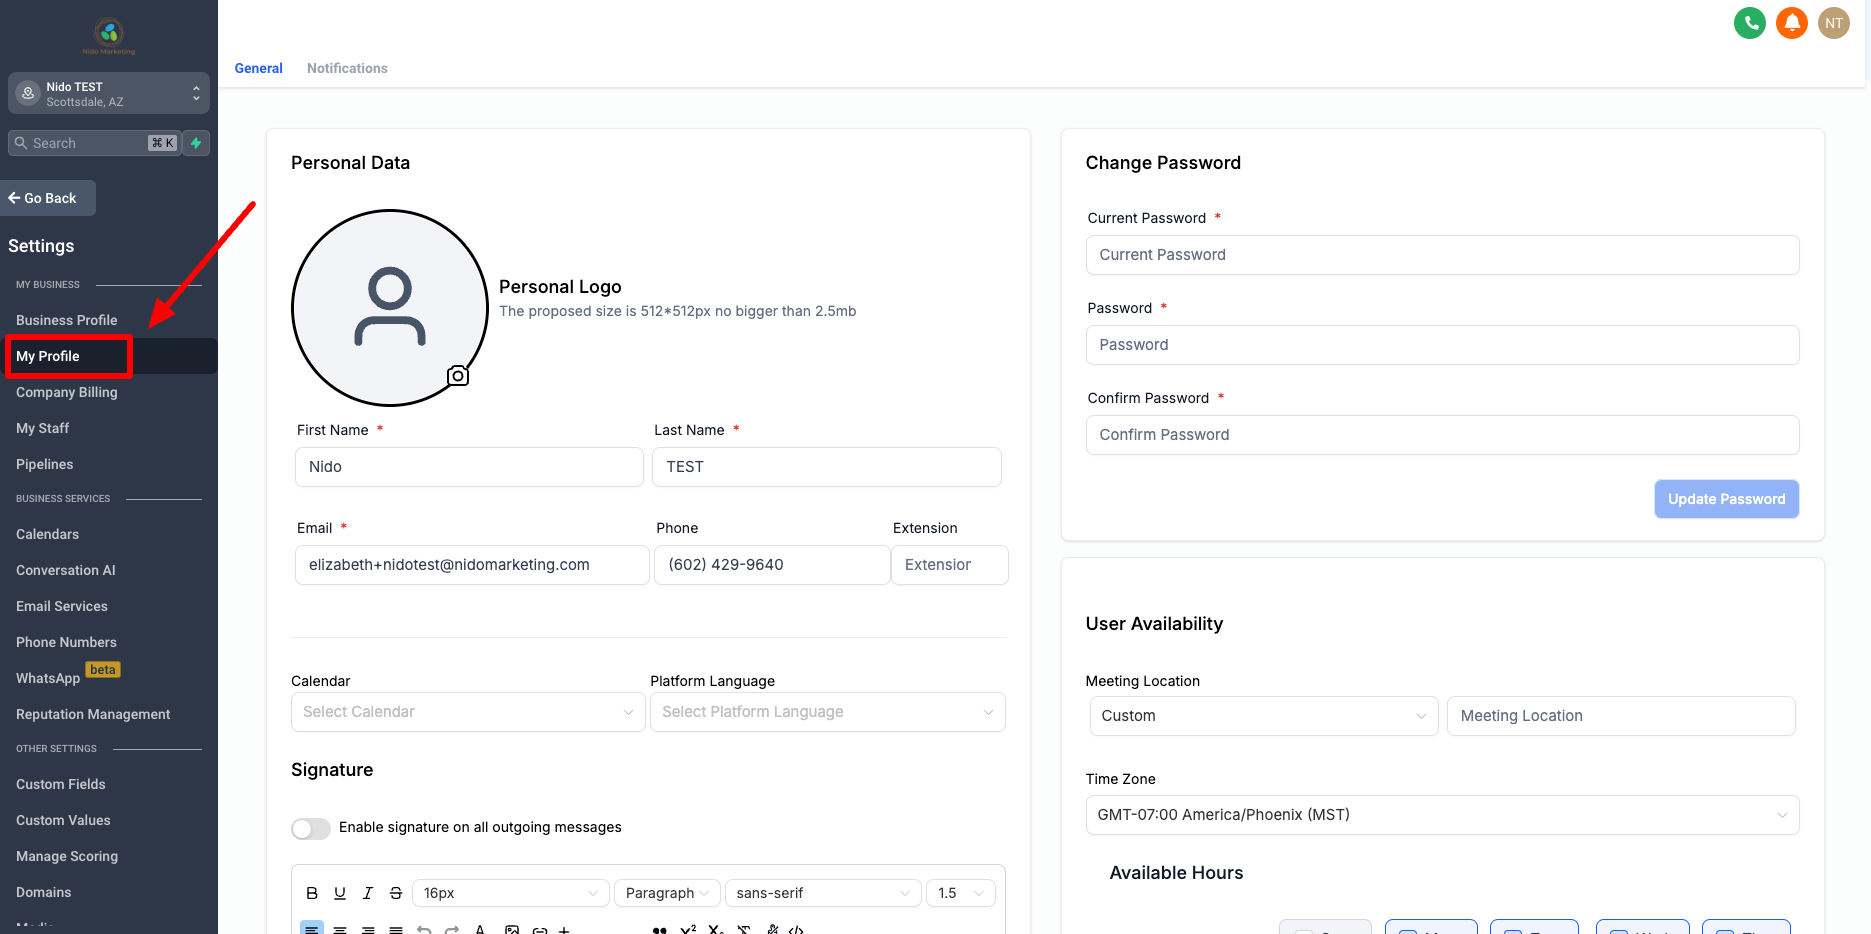
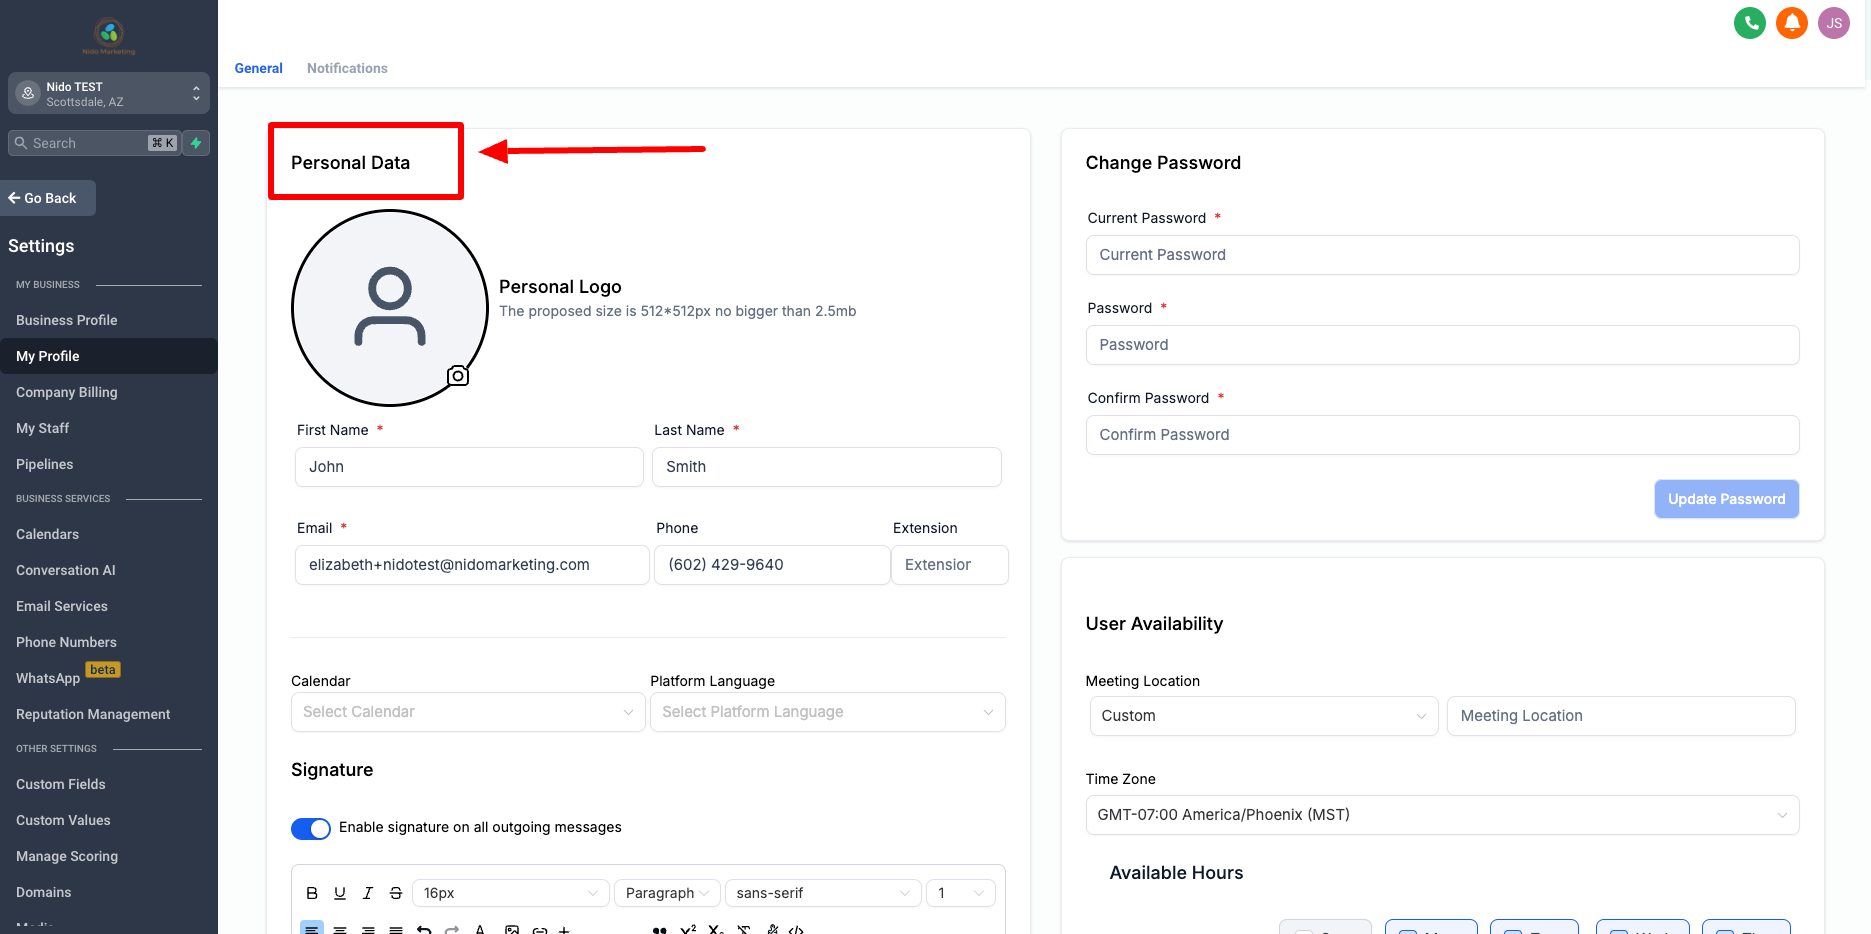
7. Update the Personal Data section with your information (headshot, name, email, direct phone number, customize your email signature) and click on update profile.
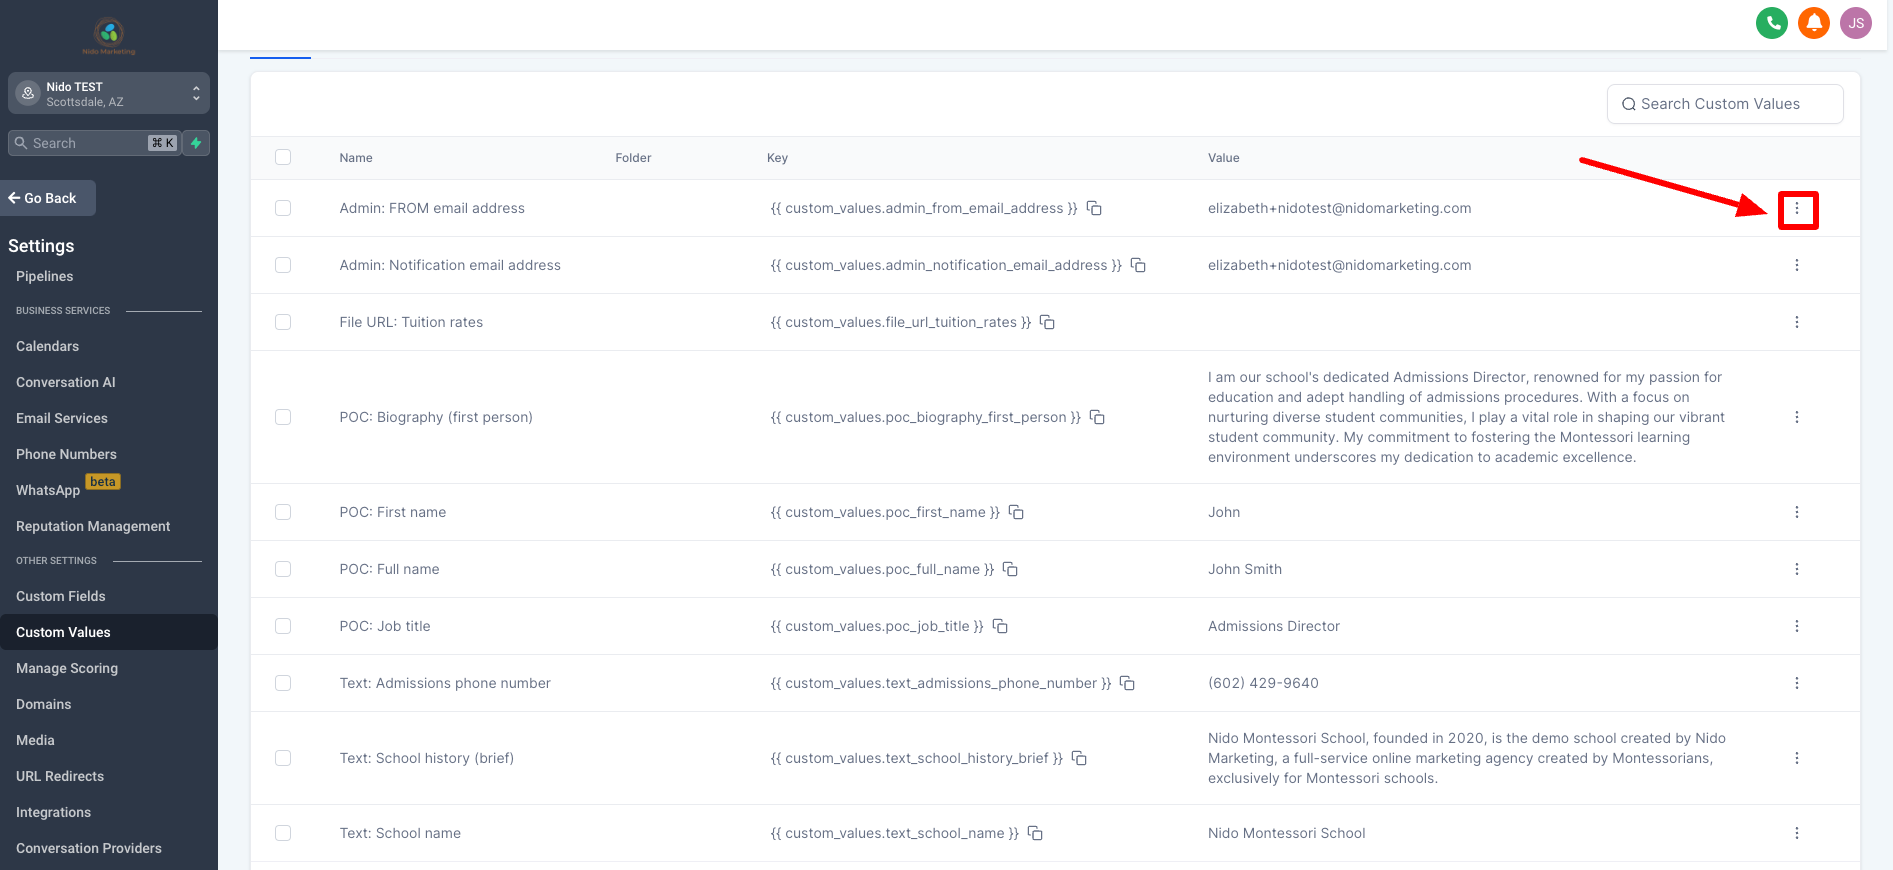
8. Go to the left-hand side and click on Custom Values.
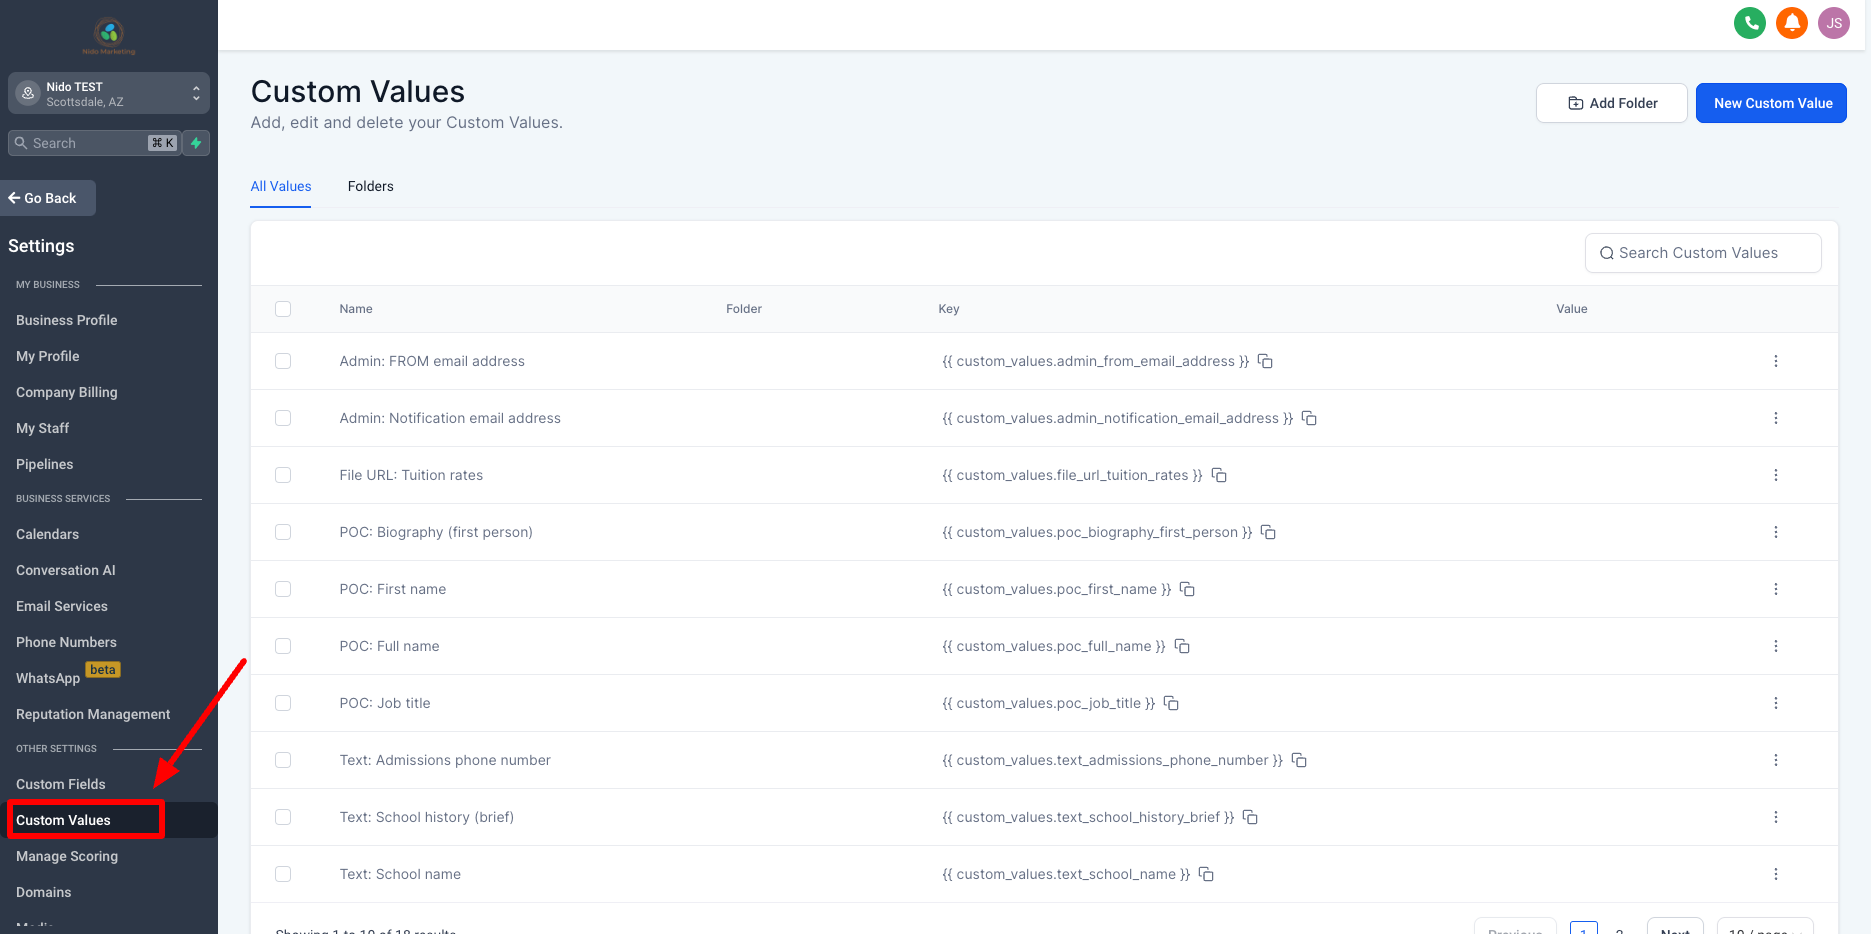
9. These are values that get substituted into emails and other places on the CRM with the key. Go ahead and fill in the ones that you know, it is okay if you do not know them all yet. POC stands for point of contact or person of contact. This is usually the admissions director or the head of school.
10. Click on the 3 dots and select edit custom value to edit the ones that you do know at this time.