How to customize your online scheduling application in the CRM
-
Connect your Google account
-
Configure your calendar settings
-
Customize your signup form
-
Customize your email confirmation
Connect your Google account
Having automated tour scheduling on your website is a powerful tool to allow visitors to put themselves on your calendar. This is based on time frames that you've configured to determine when you are available.
-
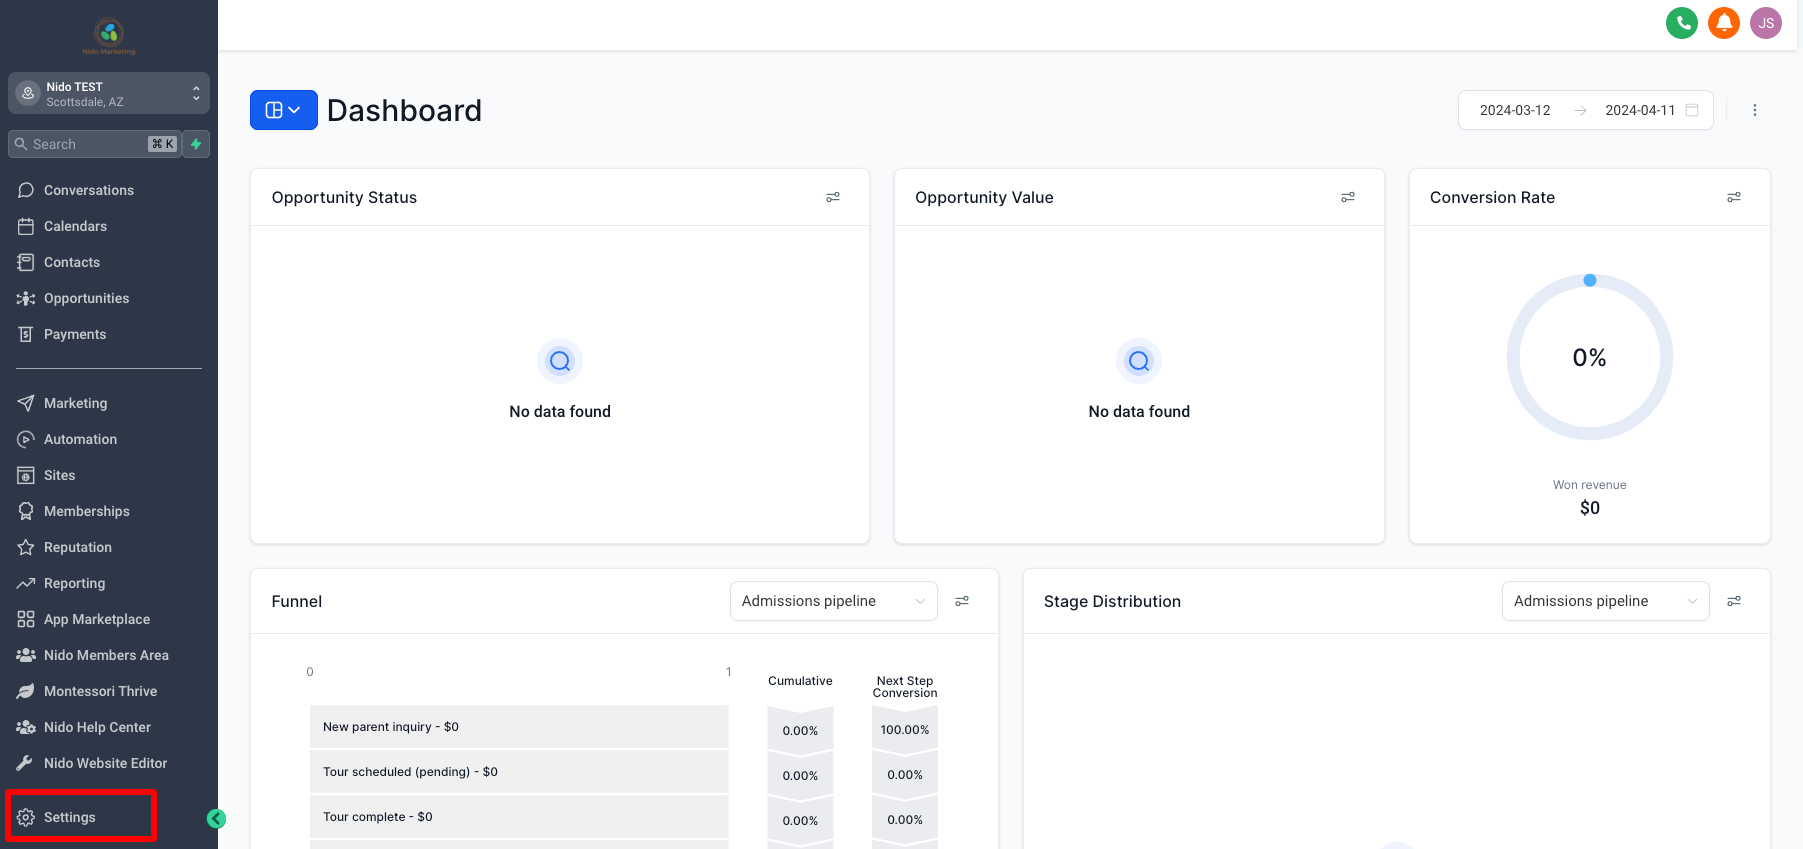
On the left hand side click on settings
-
Scroll down and on the left hand side click on integrations
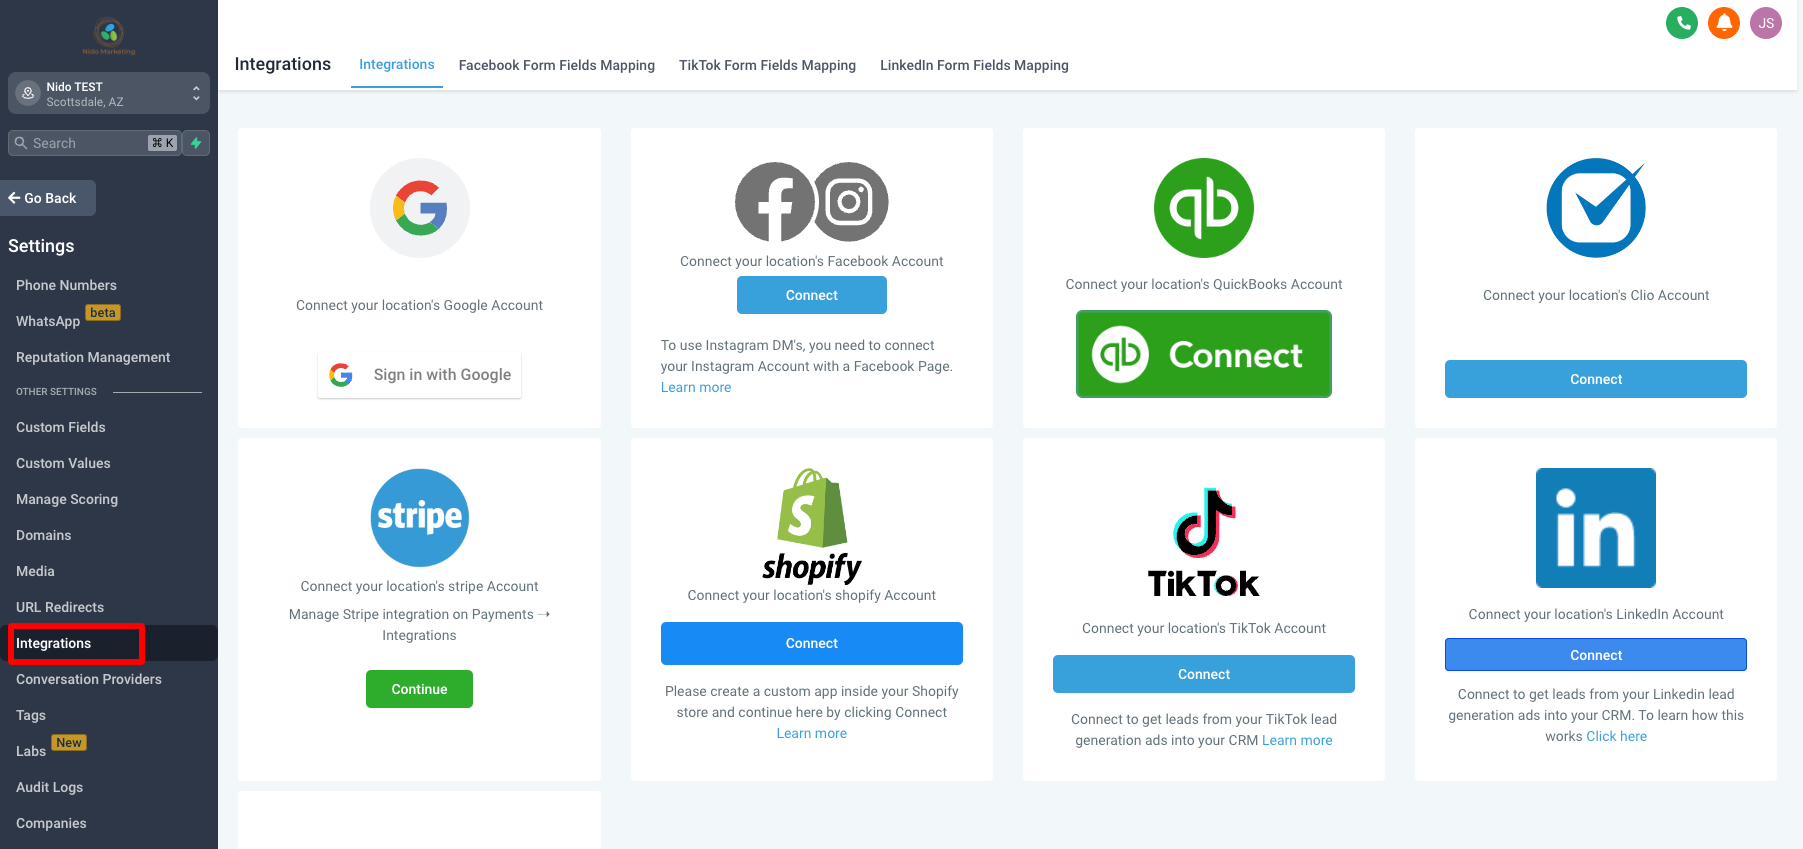
-
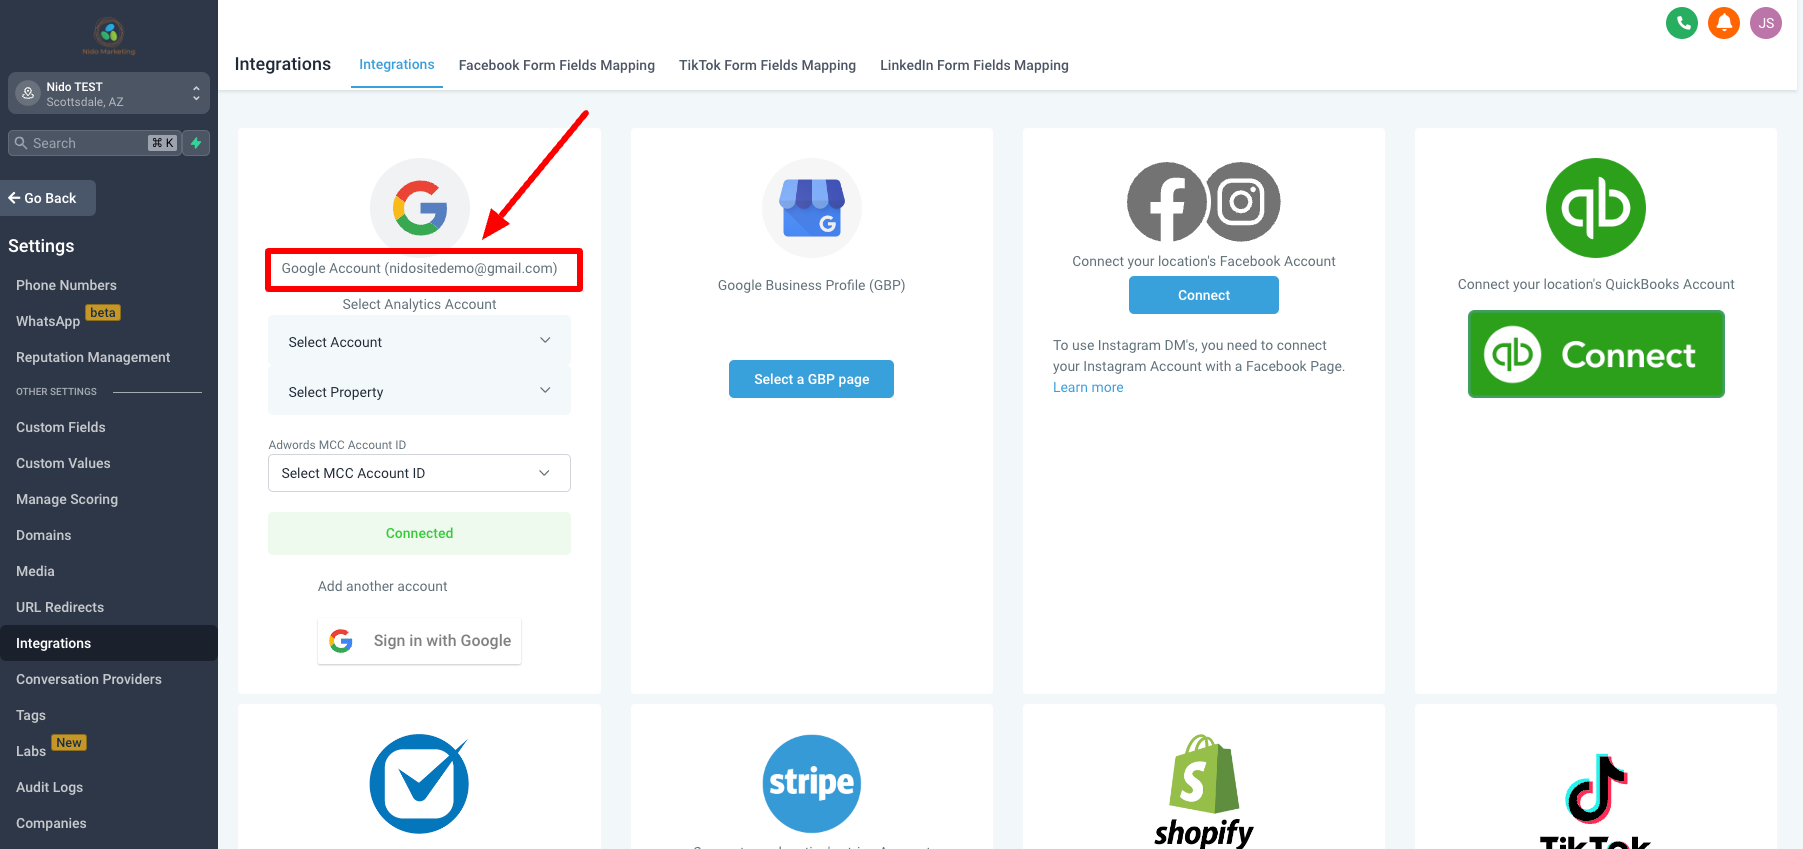
Click on sign in with Google under Google and choose the Google account that has the calendar that you want to use for scheduling tours on
-
Follow the prompts to allow for access
-
Once done you will see the name of the account under the Google section
Configure your calendar settings
-
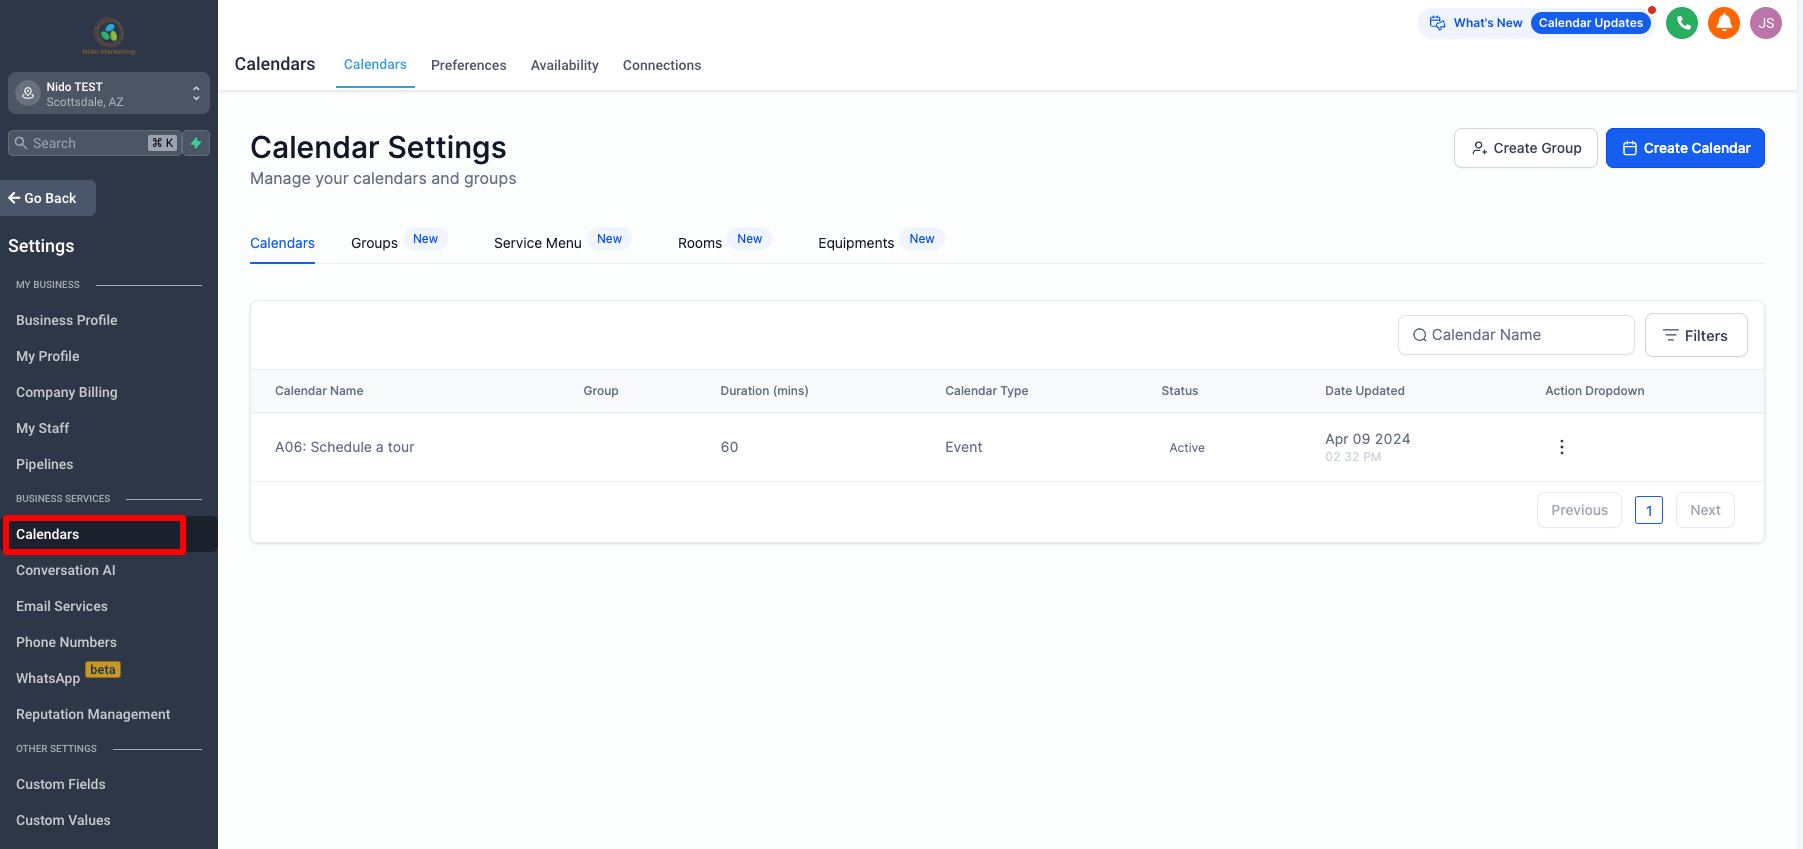
On the left-hand side click on settings
-
Click on calendars
-
On the right-hand side click on the 3 dots and choose edit

-
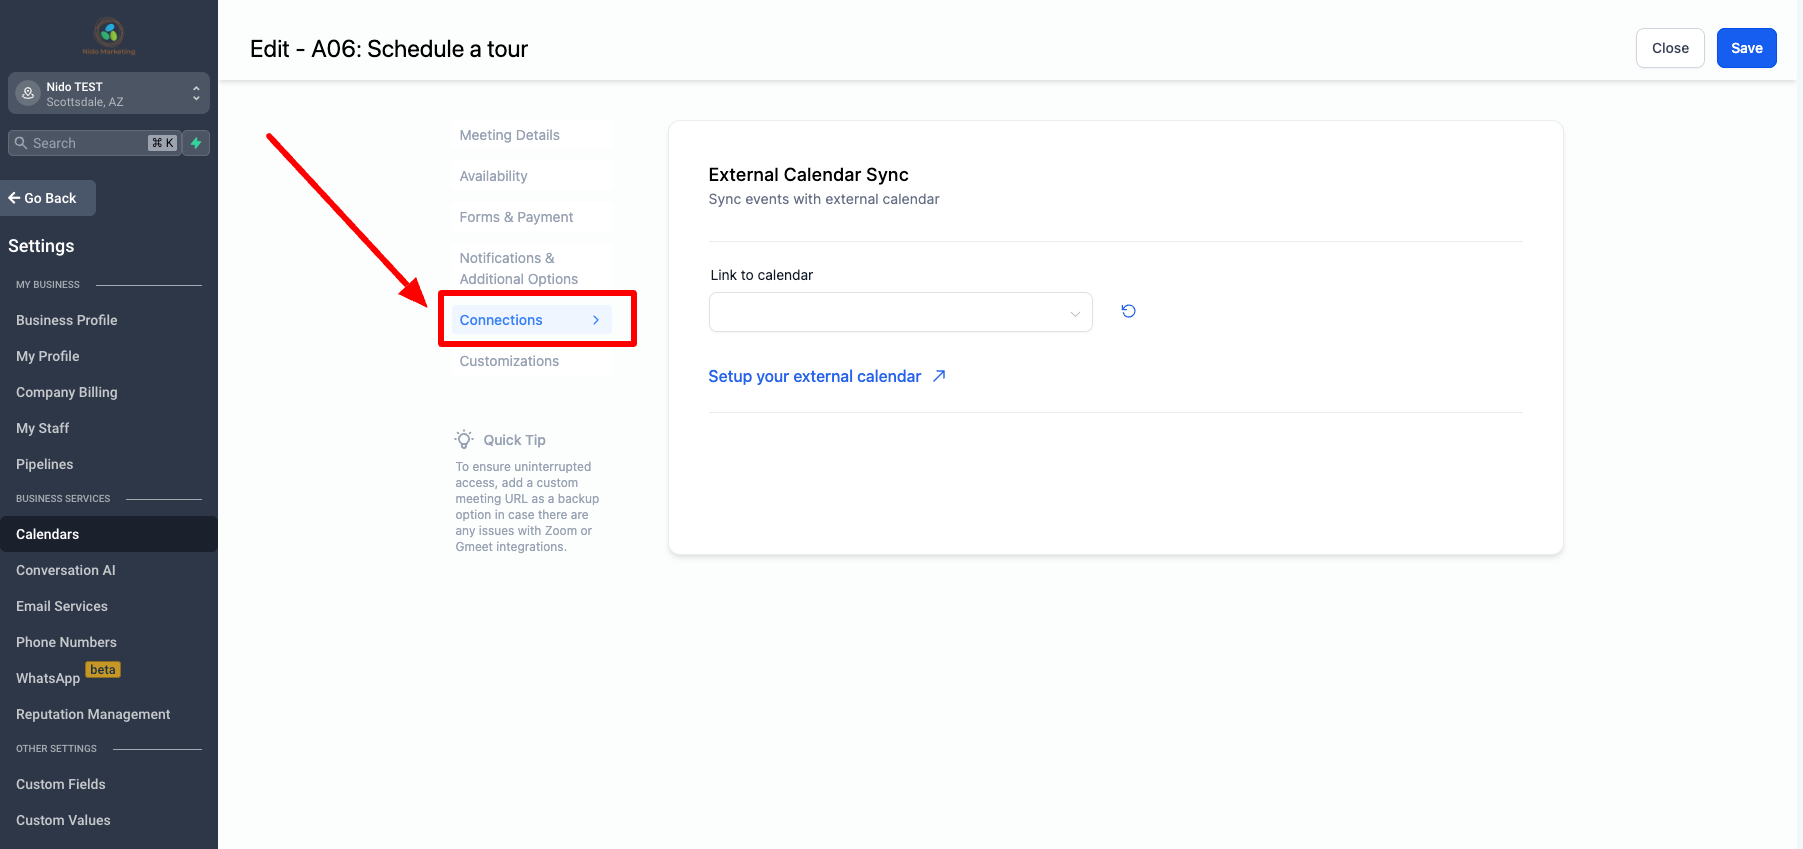
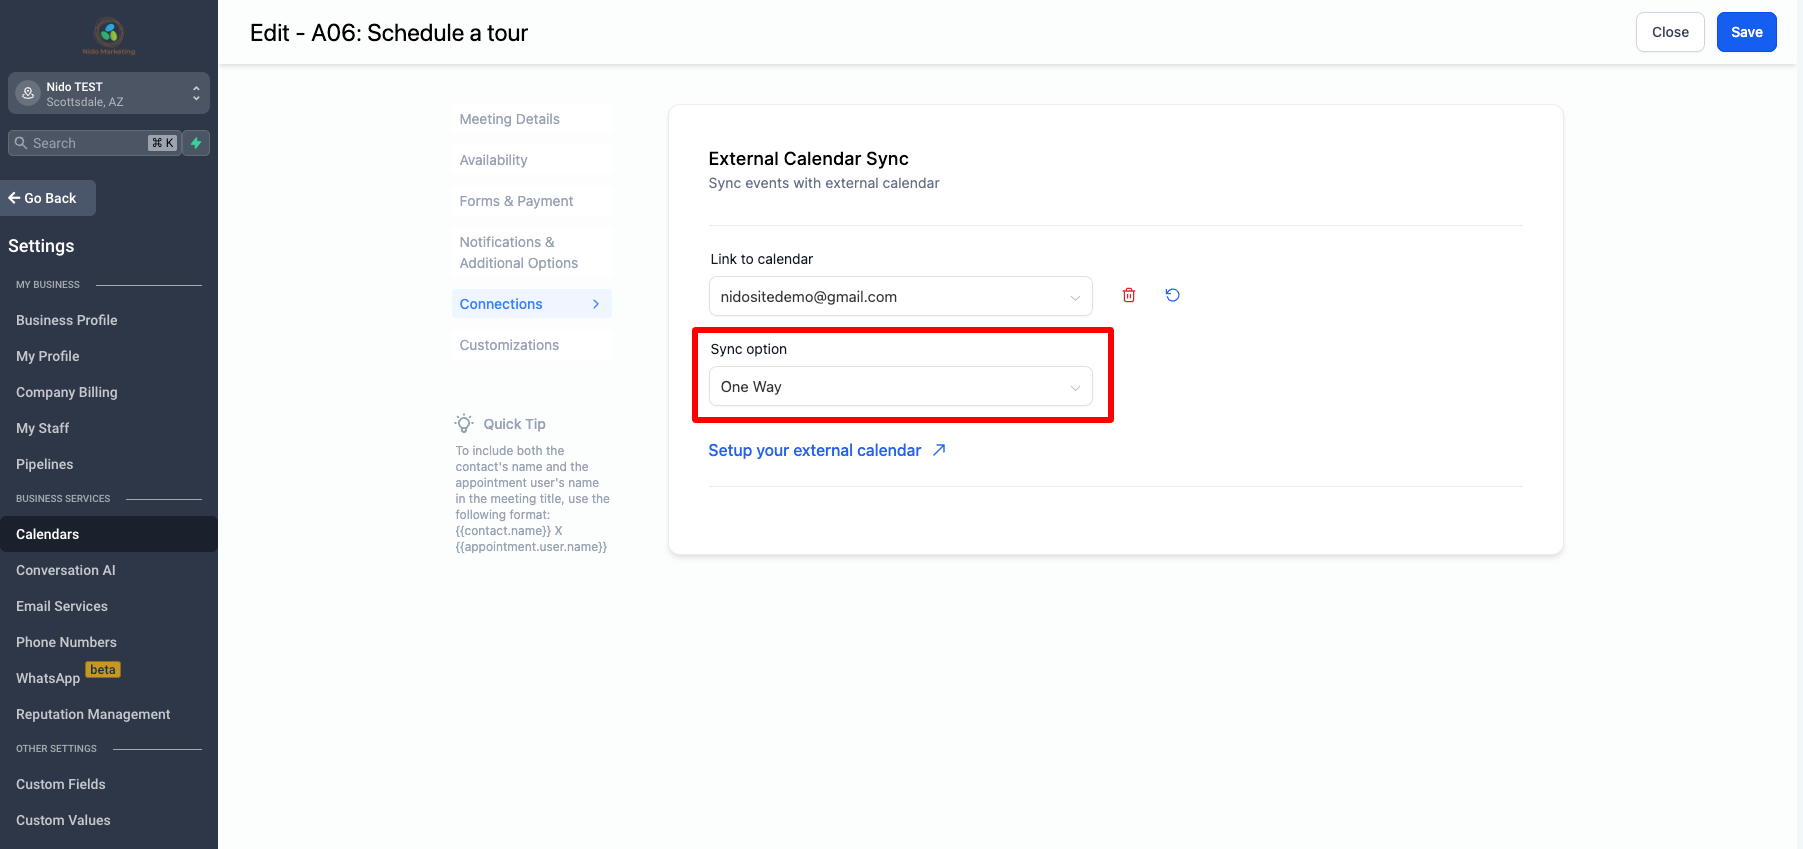
On the left-hand side go down to connections and click on that
-
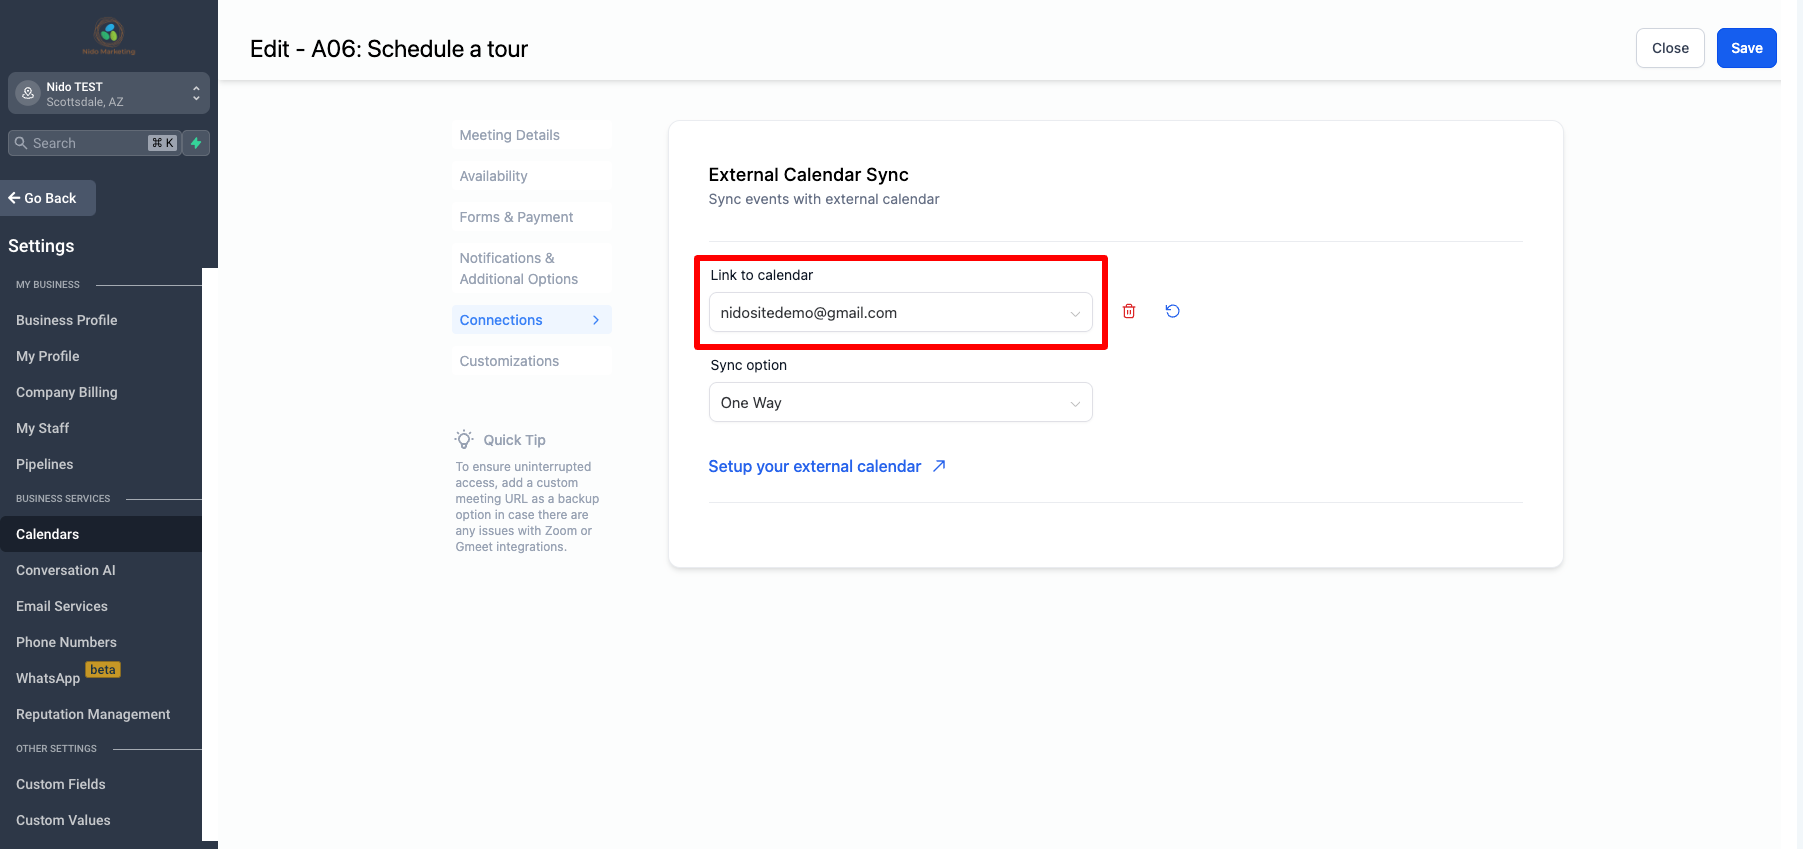
Use the drop-down menu and select the Google account that we just integrated
-
Unders sync option leave it one way
-
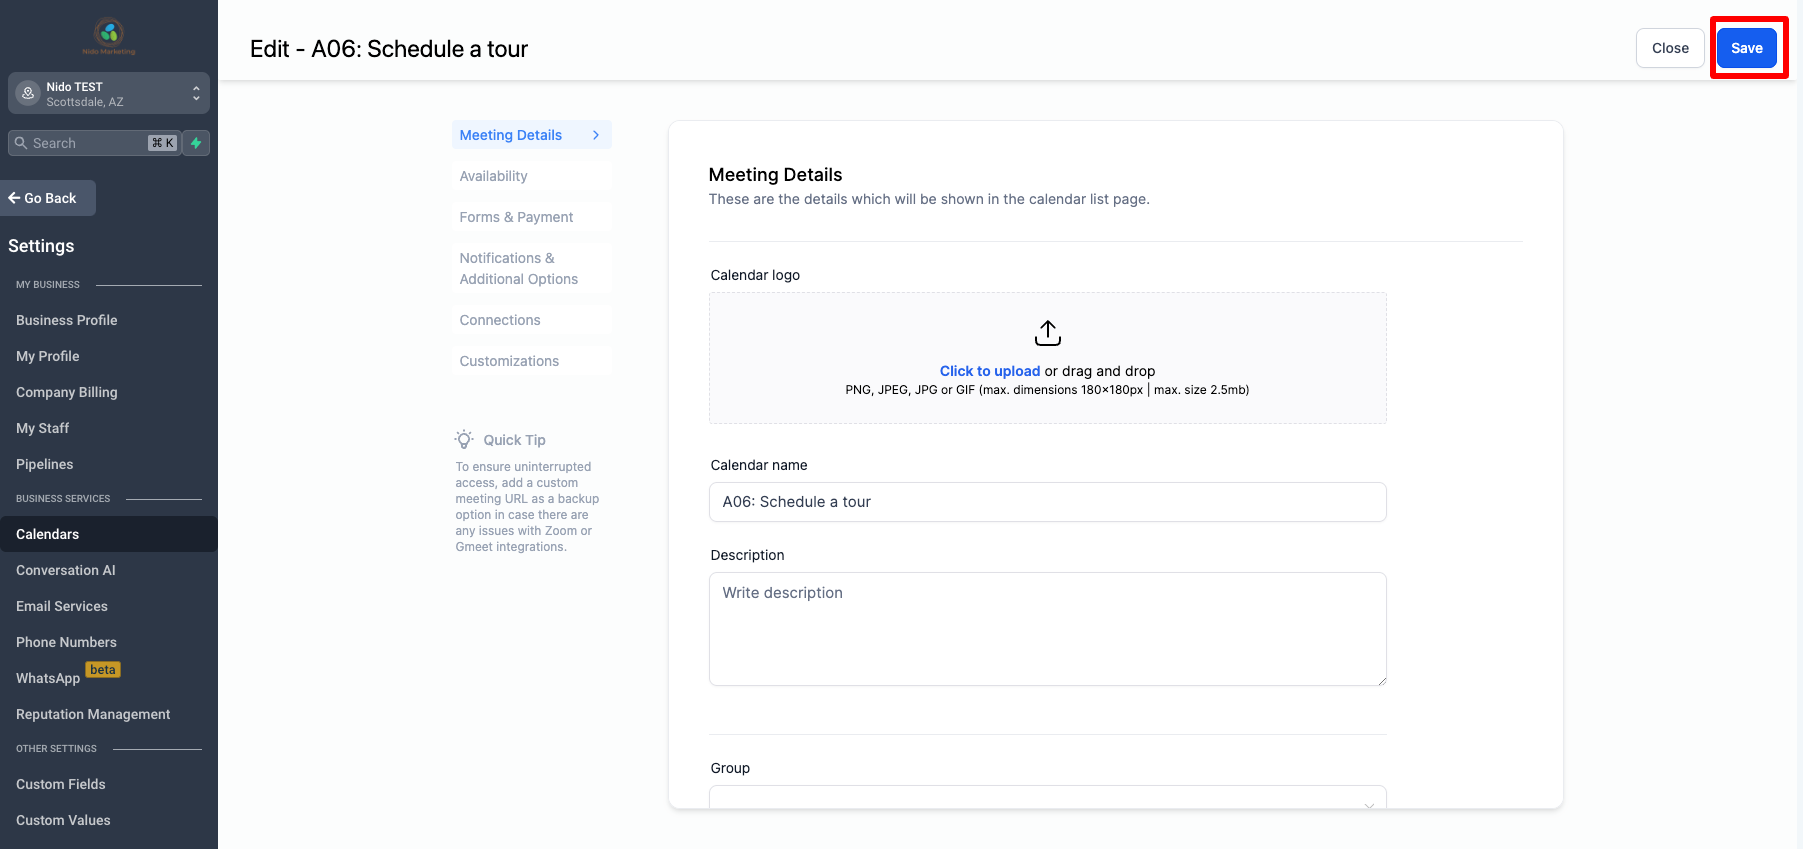
On the left go back up to meeting details

-
Feel free to add your school logo to the calendar if you would like
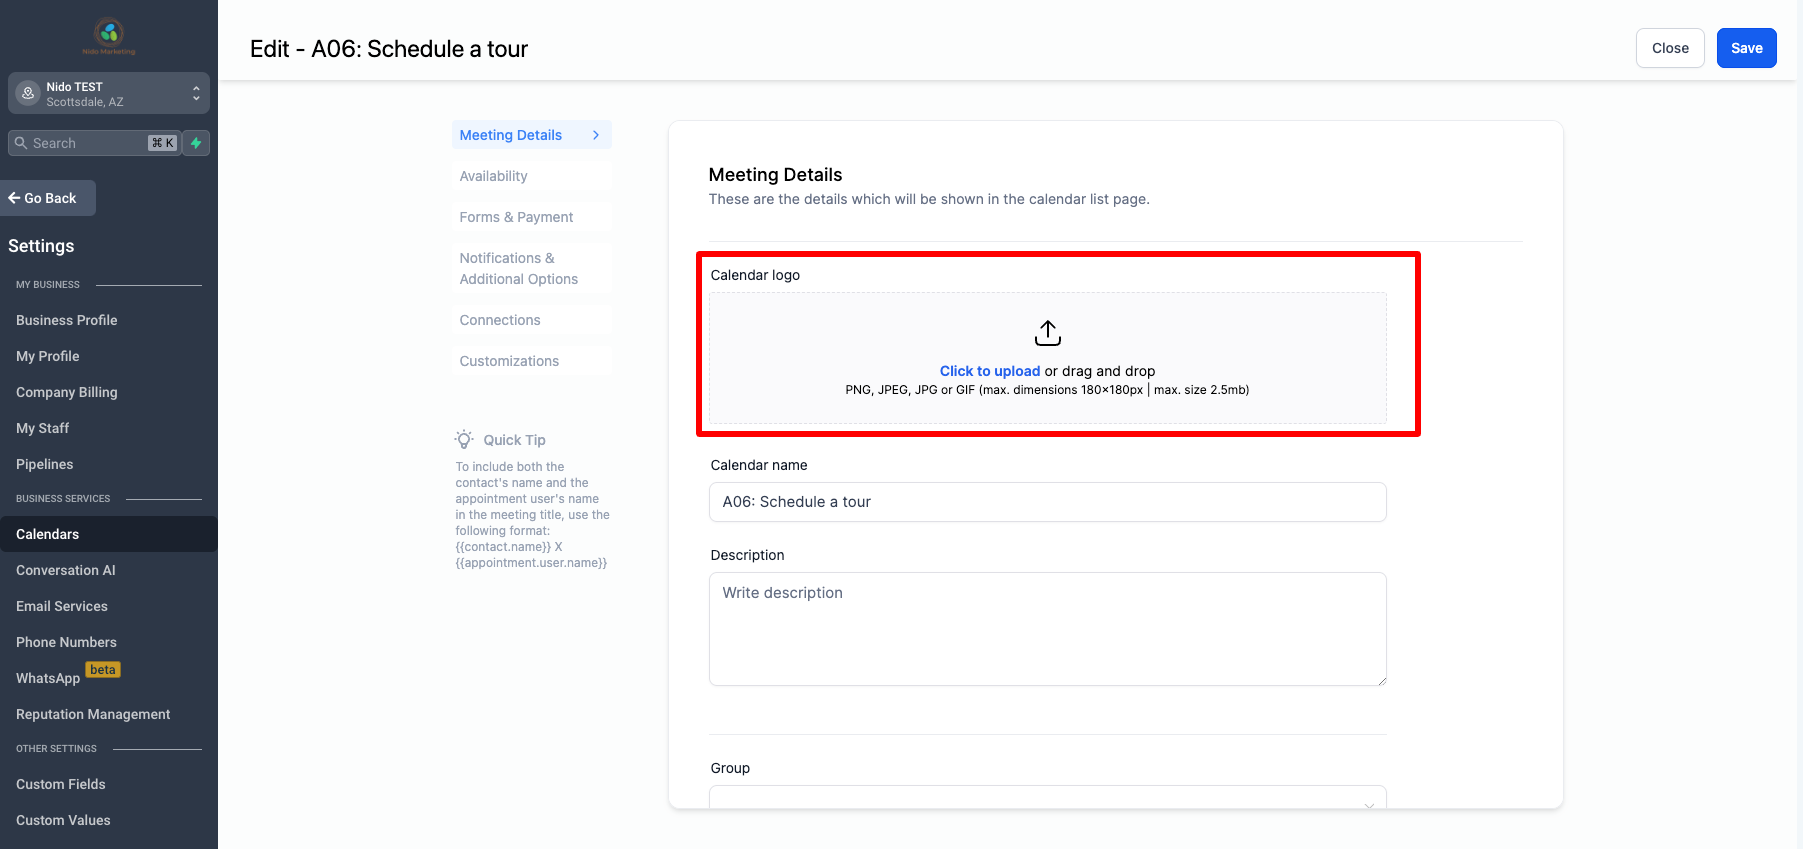
-
Please leave the name of the calendar the same
-
You can add a description if you would like but it is only seen in the CRM
-
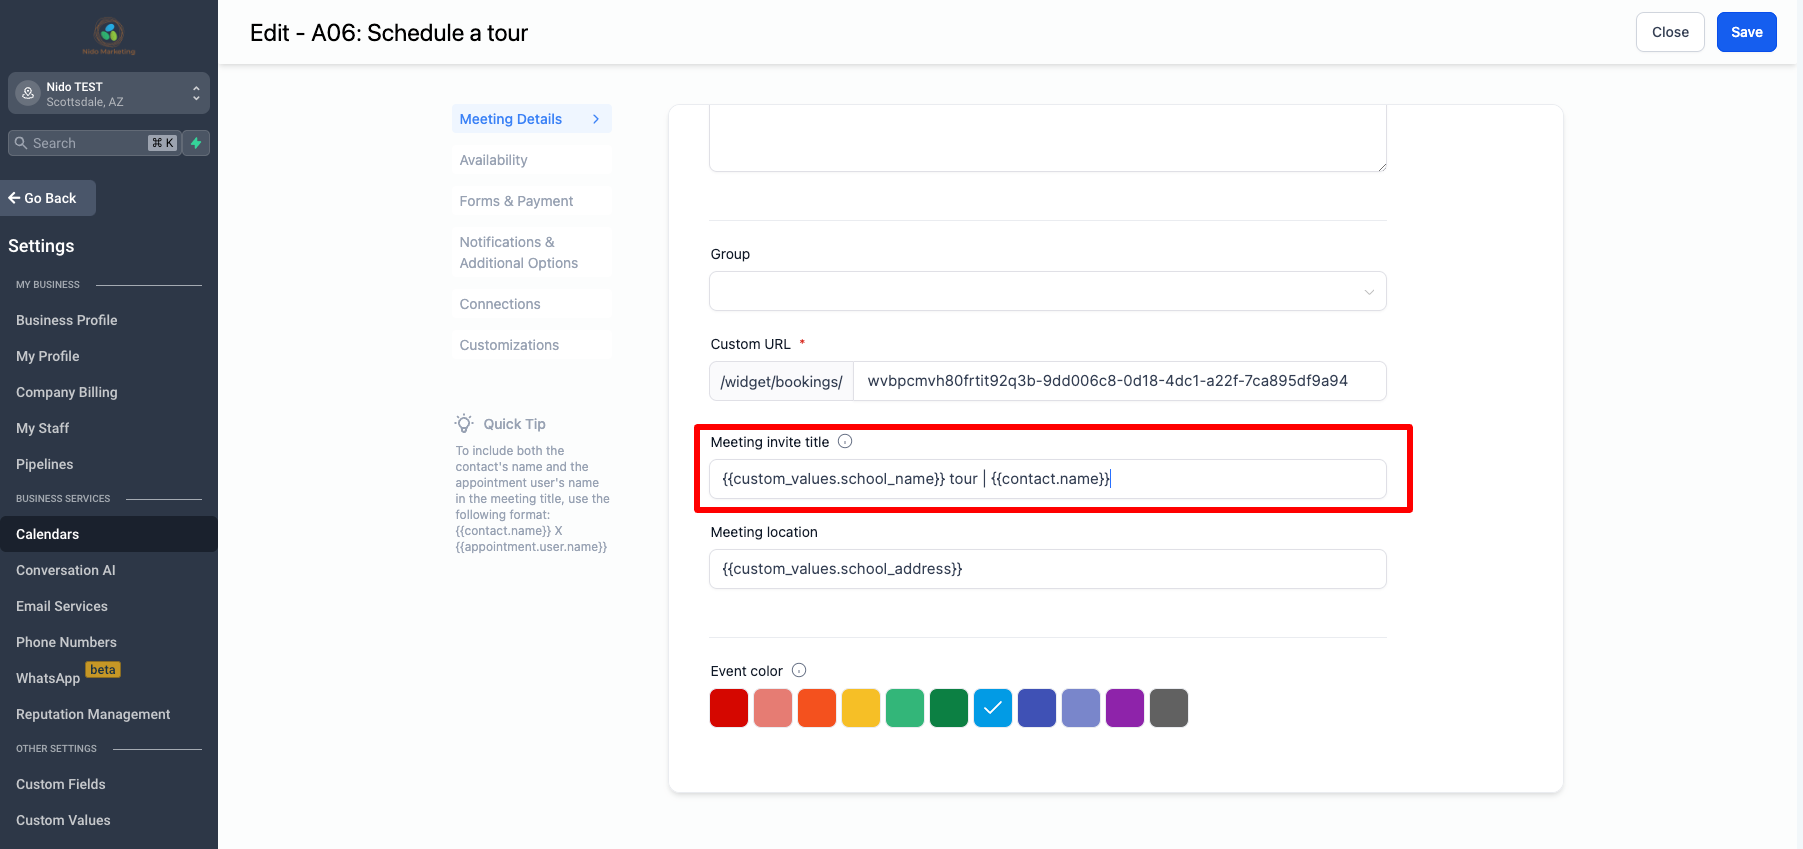
Scroll down the meeting invite title. This is what will show up in the event on your Google calendar. We recommend it says school name tour and then the parent name. Both you and the parent will see the same thing. It is important for the parent to see the school name and it is important for you to see who the tour is with.
-
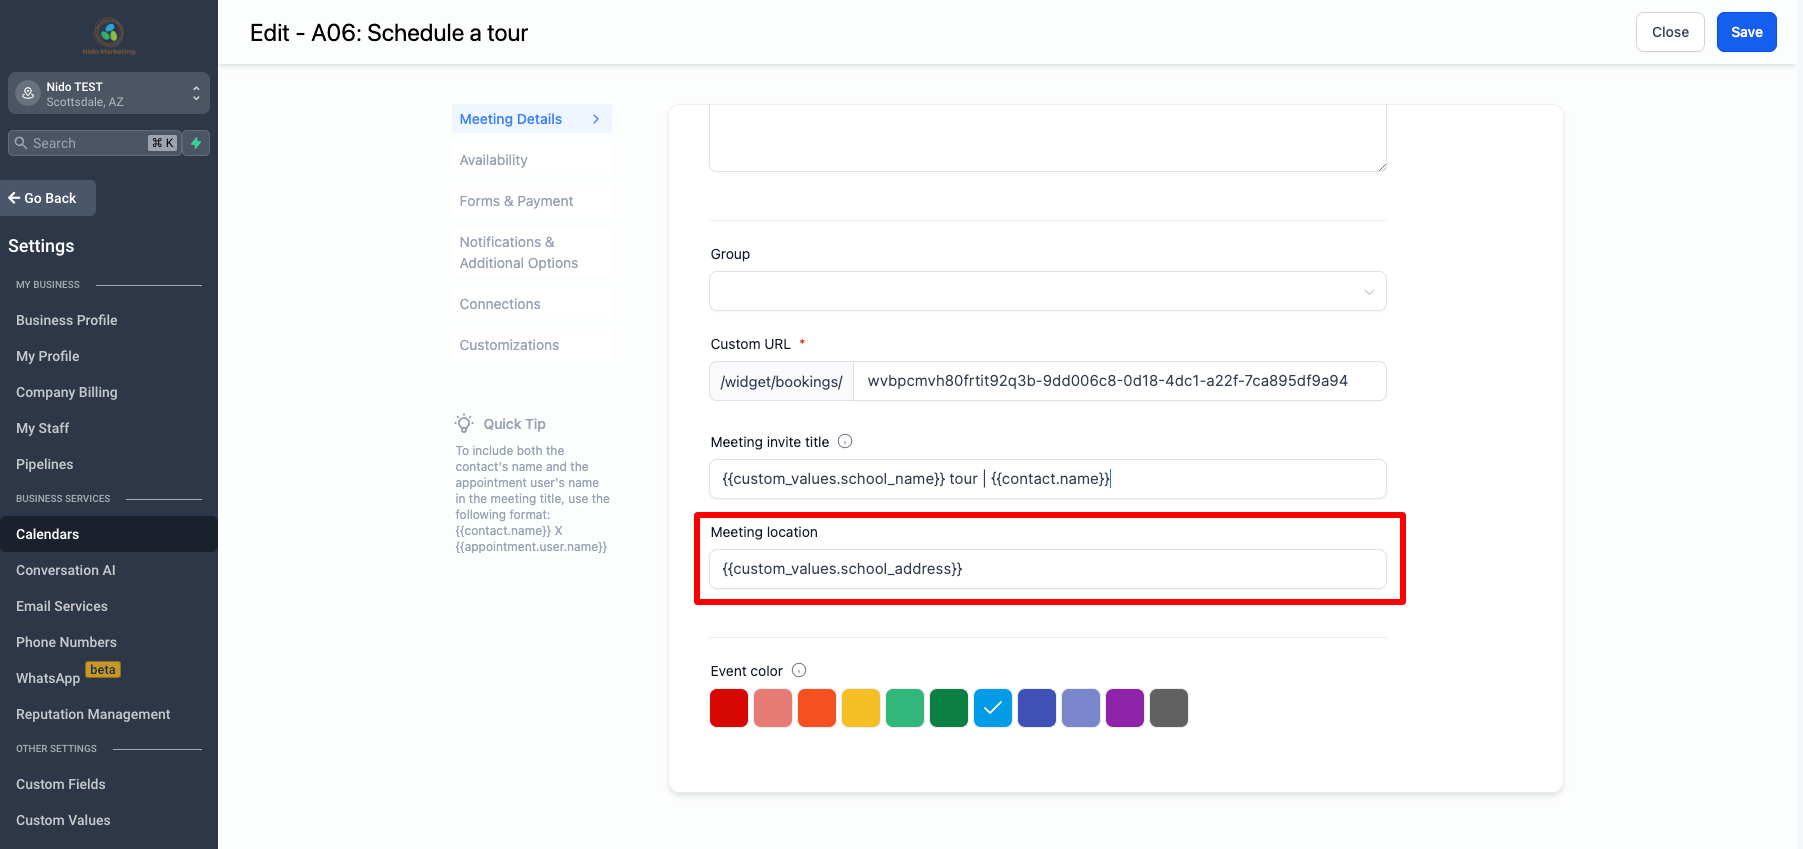
The meeting location will be your school's address. Note: Be sure that you have customized your custom values
-
Select save in the top right-hand corner
-
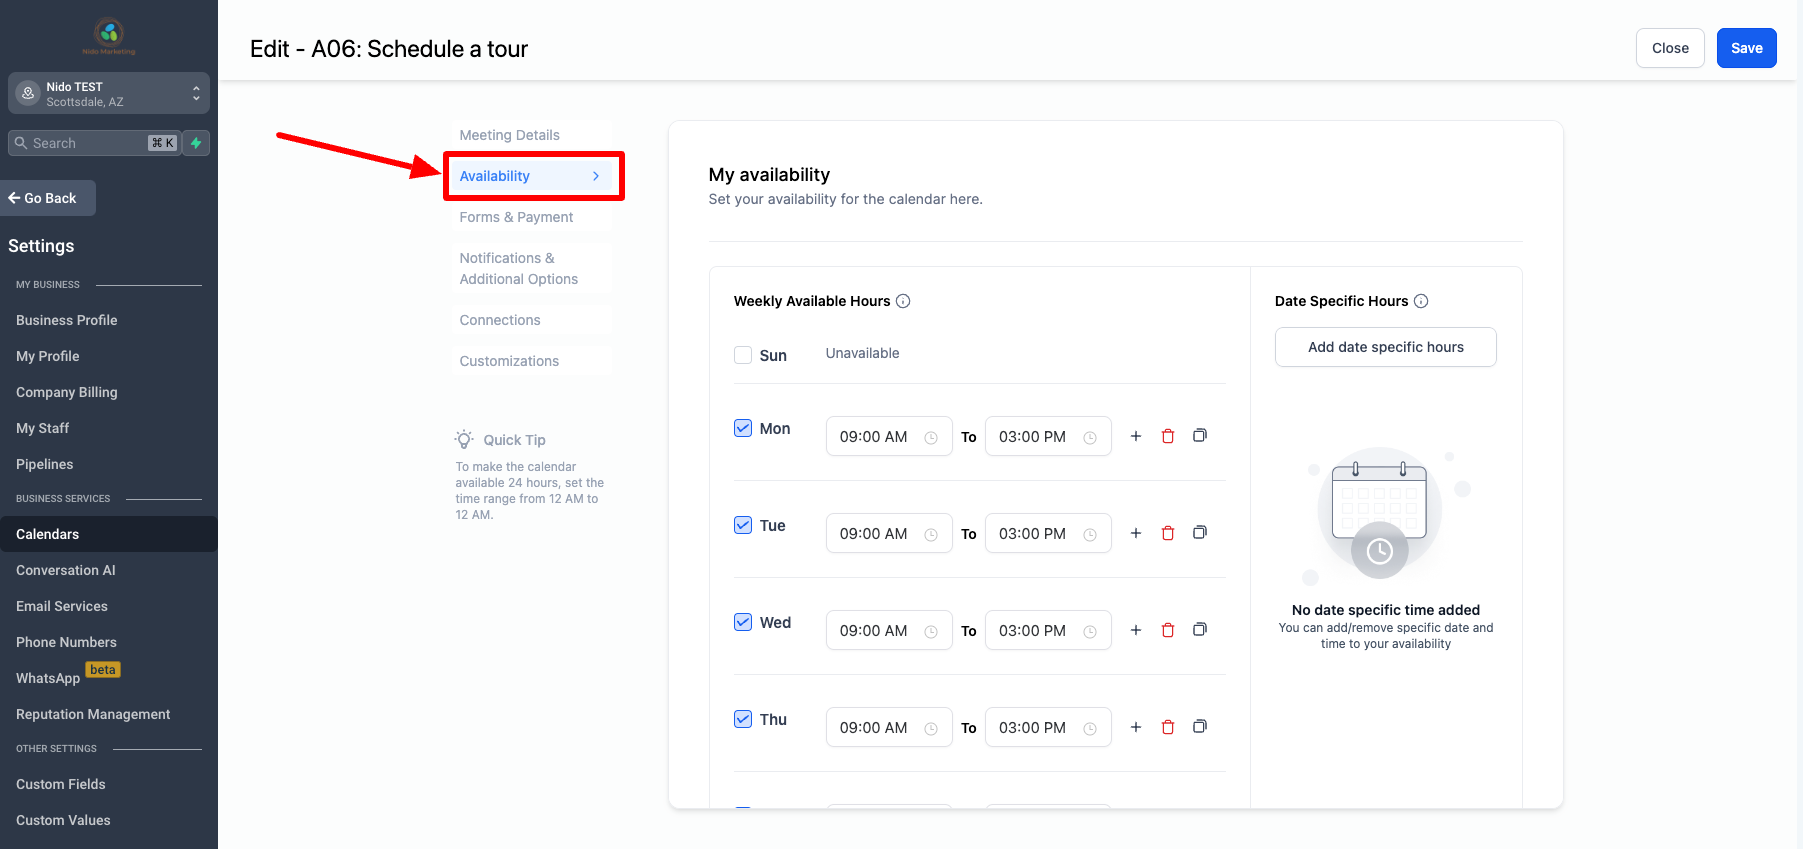
On the left-hand side choose availability
-
This is where we will set up when you are available and how long the tours are. You will see weekly available hours first. Define how often you would like to offer tours and from what time periods. For this example, I am going to choose Monday, Wednesday, and Friday from 9am until 10am. Remember that the system will check your Google calendar for conflicts within these time frames. Therefore if you had a school event on Friday from 8:30am until 10:30am that Friday will not be available for tour bookings. These are just your general hours of availability not specific dates.

-
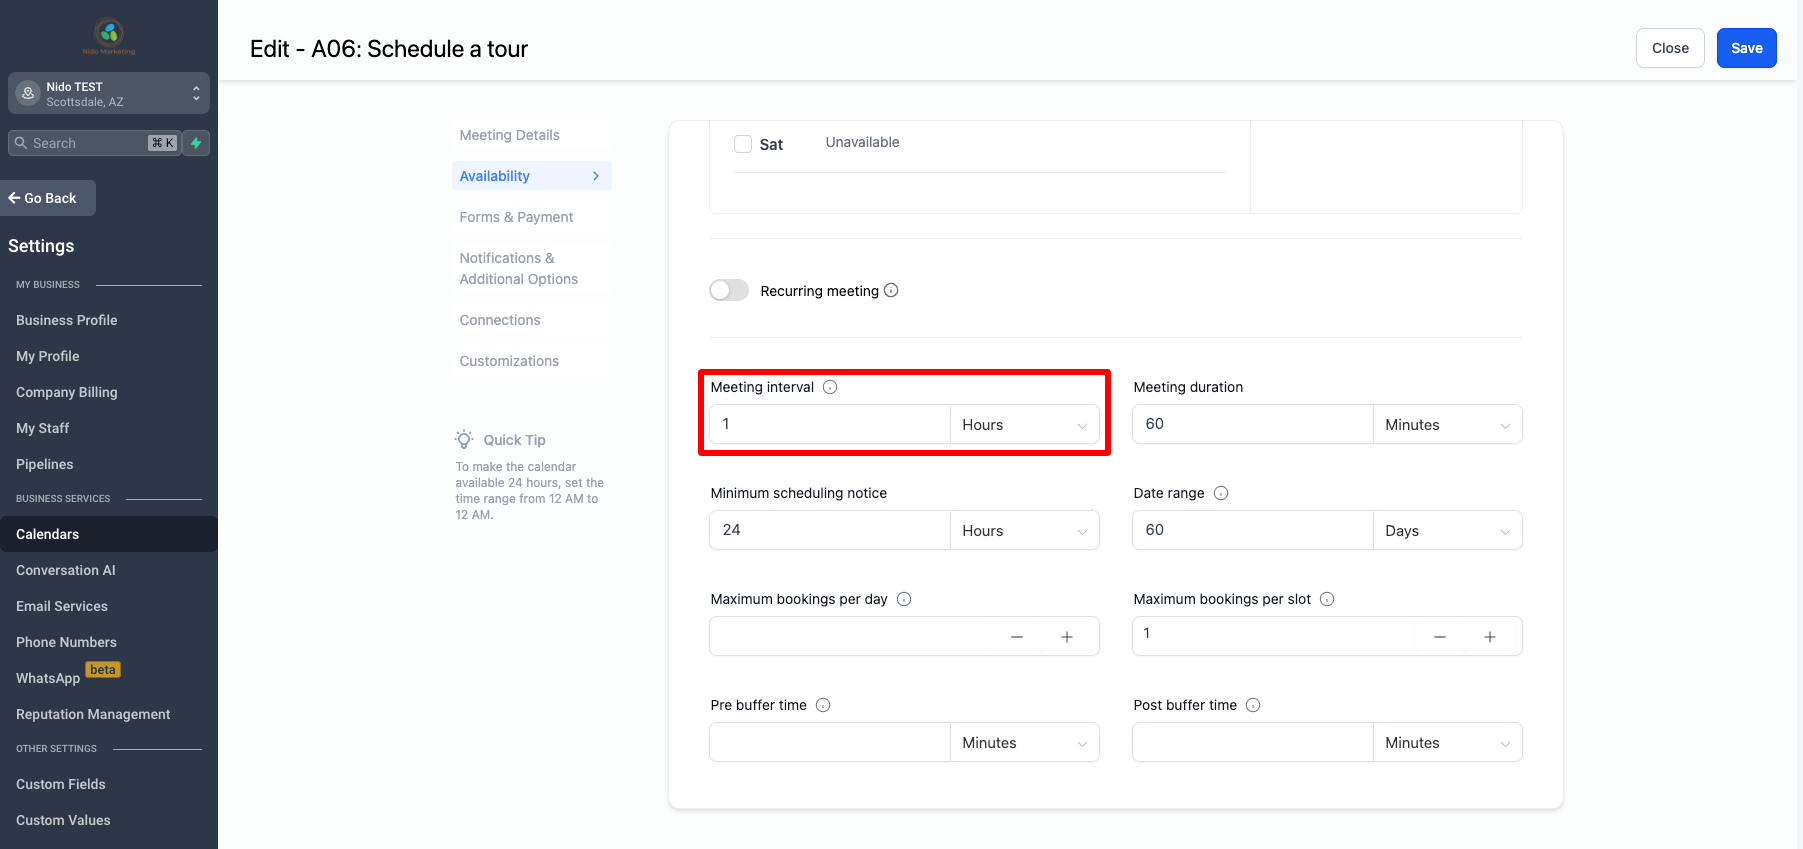
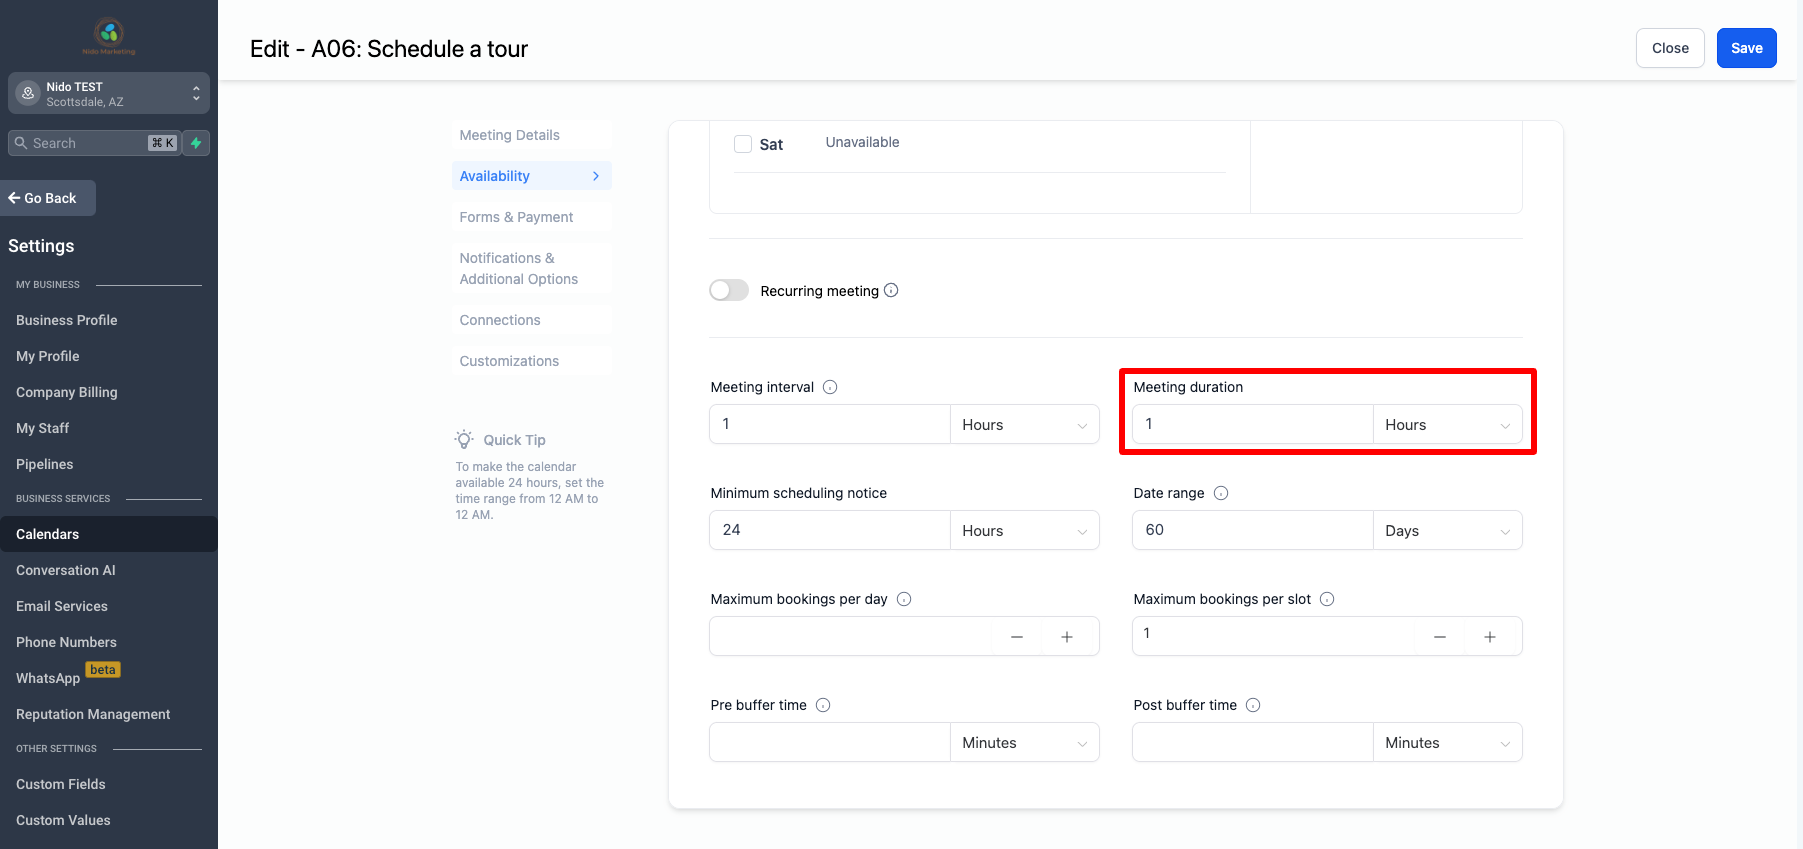
Scroll down to the meeting interval. This is the amount of time between booking slots.
-
Meeting duration is how long the tour will be. You could have a meeting duration of 30 minutes with a 1 hour meeting interval so that your meetings would be available at the top of the hour but last 30 minutes.
-
Minimum scheduling notice is how you define when they can schedule the tour and when they can arrive for the tour. If it is set for 1 day this means that someone can't schedule a tour for Wednesday at 9am on Tuesday night at 10pm.
-
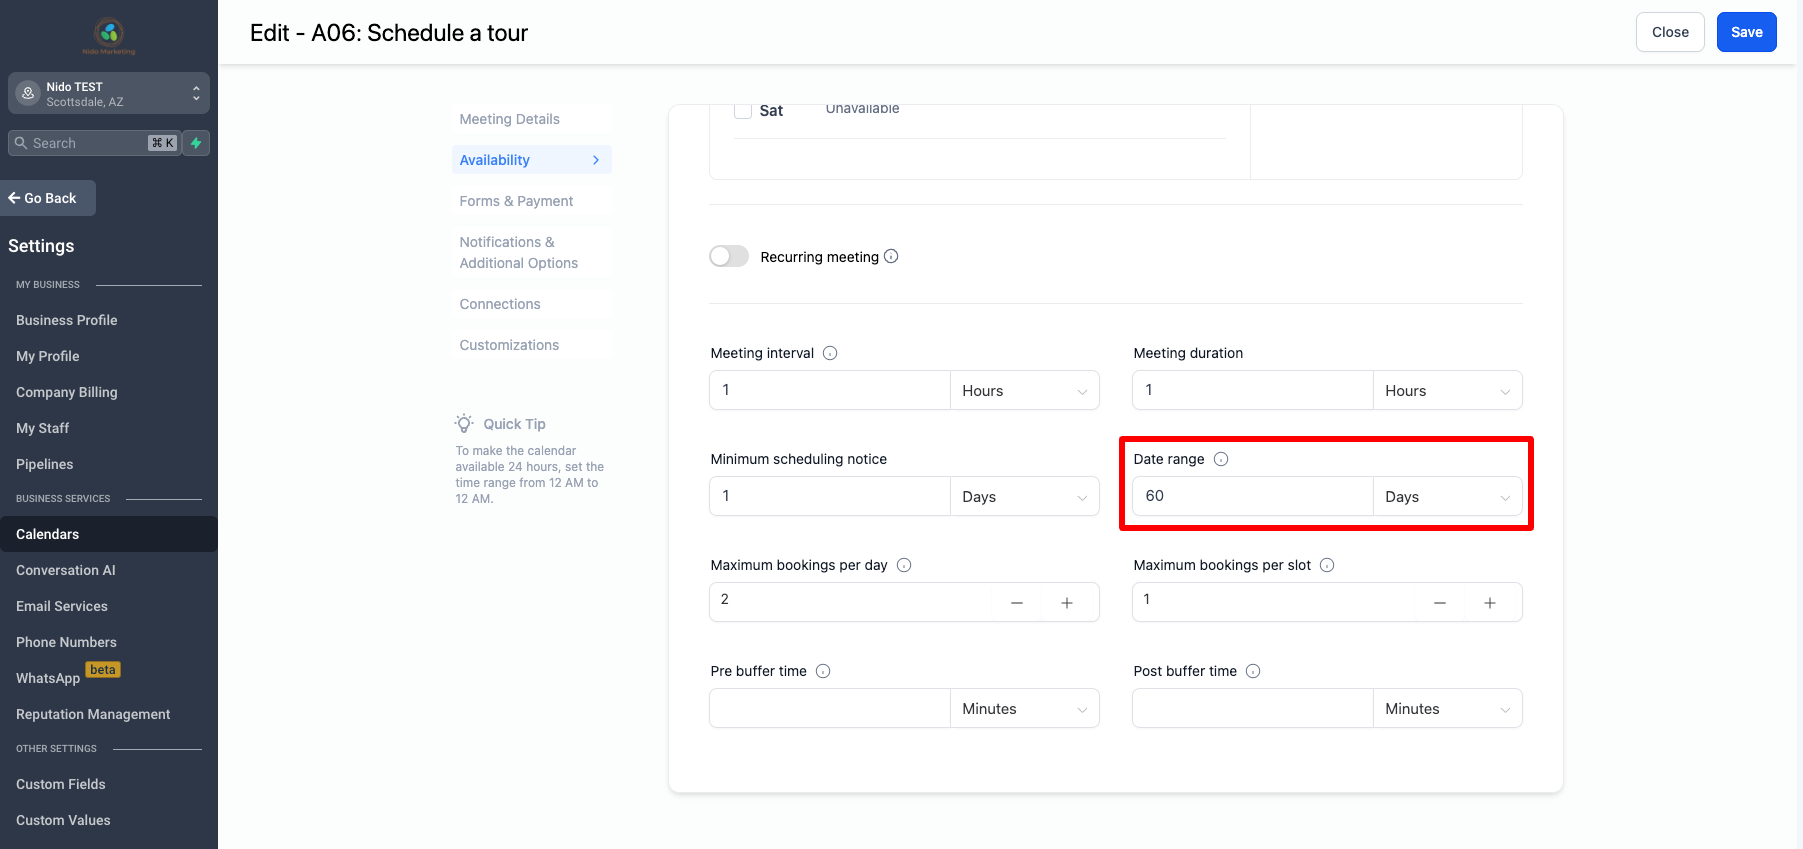
Date range is how far out you want your tour calendar to go. If it is set to 60 days that would mean that someone could schedule a tour for up to 2 months in advance.
-
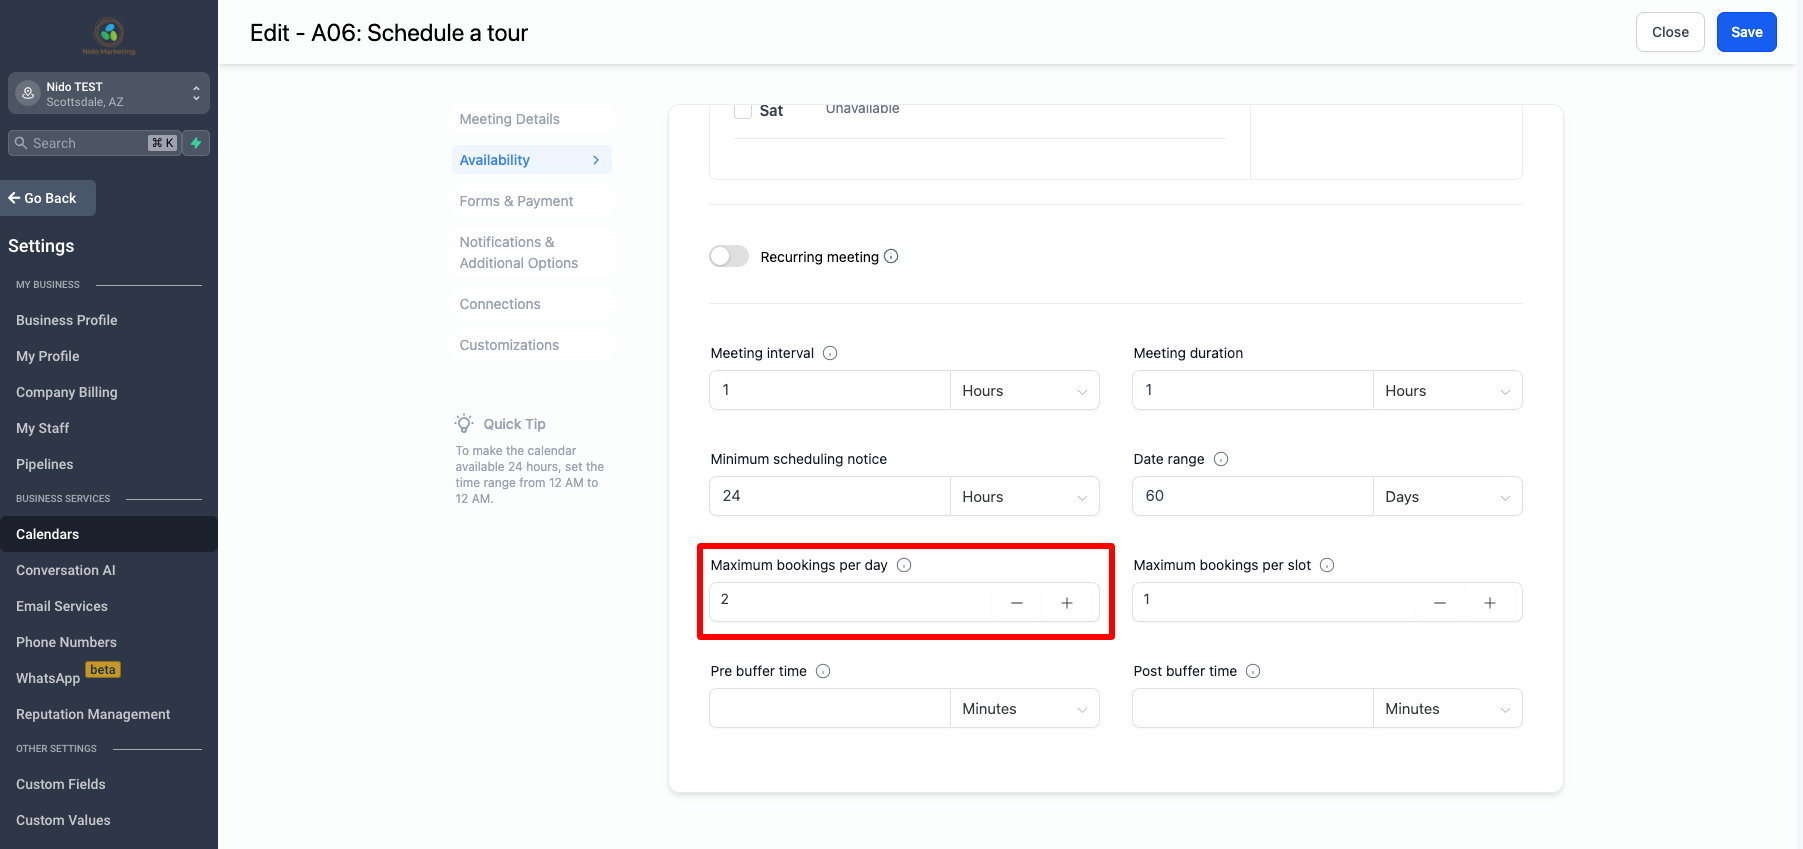
Maximum bookings per day limits the number of appointments total per day. Let's say you have a big tour window of 9am-4pm but at maximum, you want to only do 2 tours per day. The number here would be 2.
-
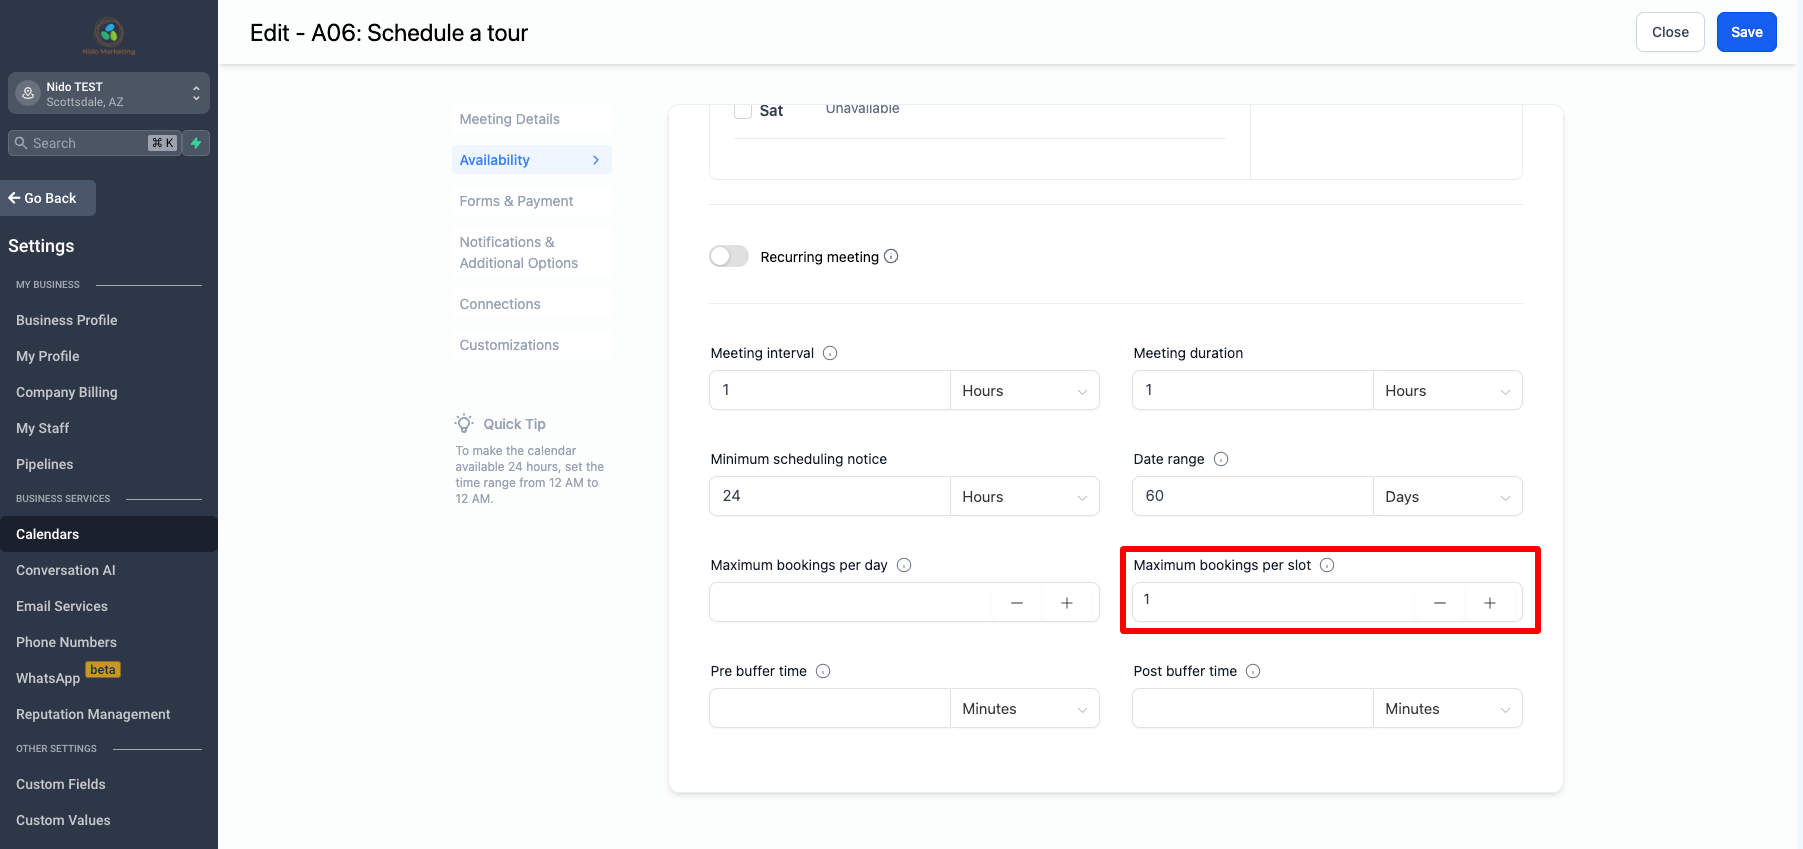
Maximum bookings per slot allow you to set how many people can schedule for any one-time slot. If you choose to do one on one tours the number would be 1 but if you are doing group tours you may have a higher number of around 3-4.
-
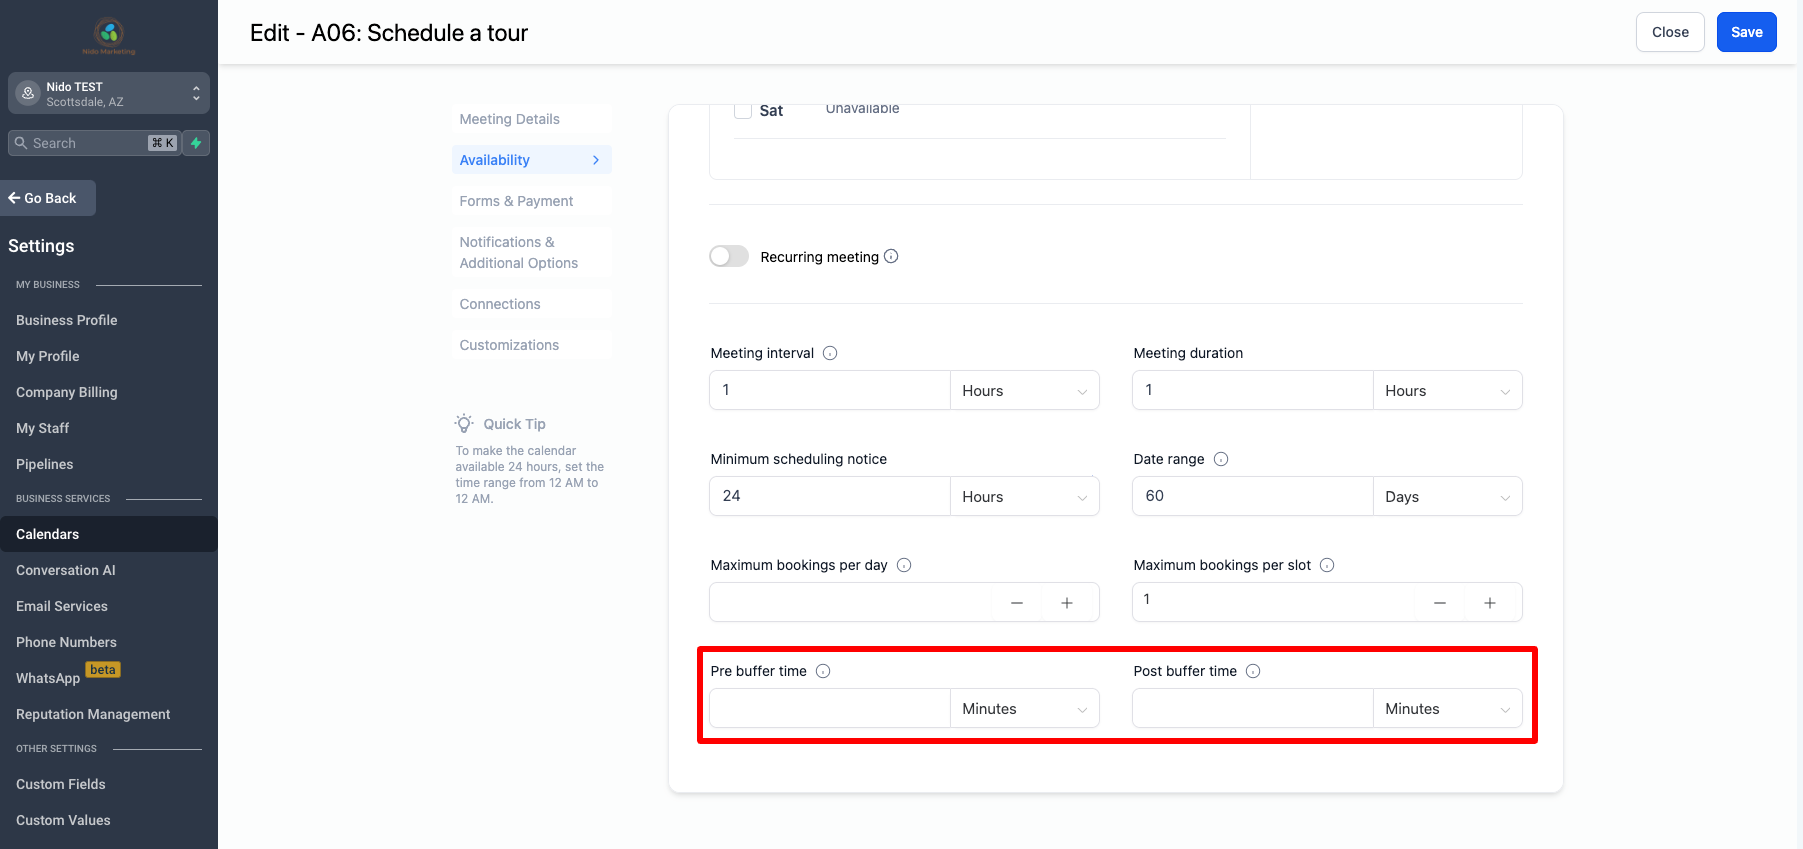
Buffer time is additional time before or after the time slot that you can schedule. You can choose to have this or not.
-
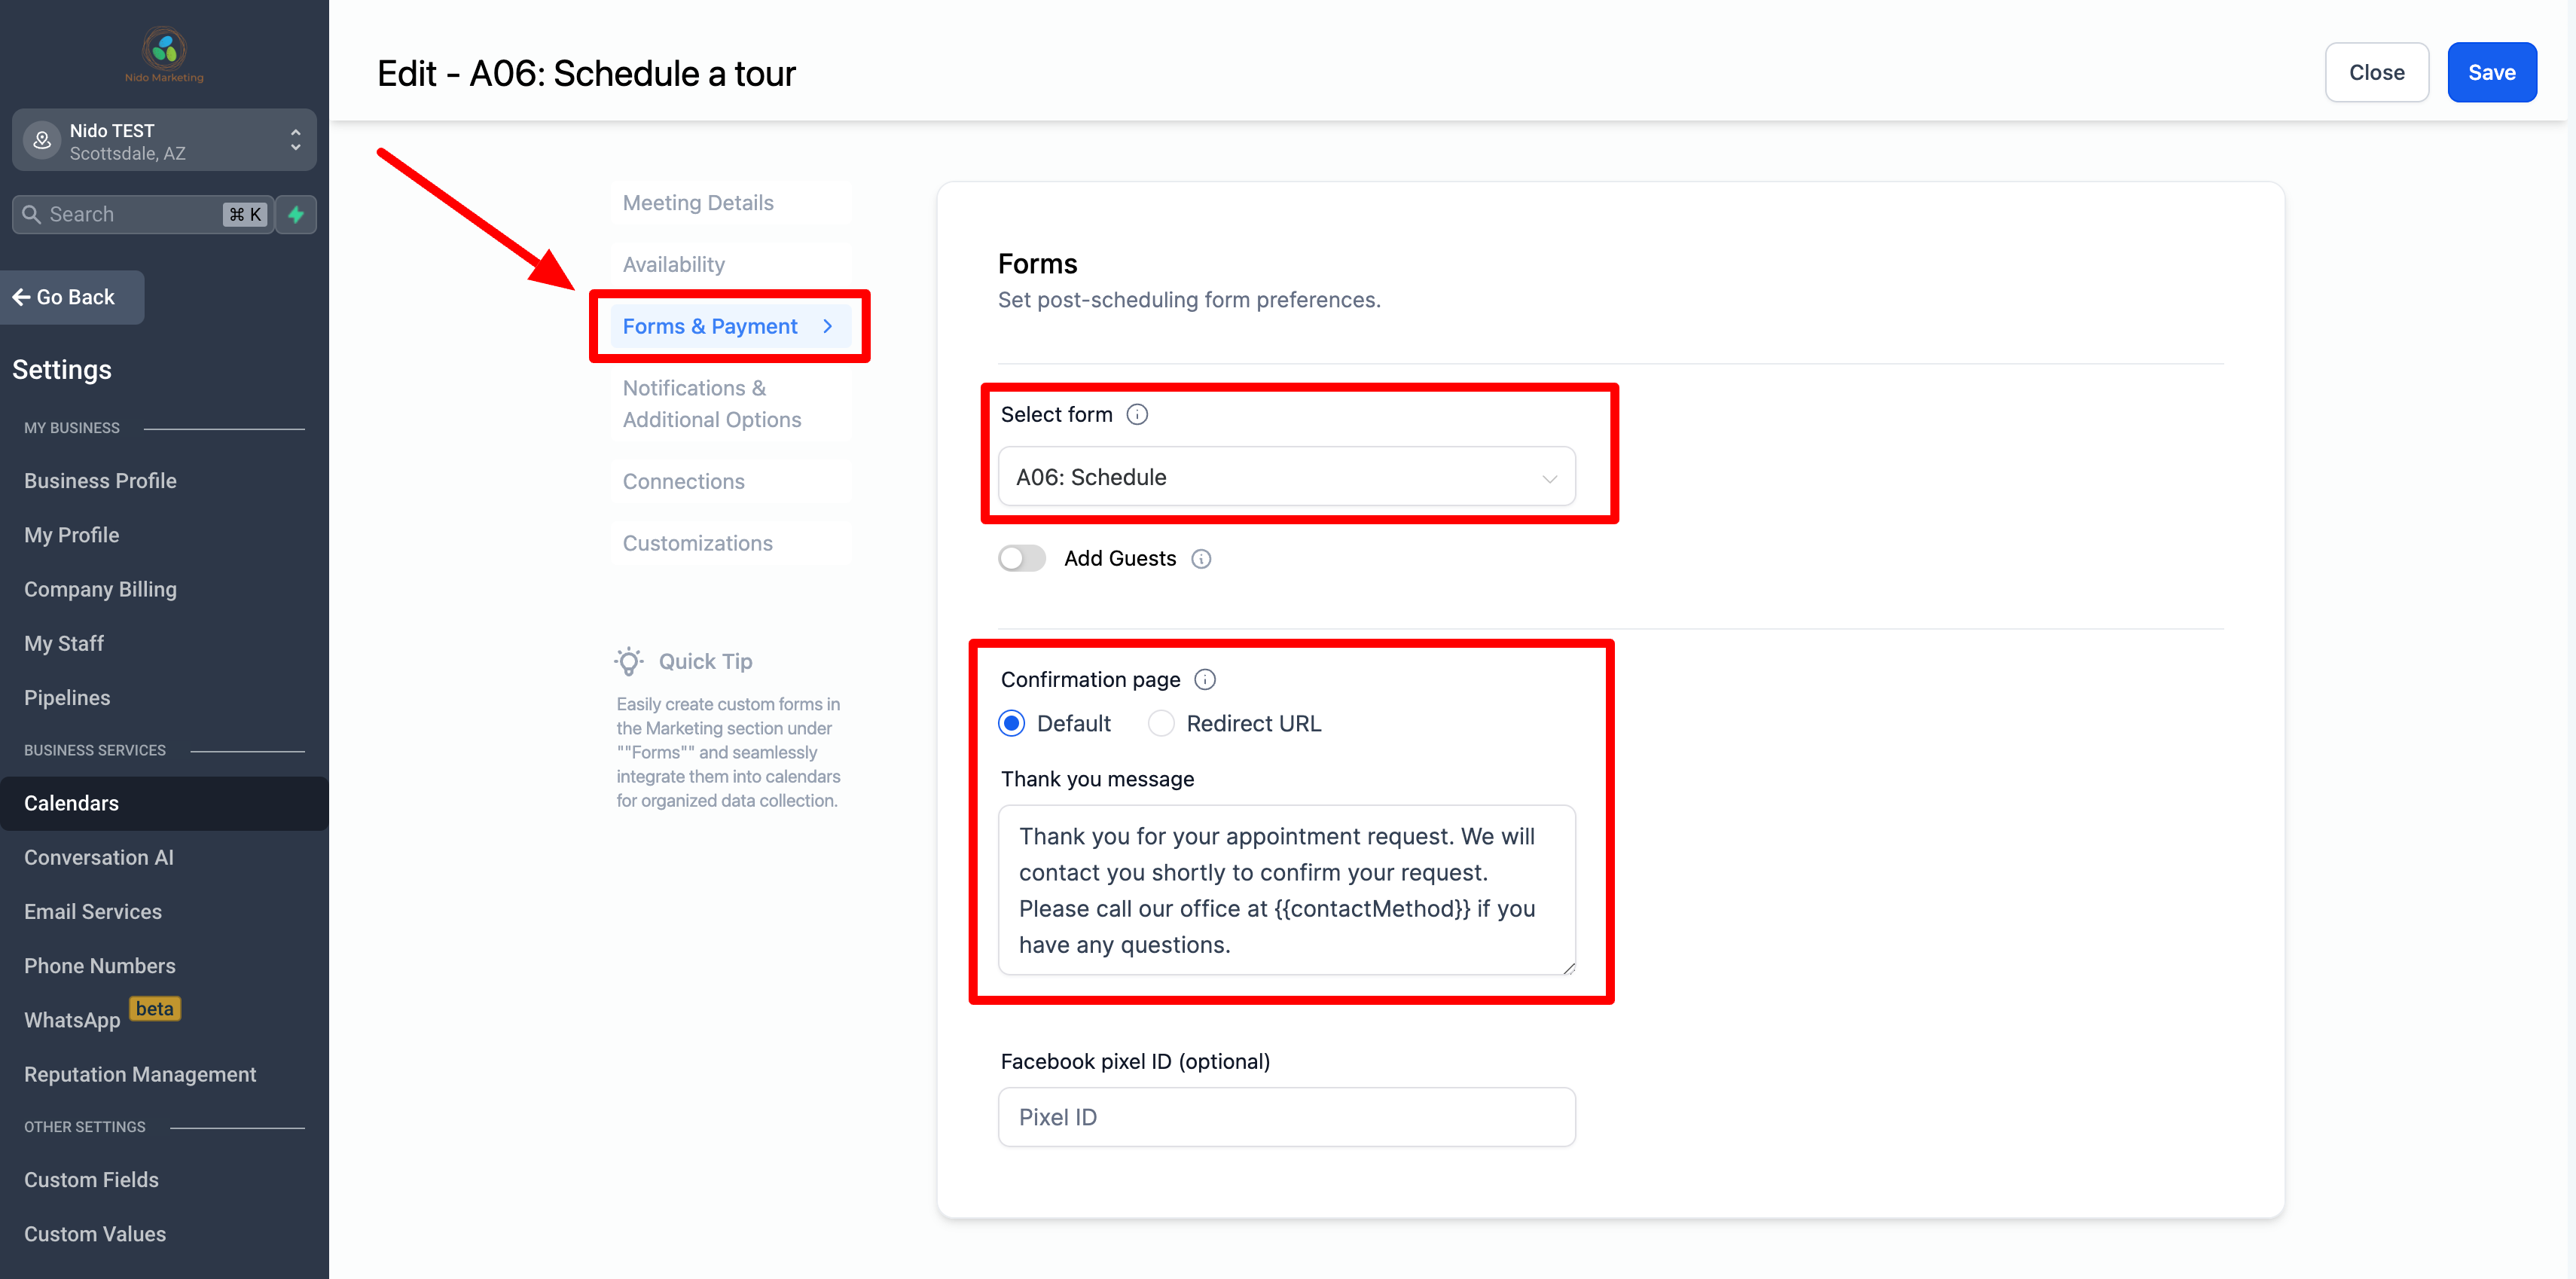
On the left-hand side click on Forms and Payment. The form selection should be set to Schedule a Tour and be sure that confirmation page is set to default. Feel free to customize that thank you message how you would like.
-
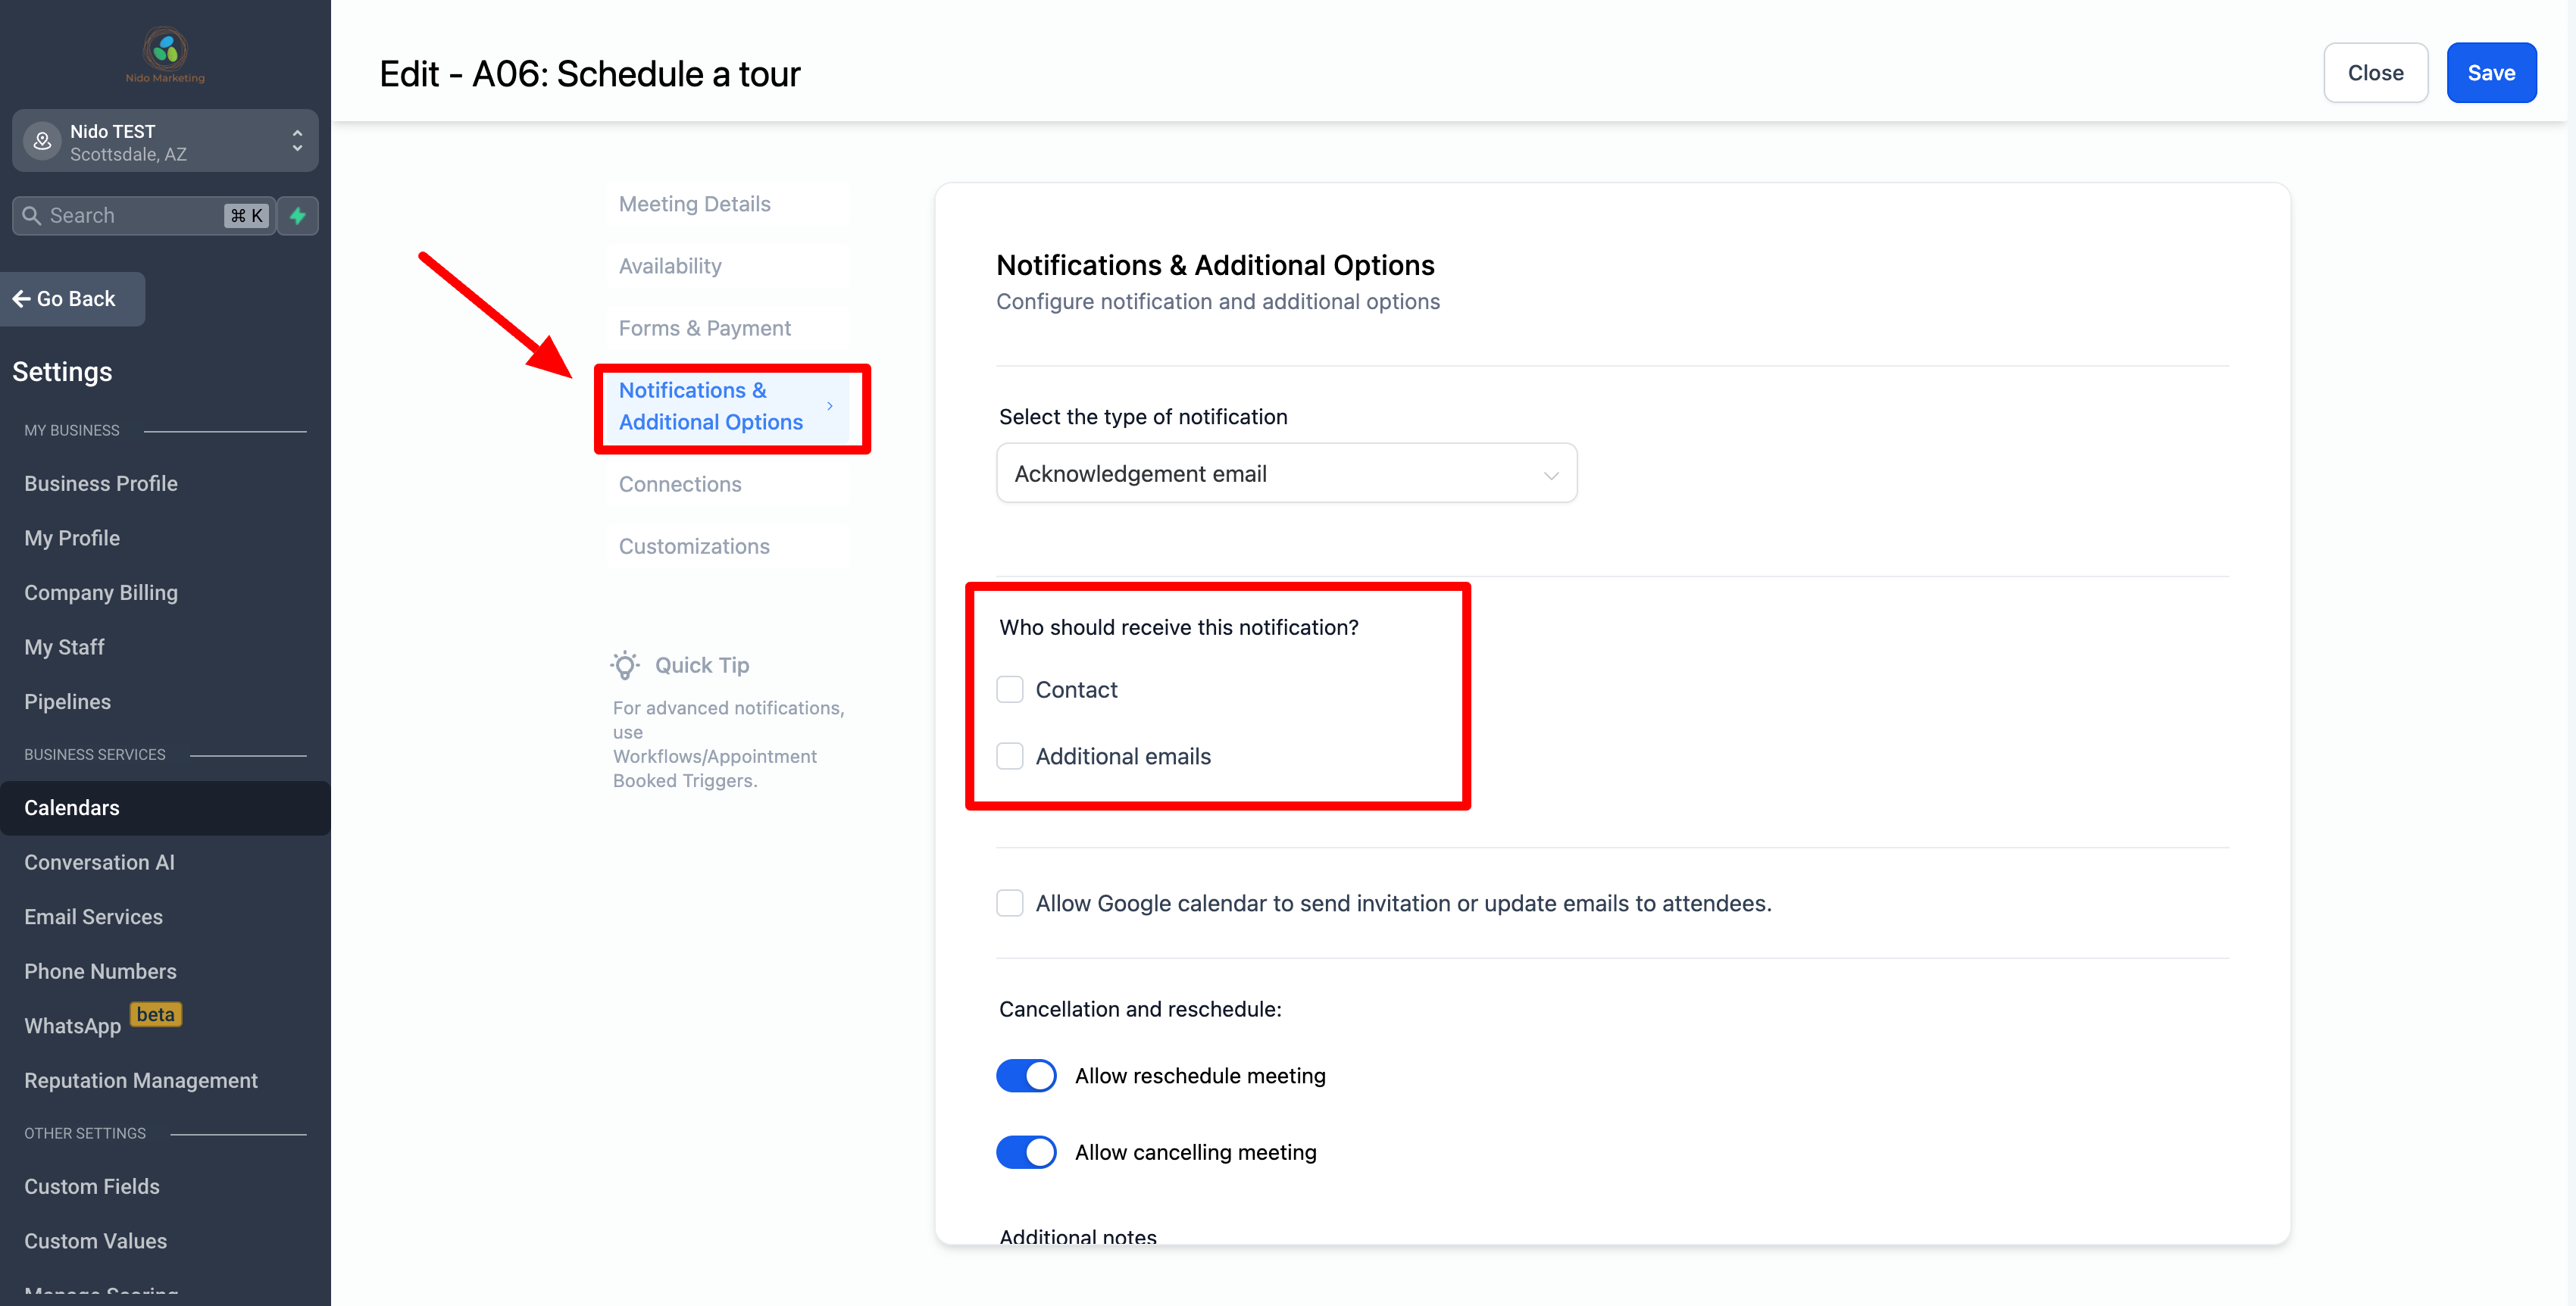
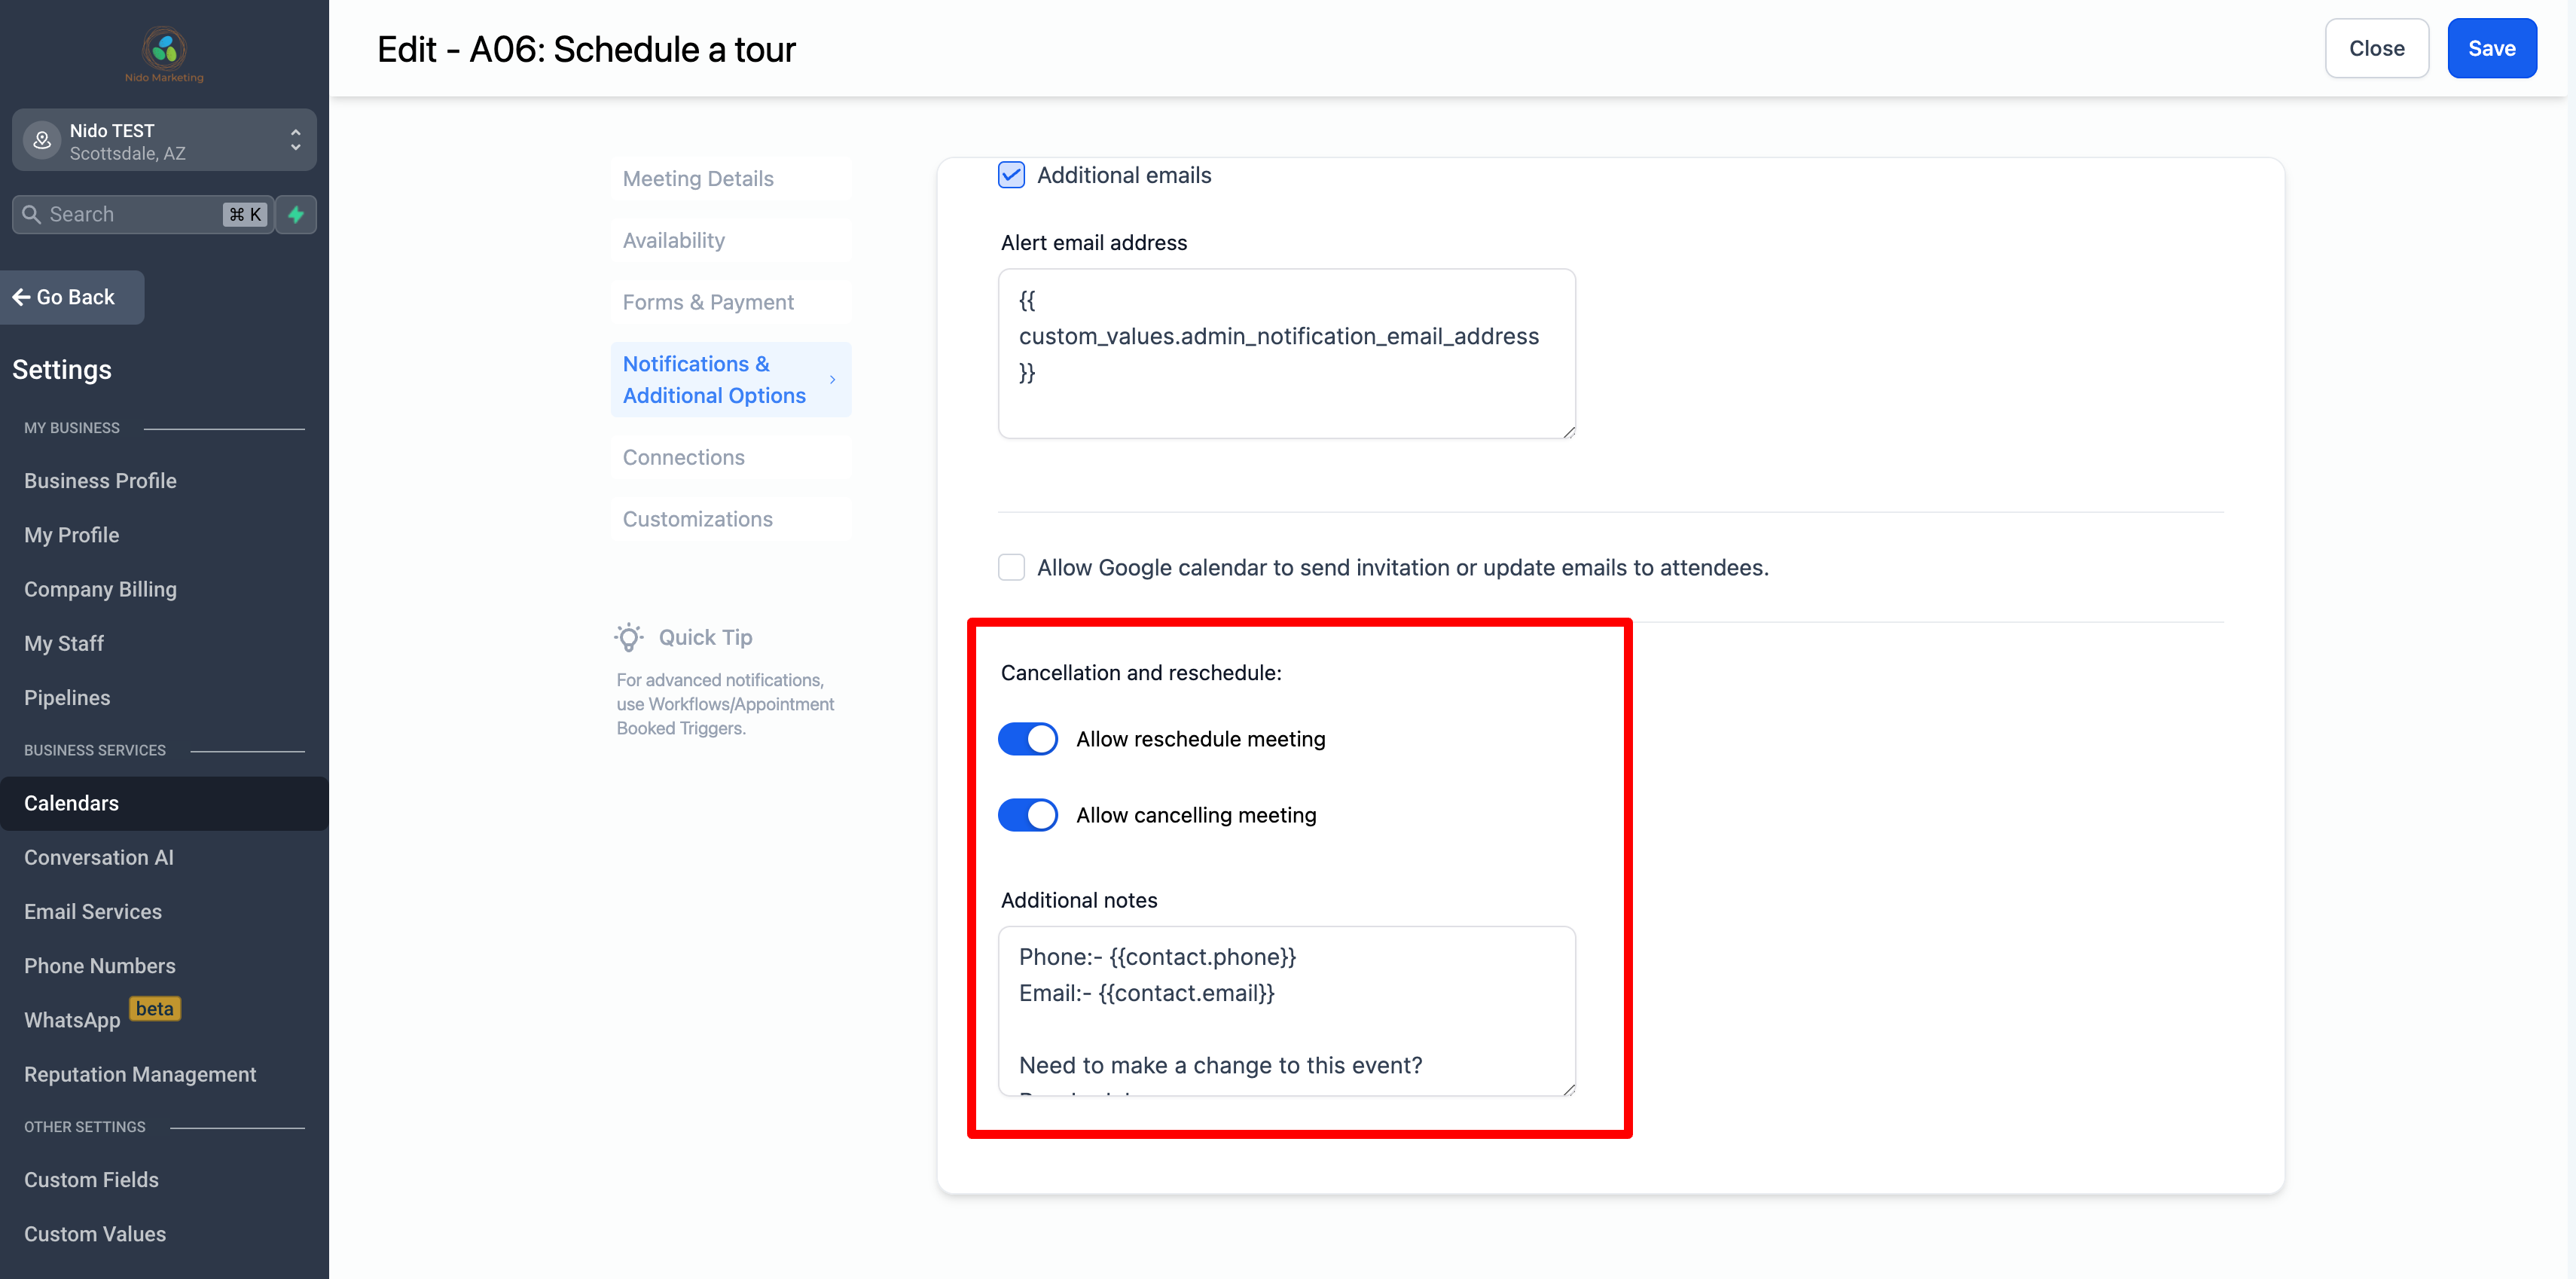
Please click on the notifications and additional options section on the left-hand side. Be sure that under the question Who should receive this notification, none of the boxes have checkmarks. We will set up the notifications later in another section of the CRM.
-
Go to the cancellation and reschedule section and be sure that the toggle is on for allowing both. The additional notes are what will show up in the Google Calendar event for easy access. Feel free to customize that if you would like.
-
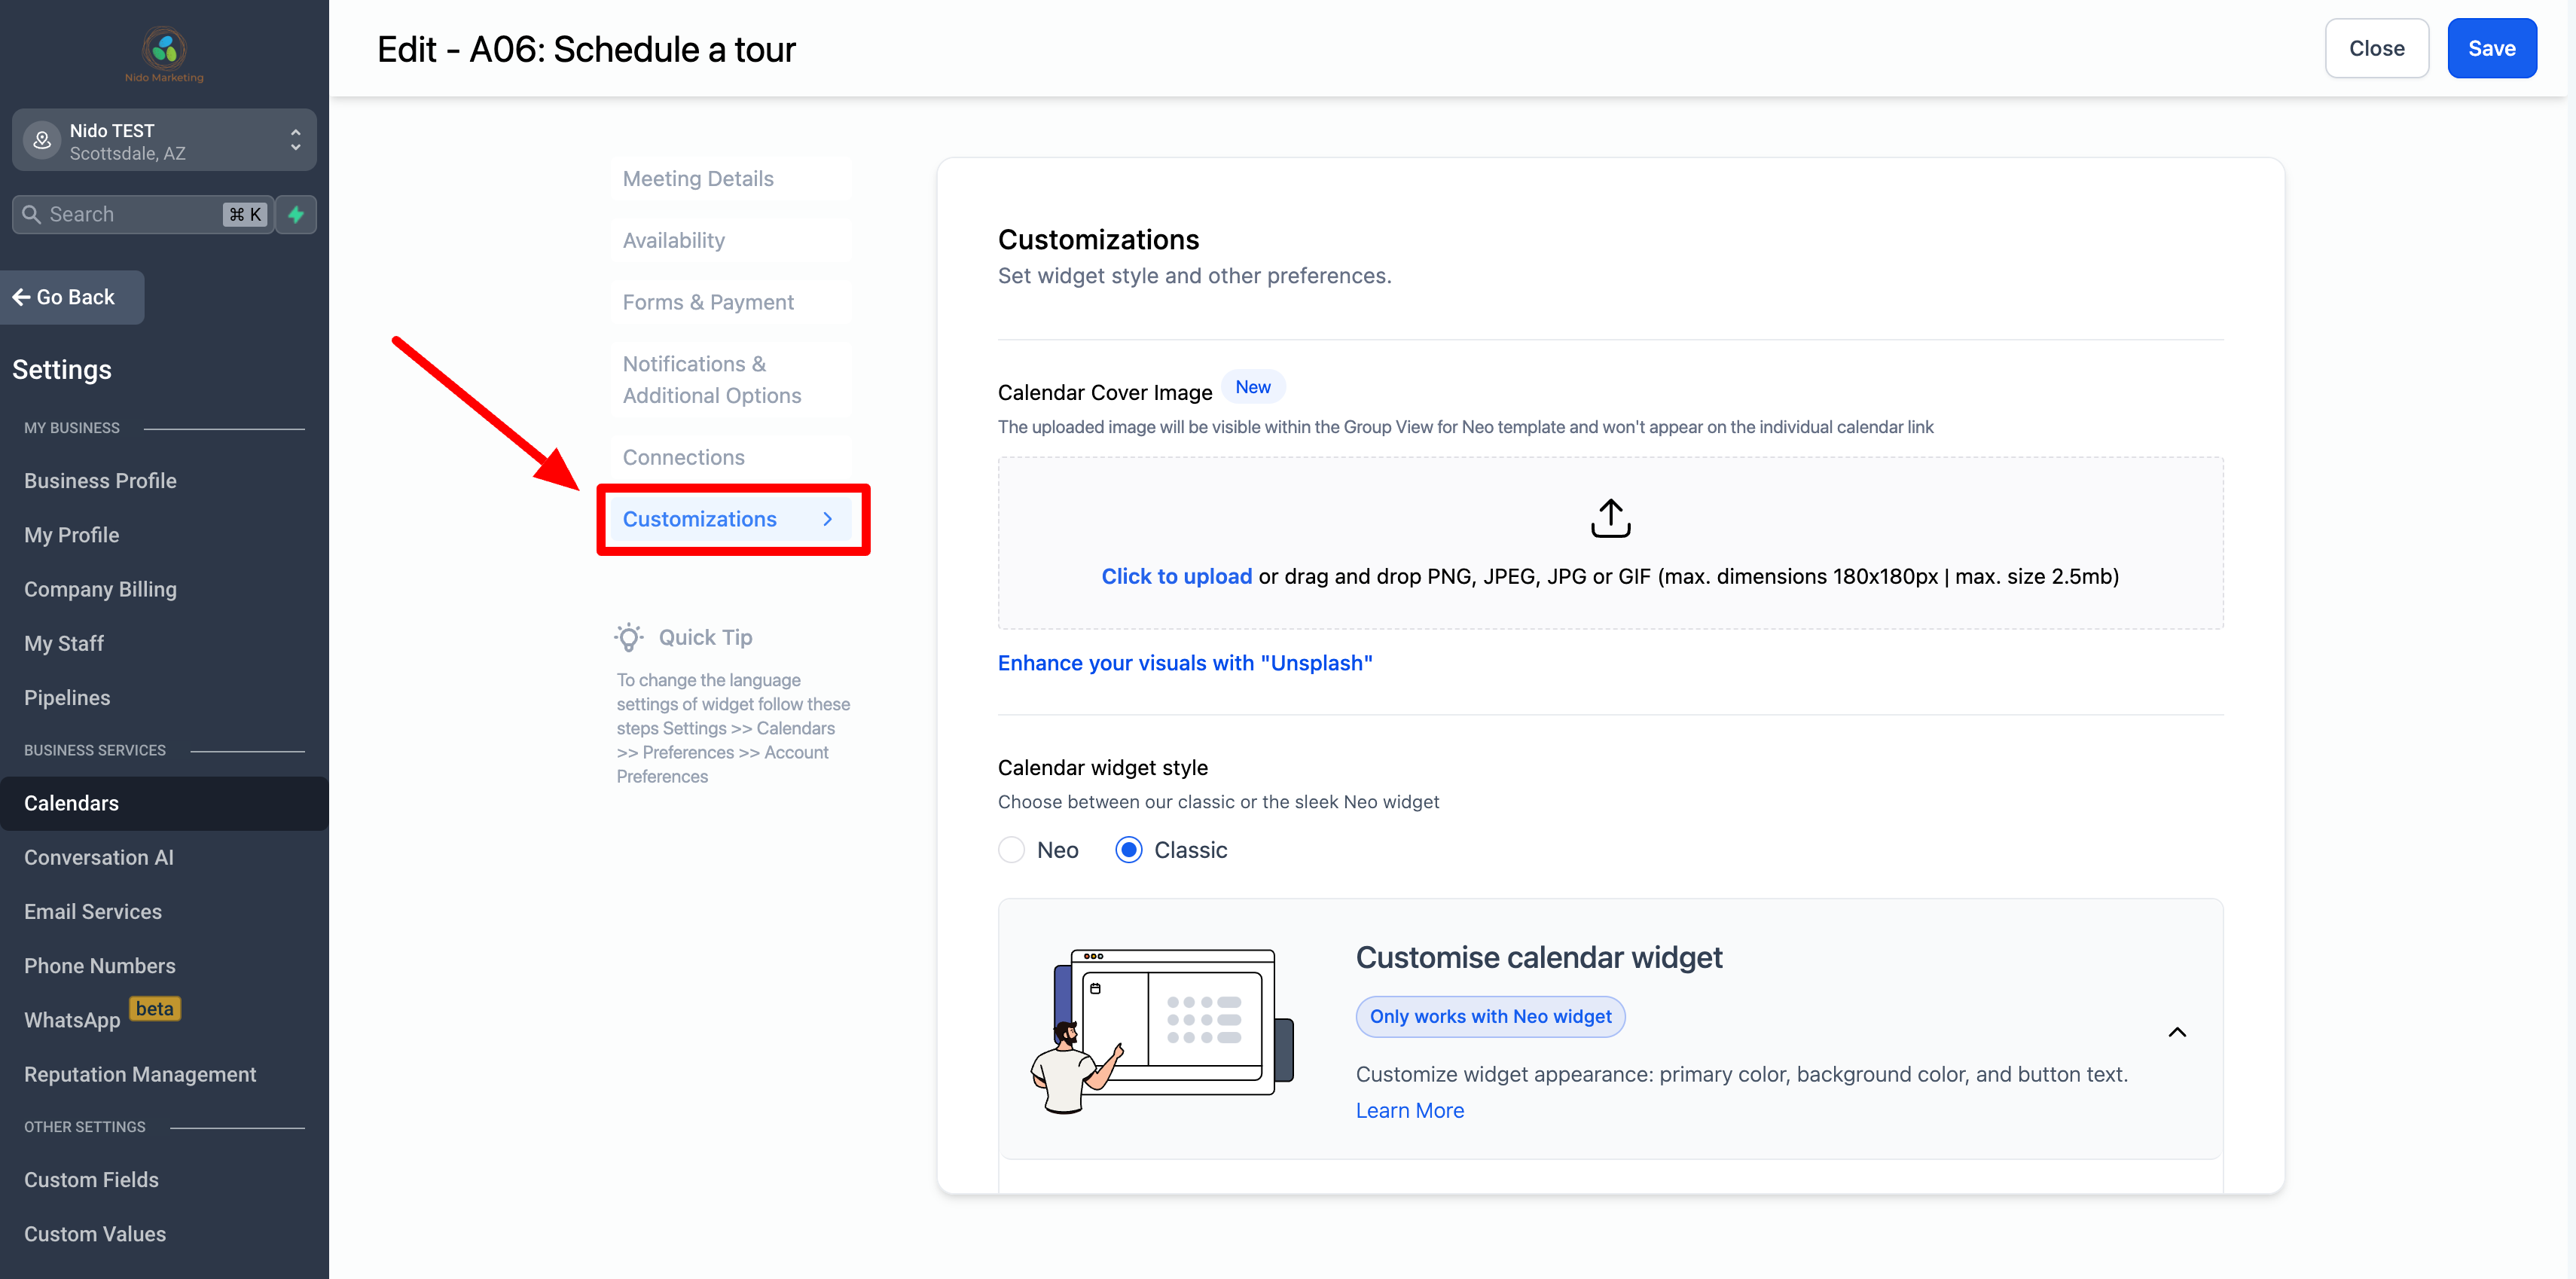
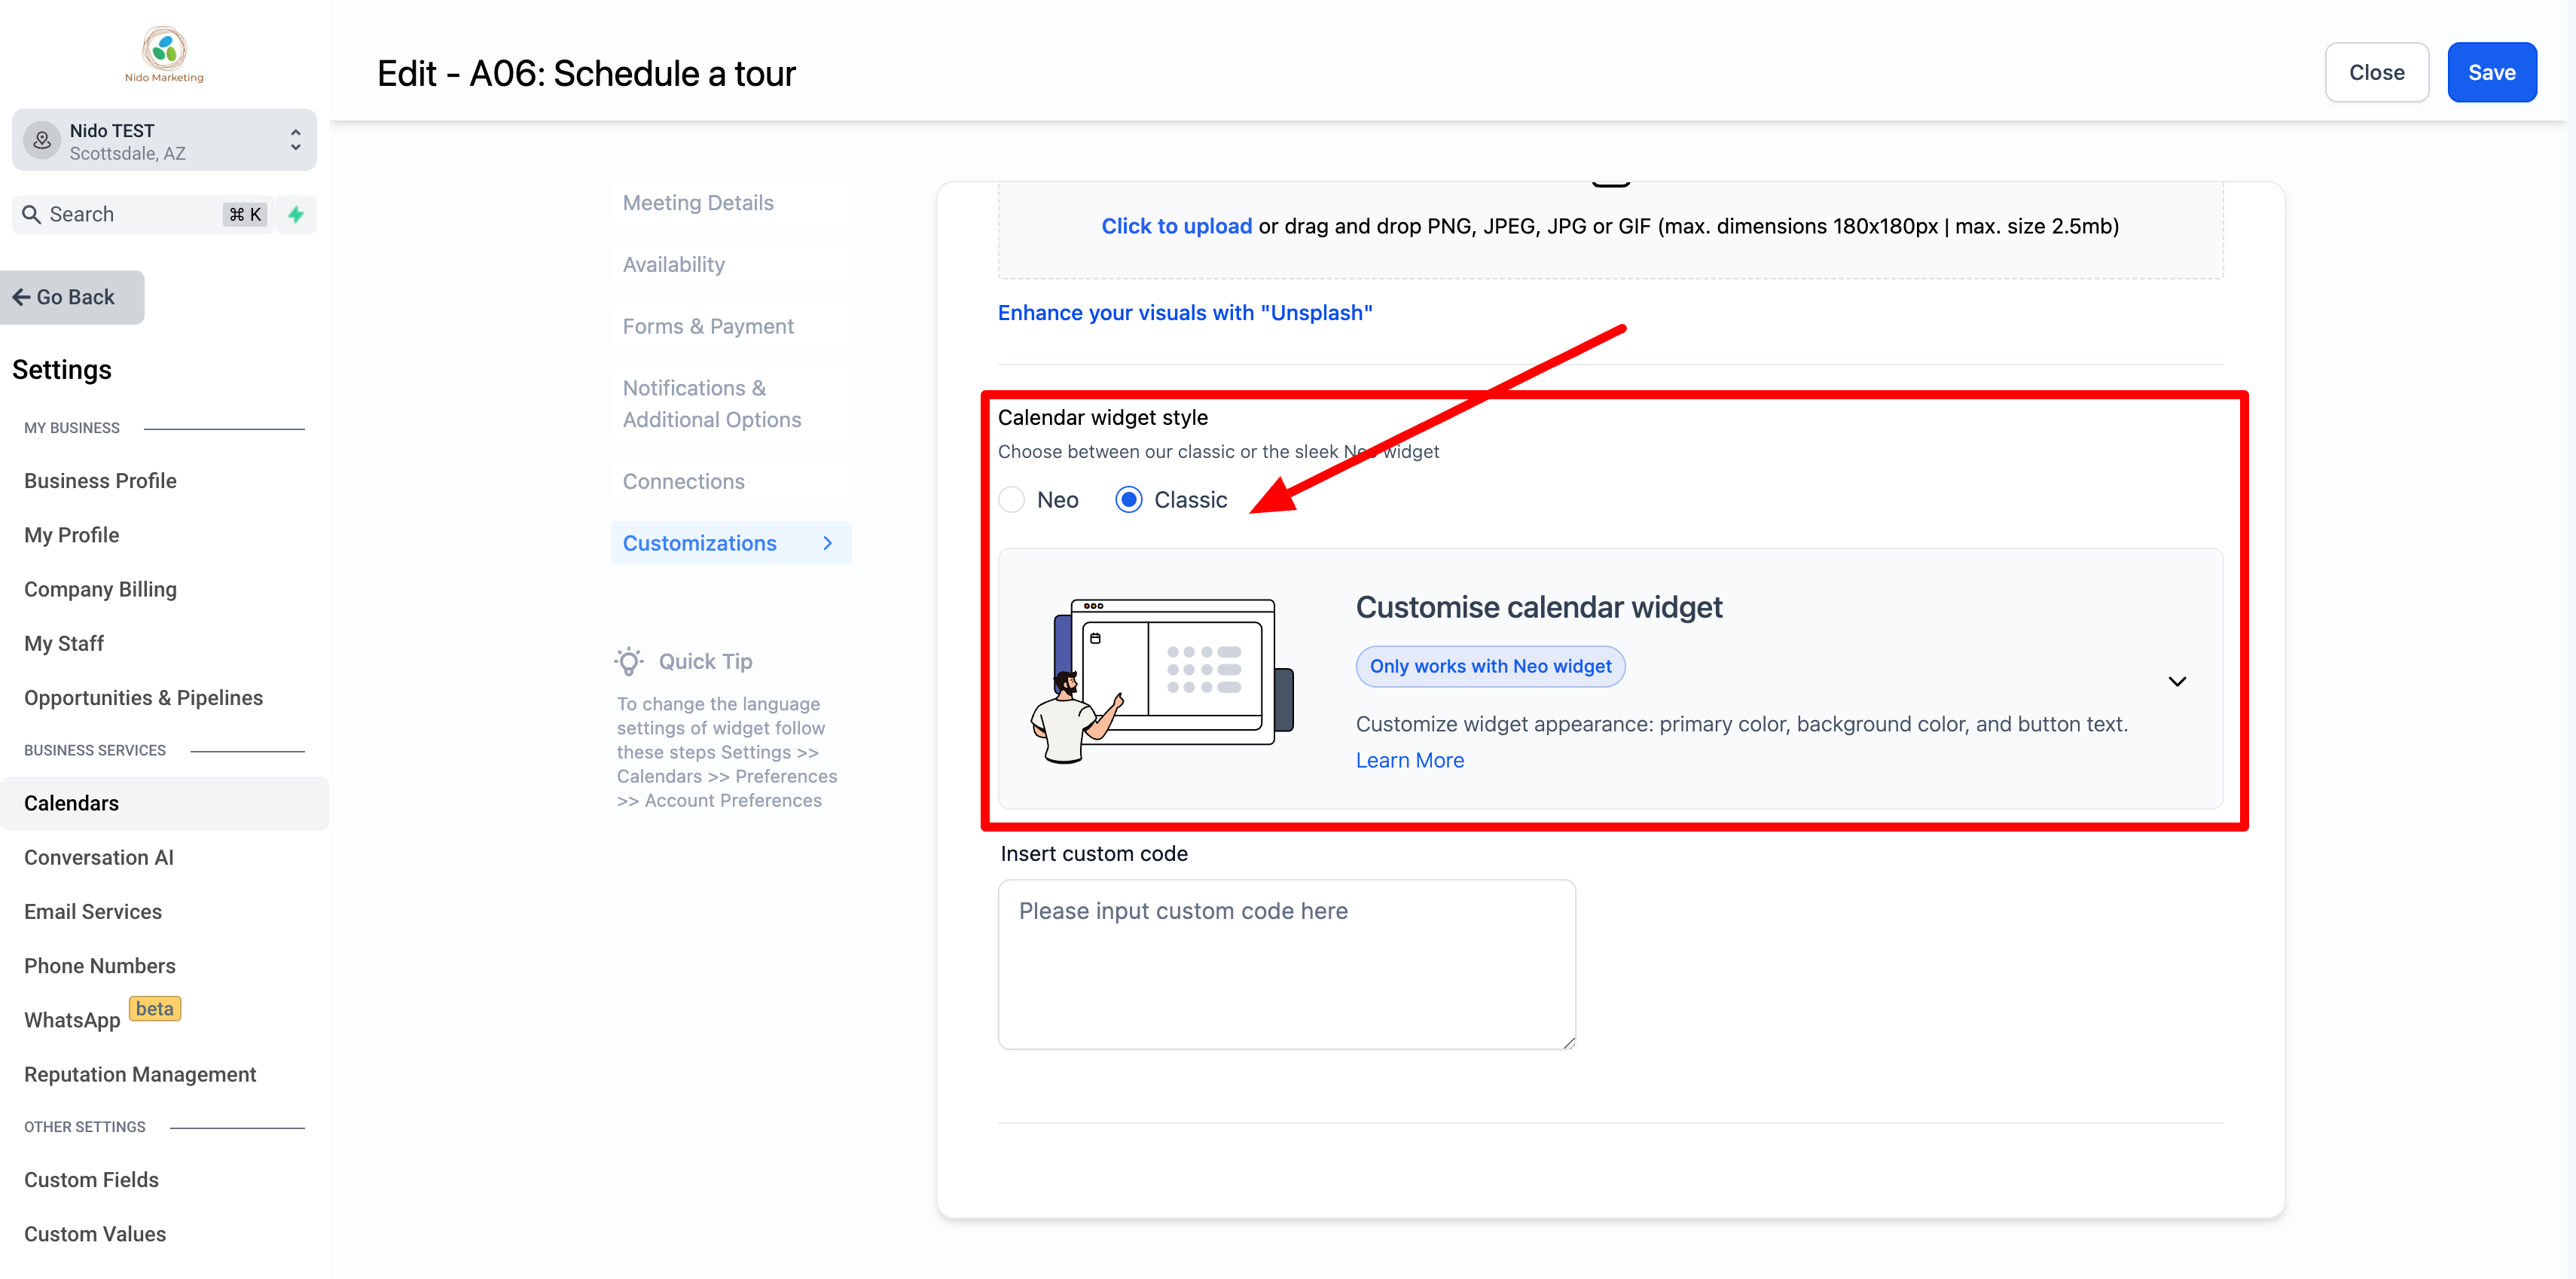
On the left hand side select customizations. This is where you will be able to customize what the scheduler looks like on your website.
-
Feel free to upload a cover image if you would like. A school logo would be an idea here.
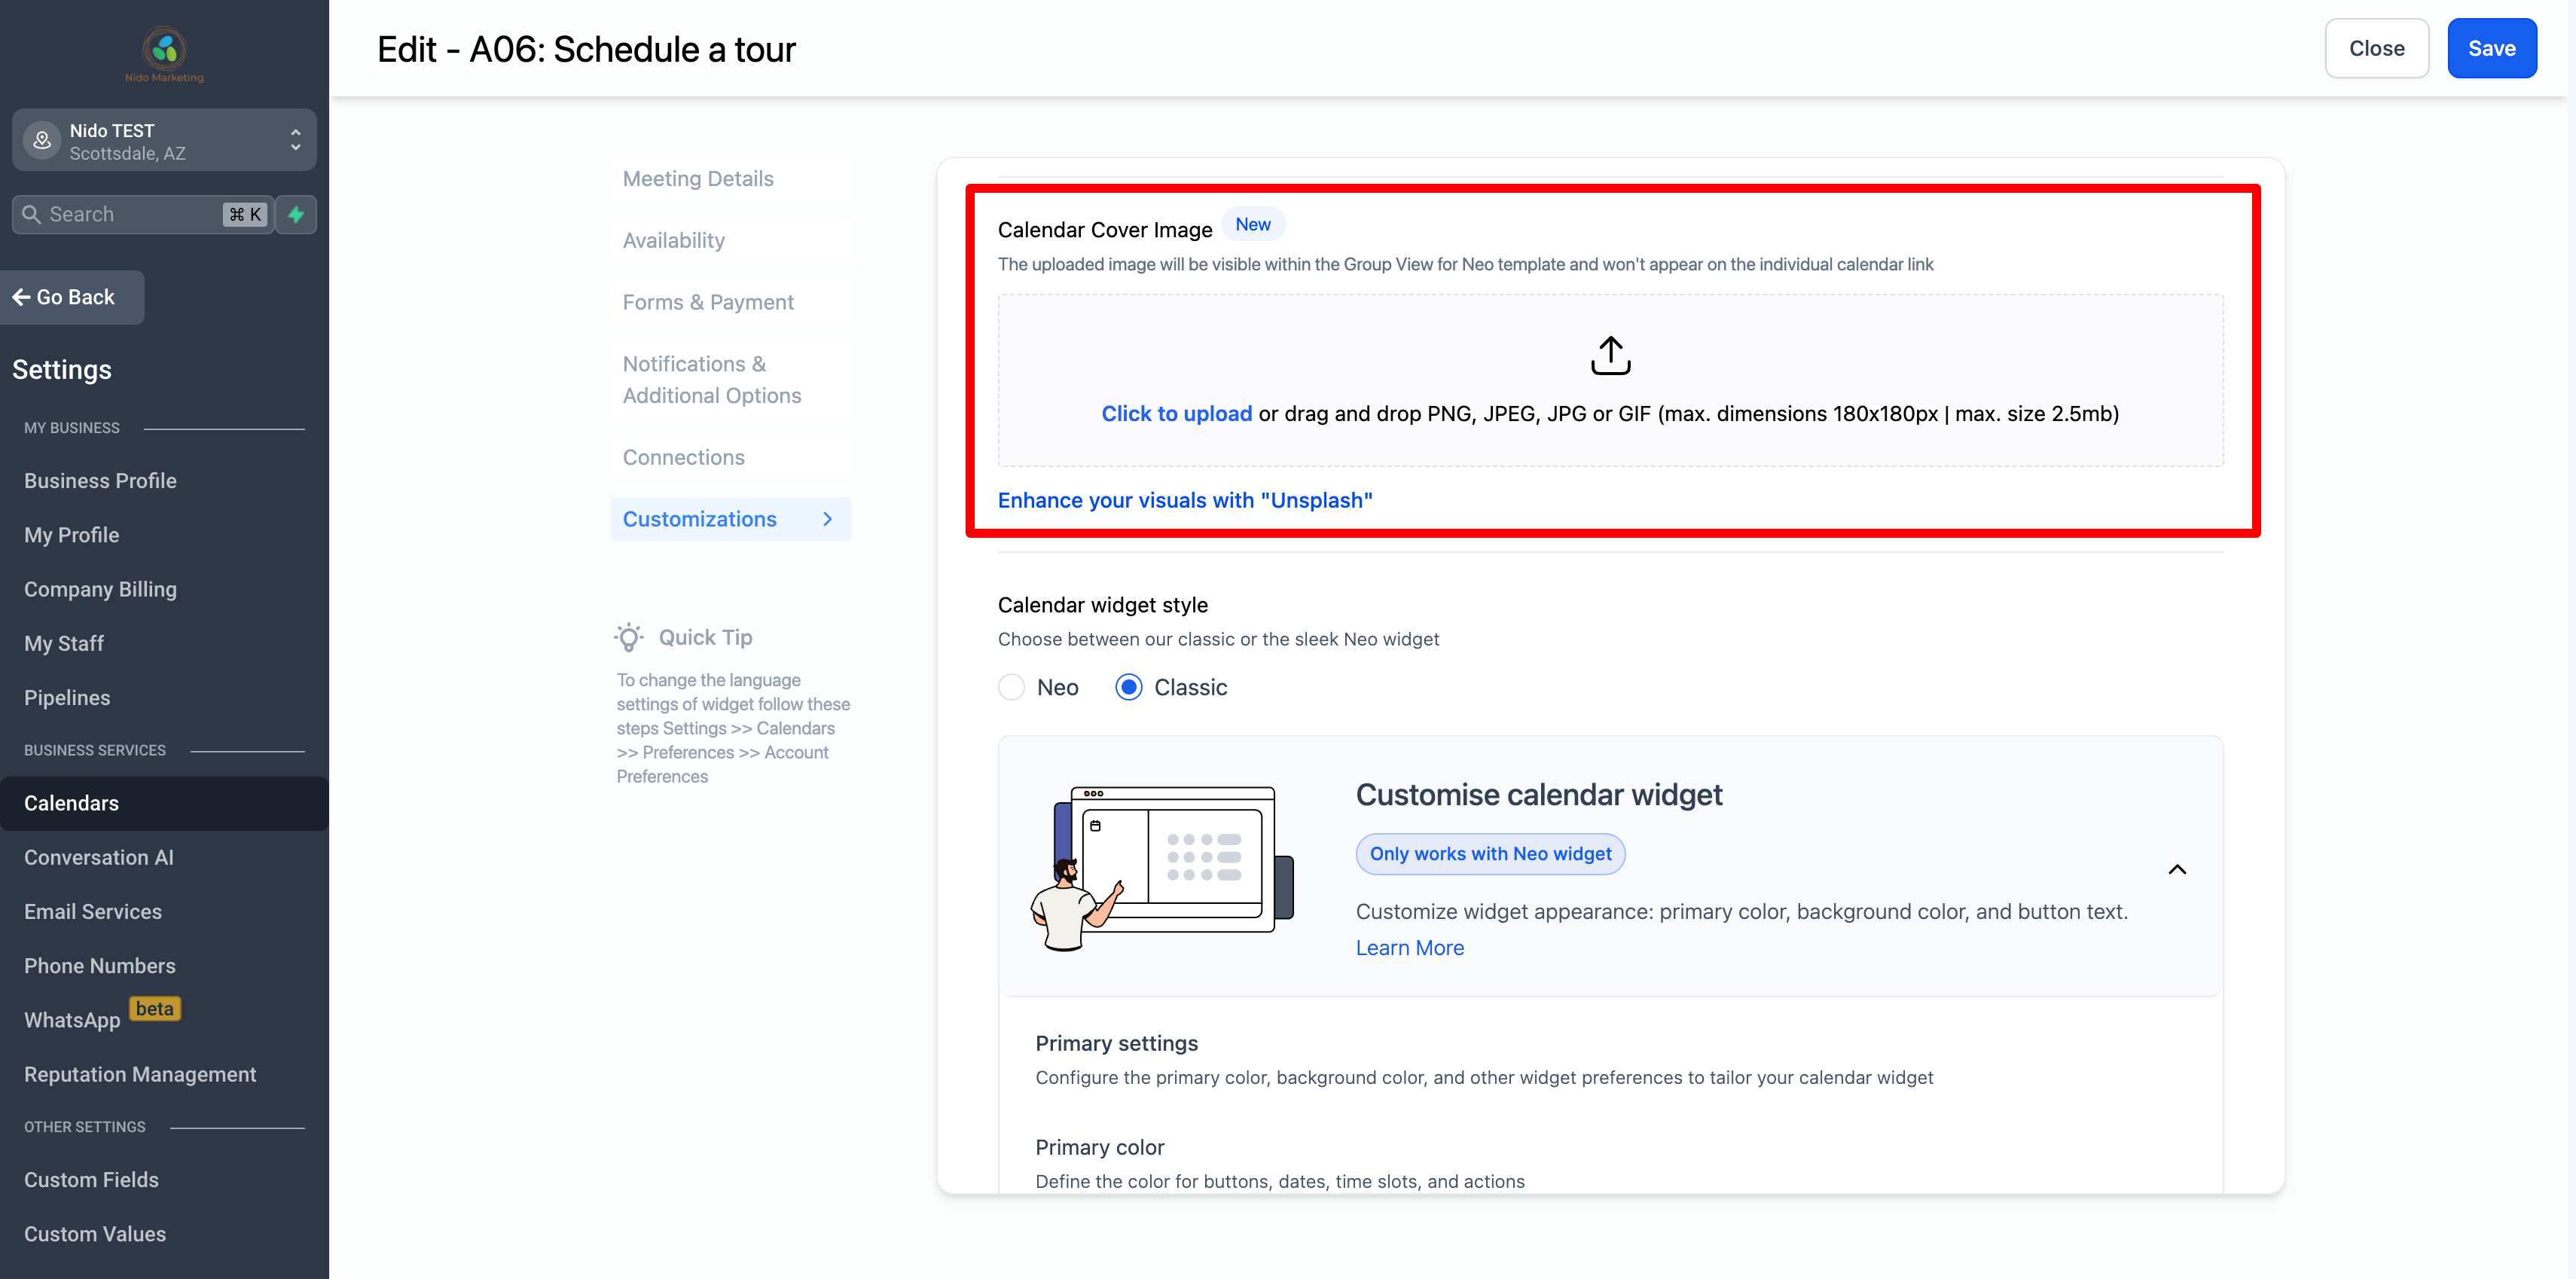
-
Be sure you have the classic style selected
-
Once you are finished be sure you save what you've done but clicking the save button in the top right-hand corner
Customize your signup form
-
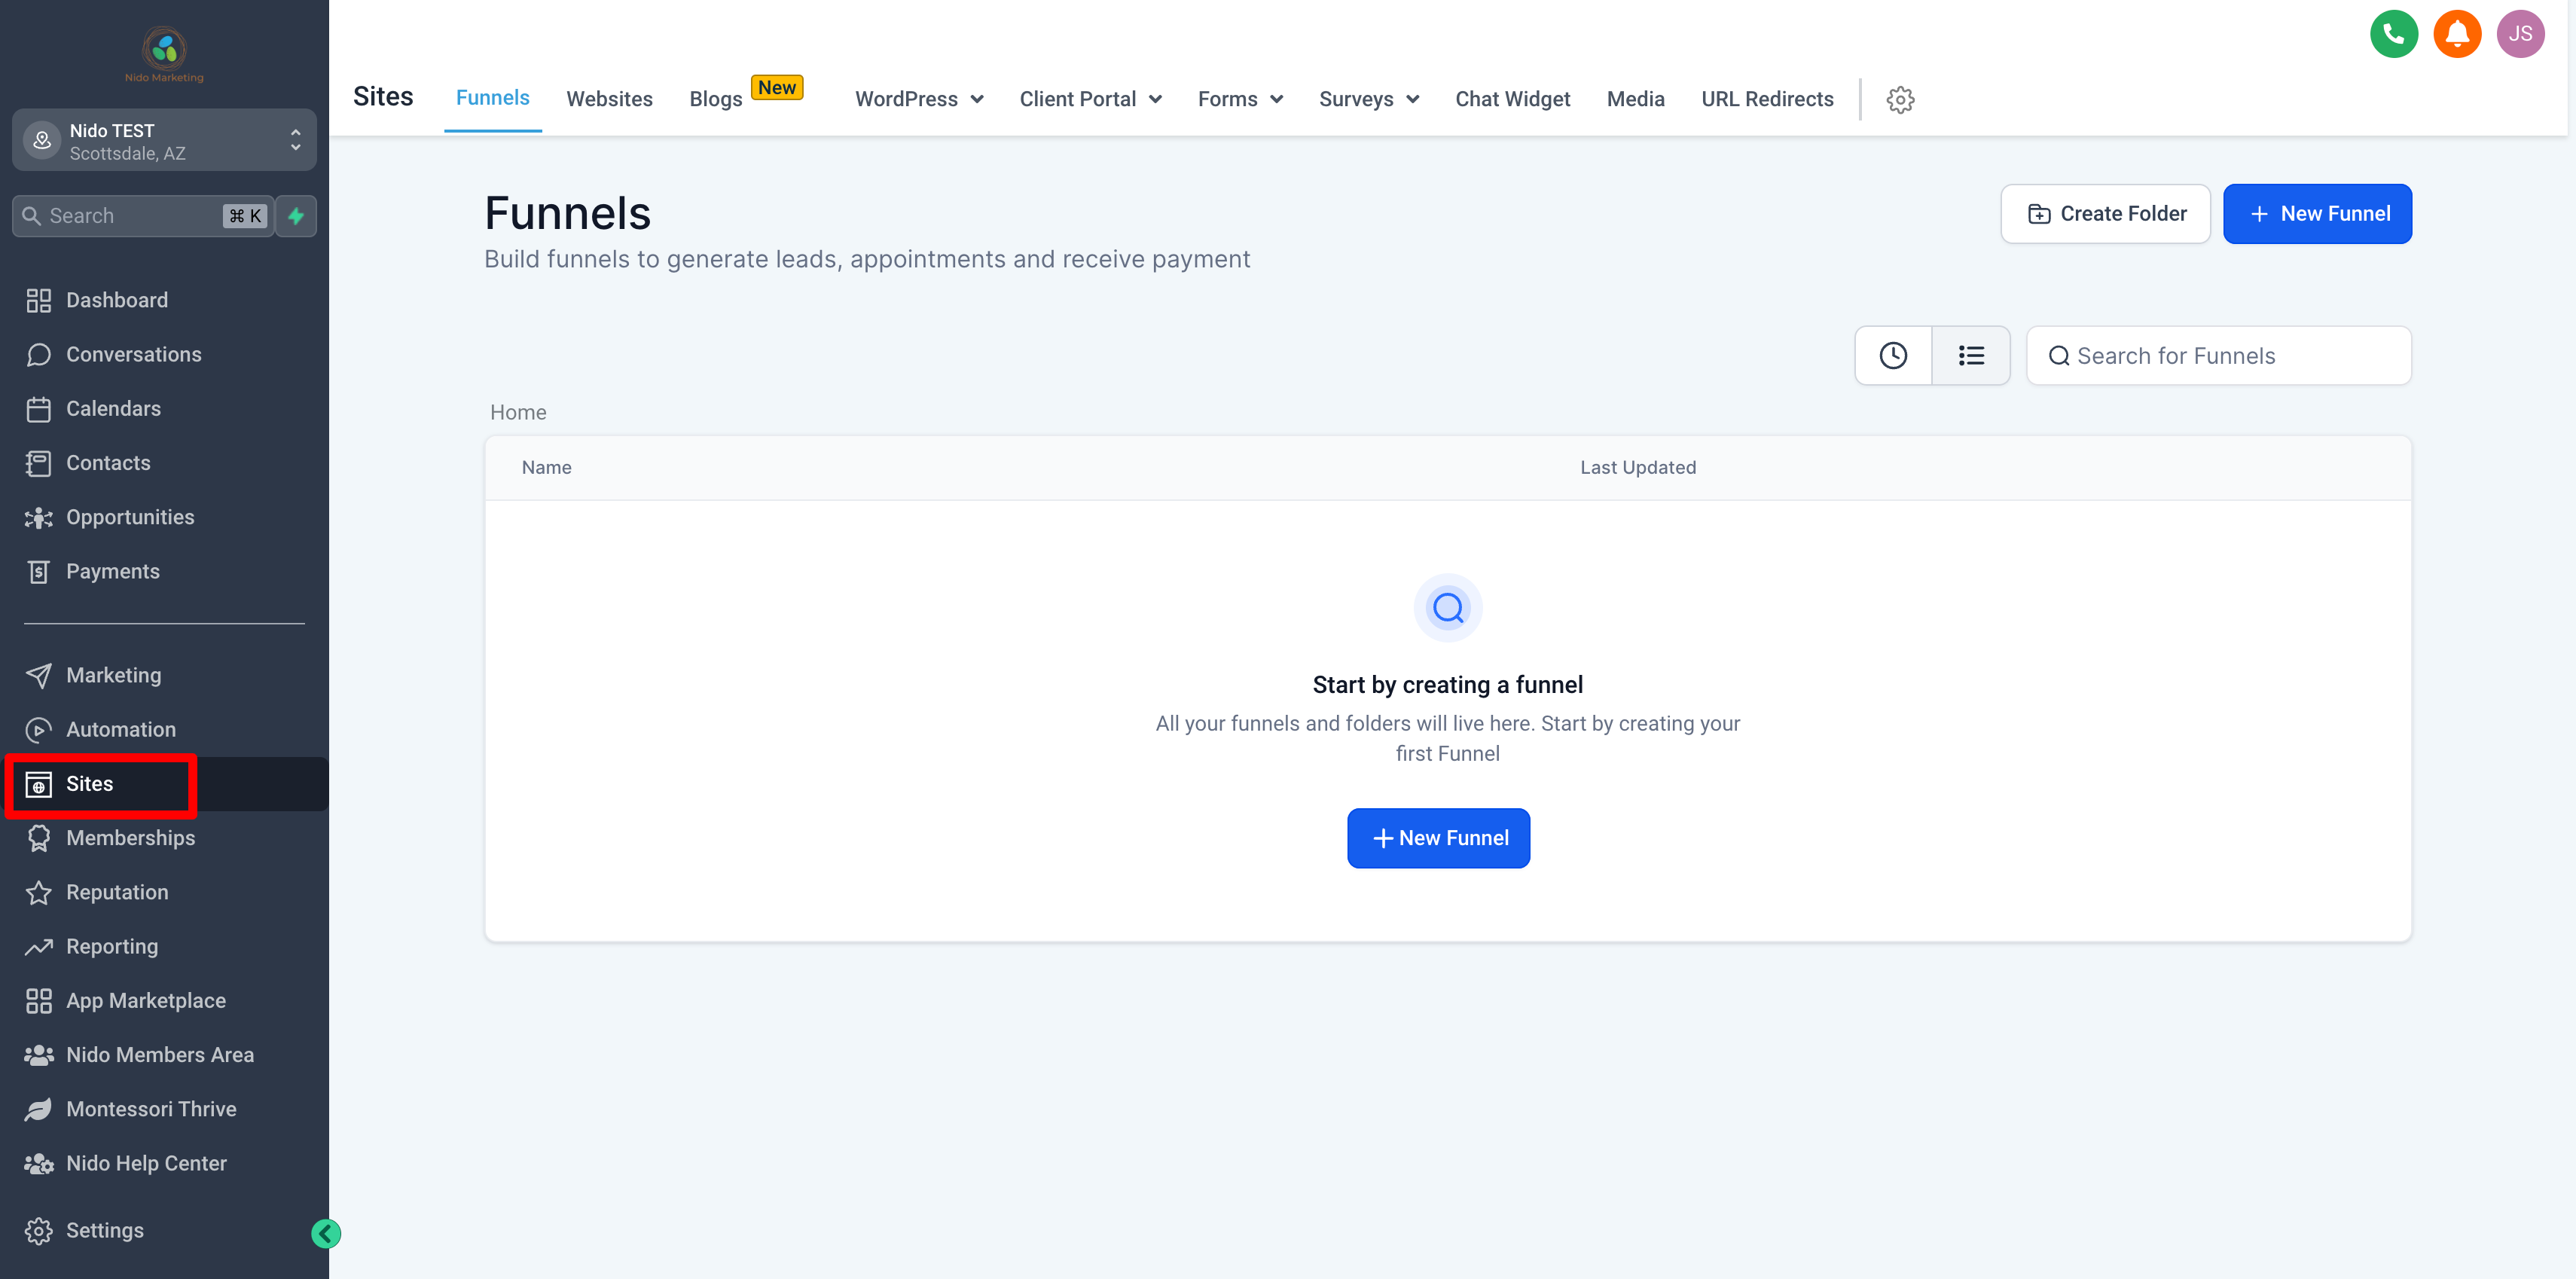
This is the form that comes up after the parent has picked a time and date for the tour. On the right-hand side select sites.
-
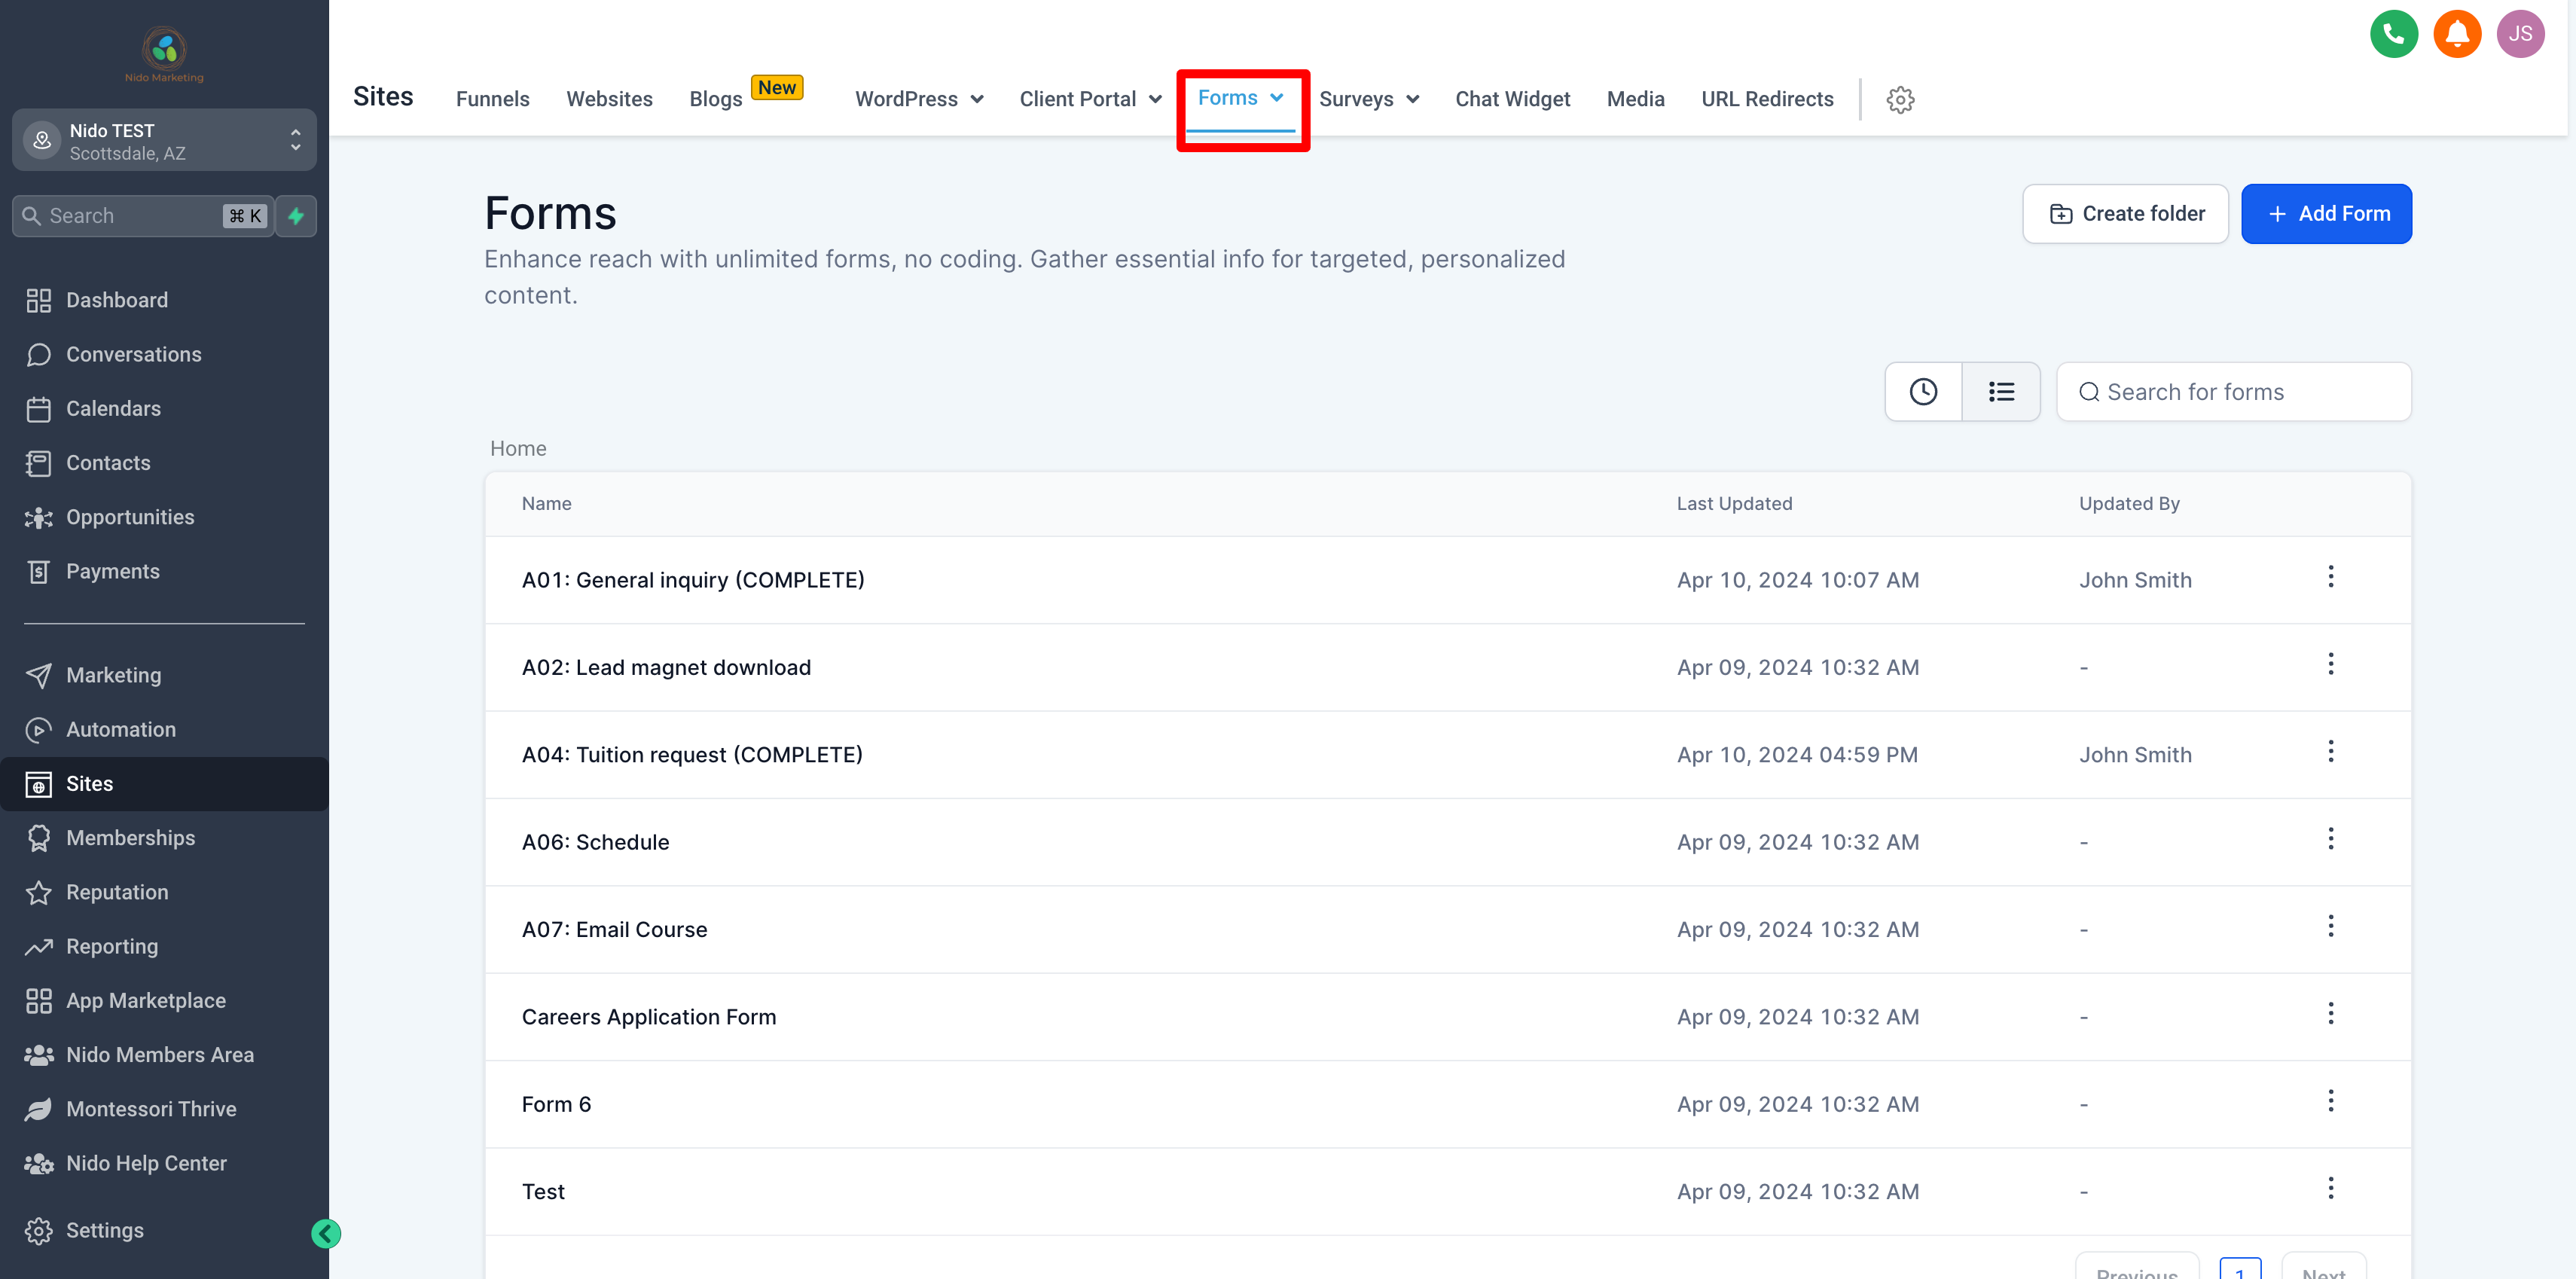
On the top navigation select forms and click builder from the drop-down menu
-
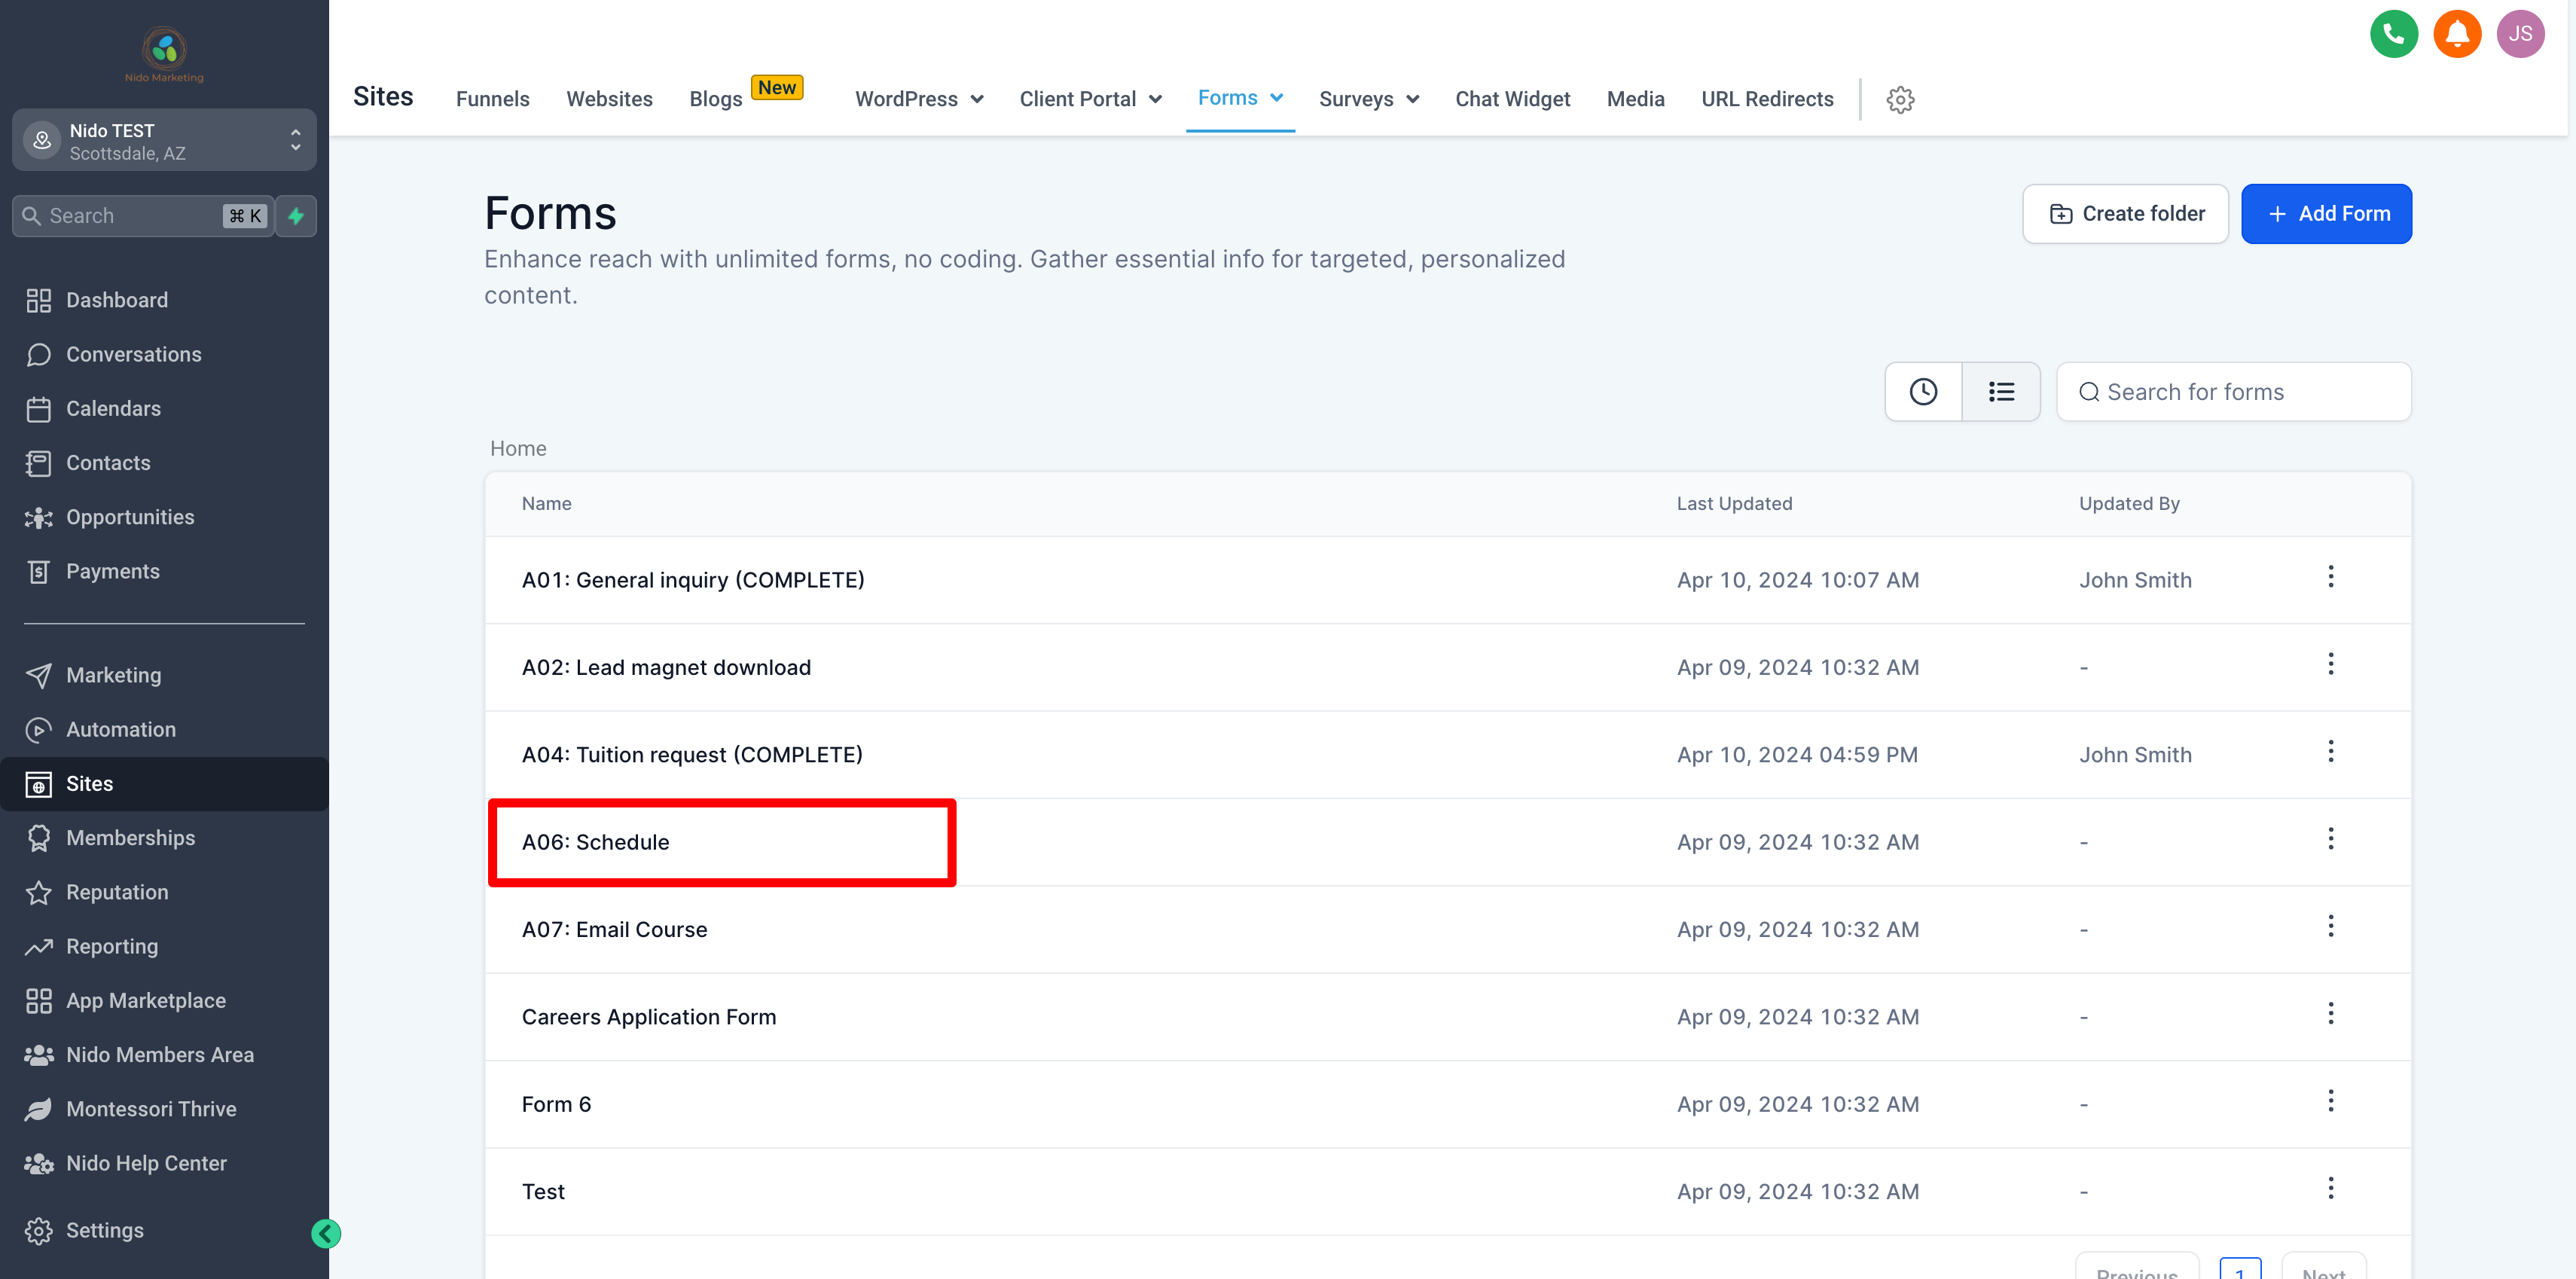
Select the form titled Schedule
-
You may keep this form exactly how it is or you can customize it a bit more. Below are more details on how to customize it more if you would like.
-
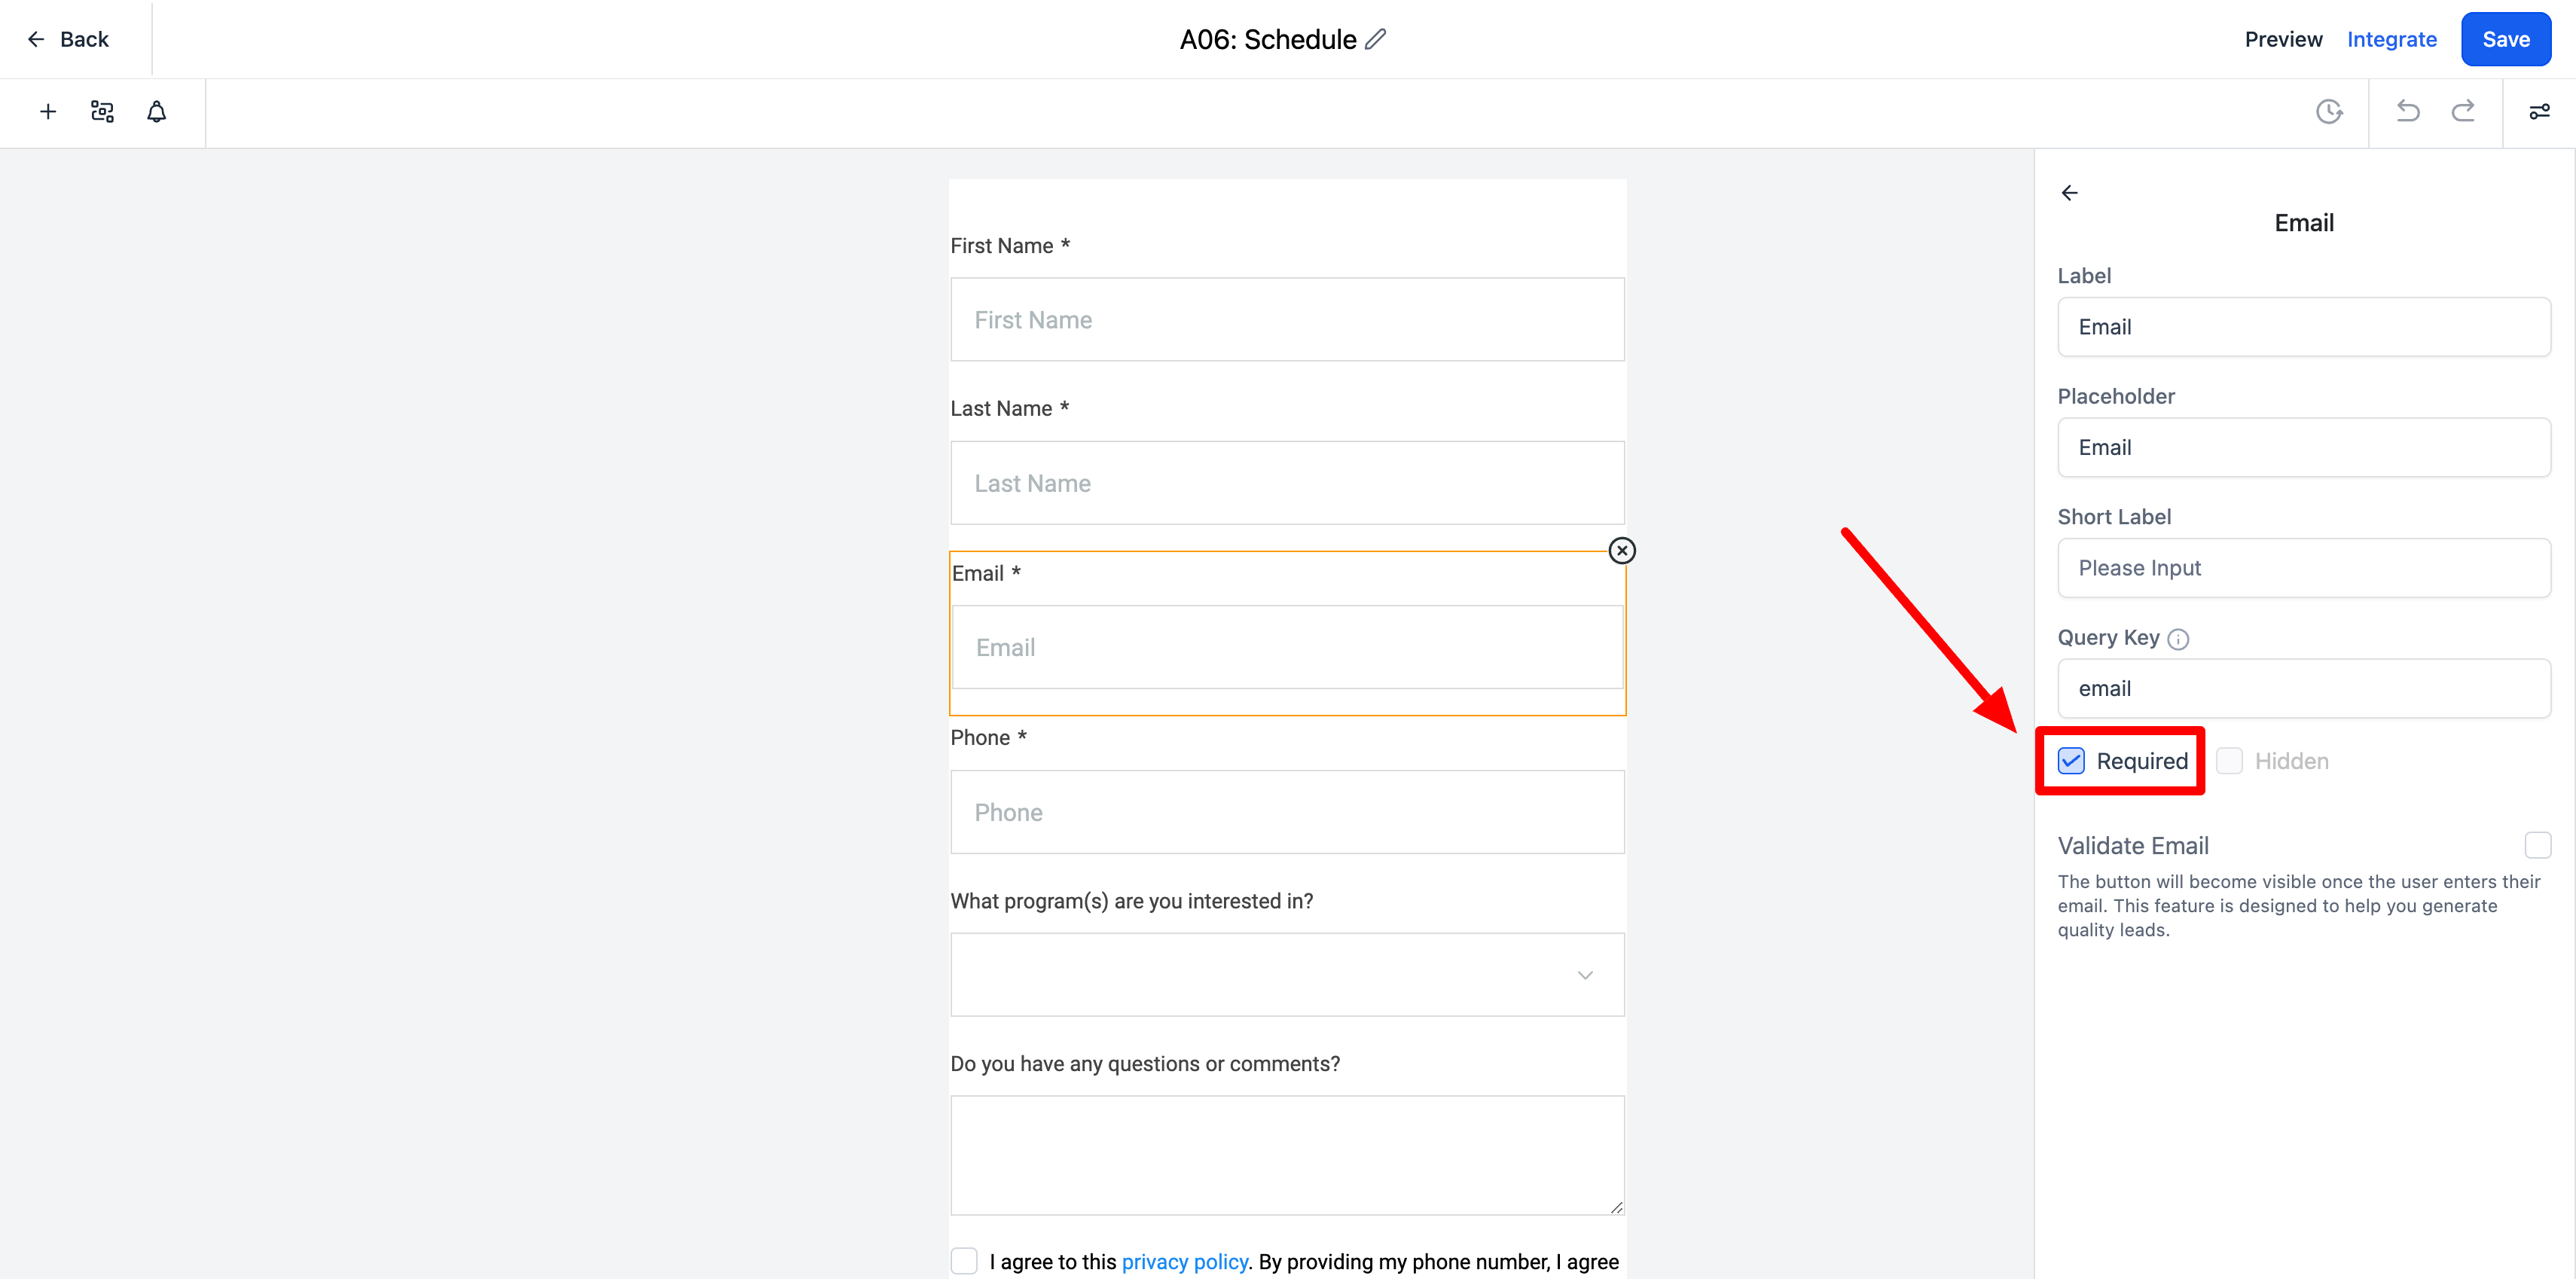
We suggest keeping the name, email, and phone fields on the form and required. So be sure that when you select the field it is required.
-
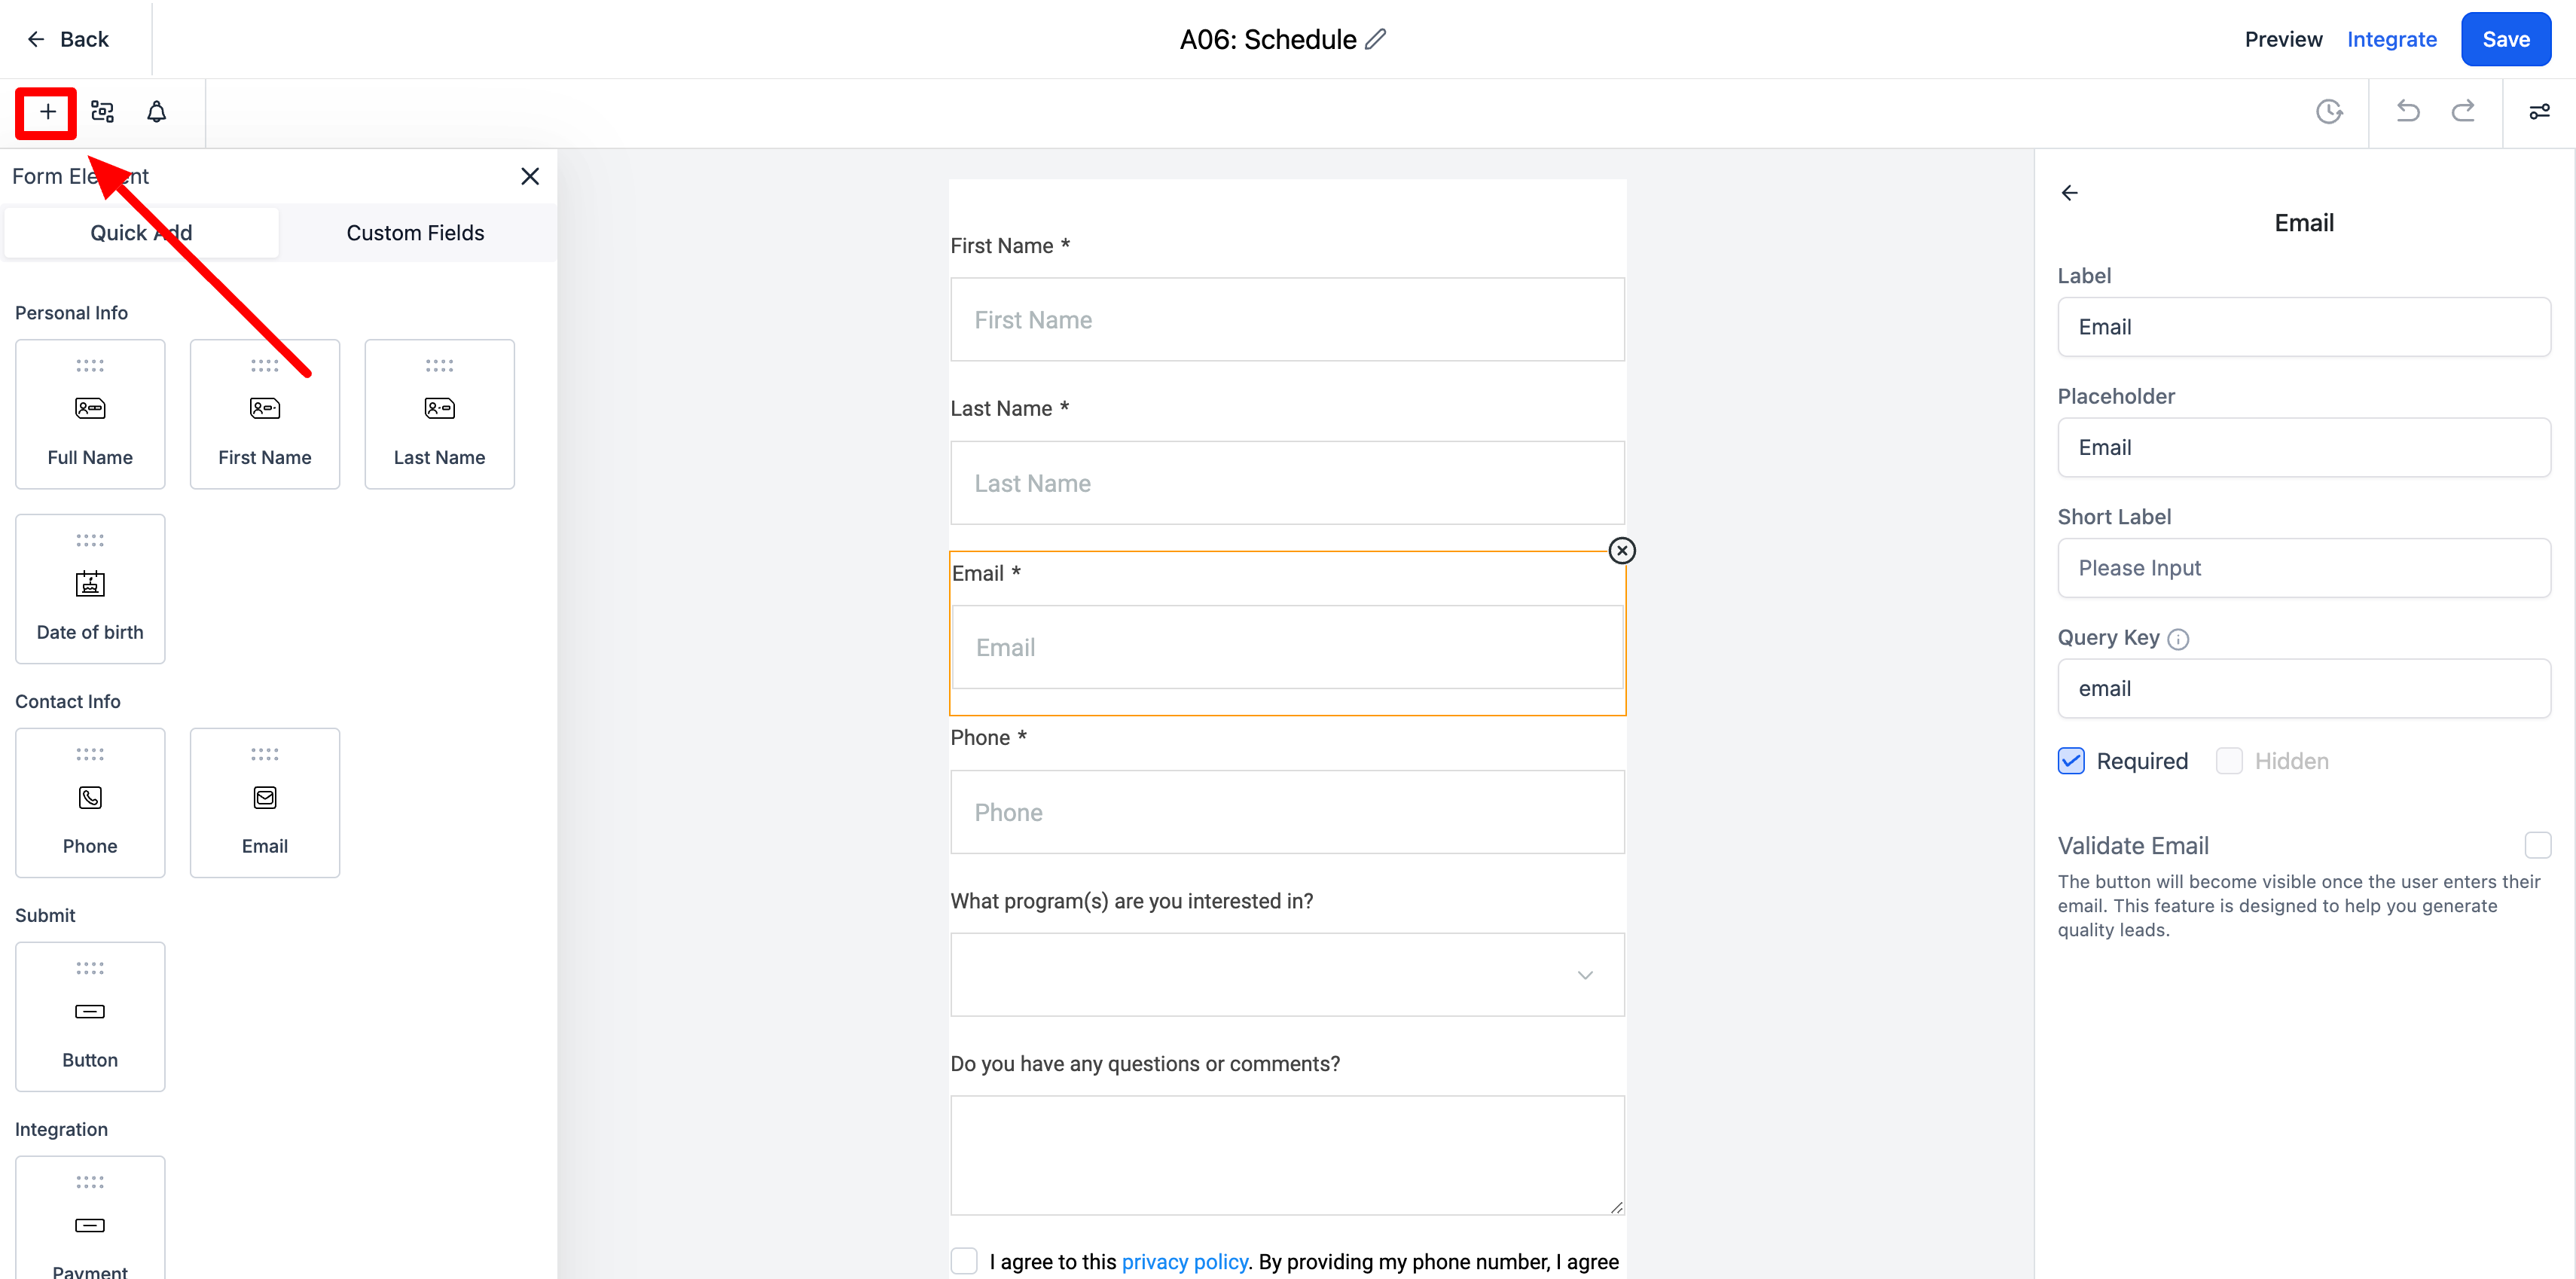
If you would like to add additional form fields you just click and drag over the fields that you want. To make the additional fields visible click the plus button in the top left-hand corner. However, we do suggest not having too many fields on your form. According to a study by Hubspot for each additional form field that you have the percentage of someone filling out the form goes down by 11%.
-
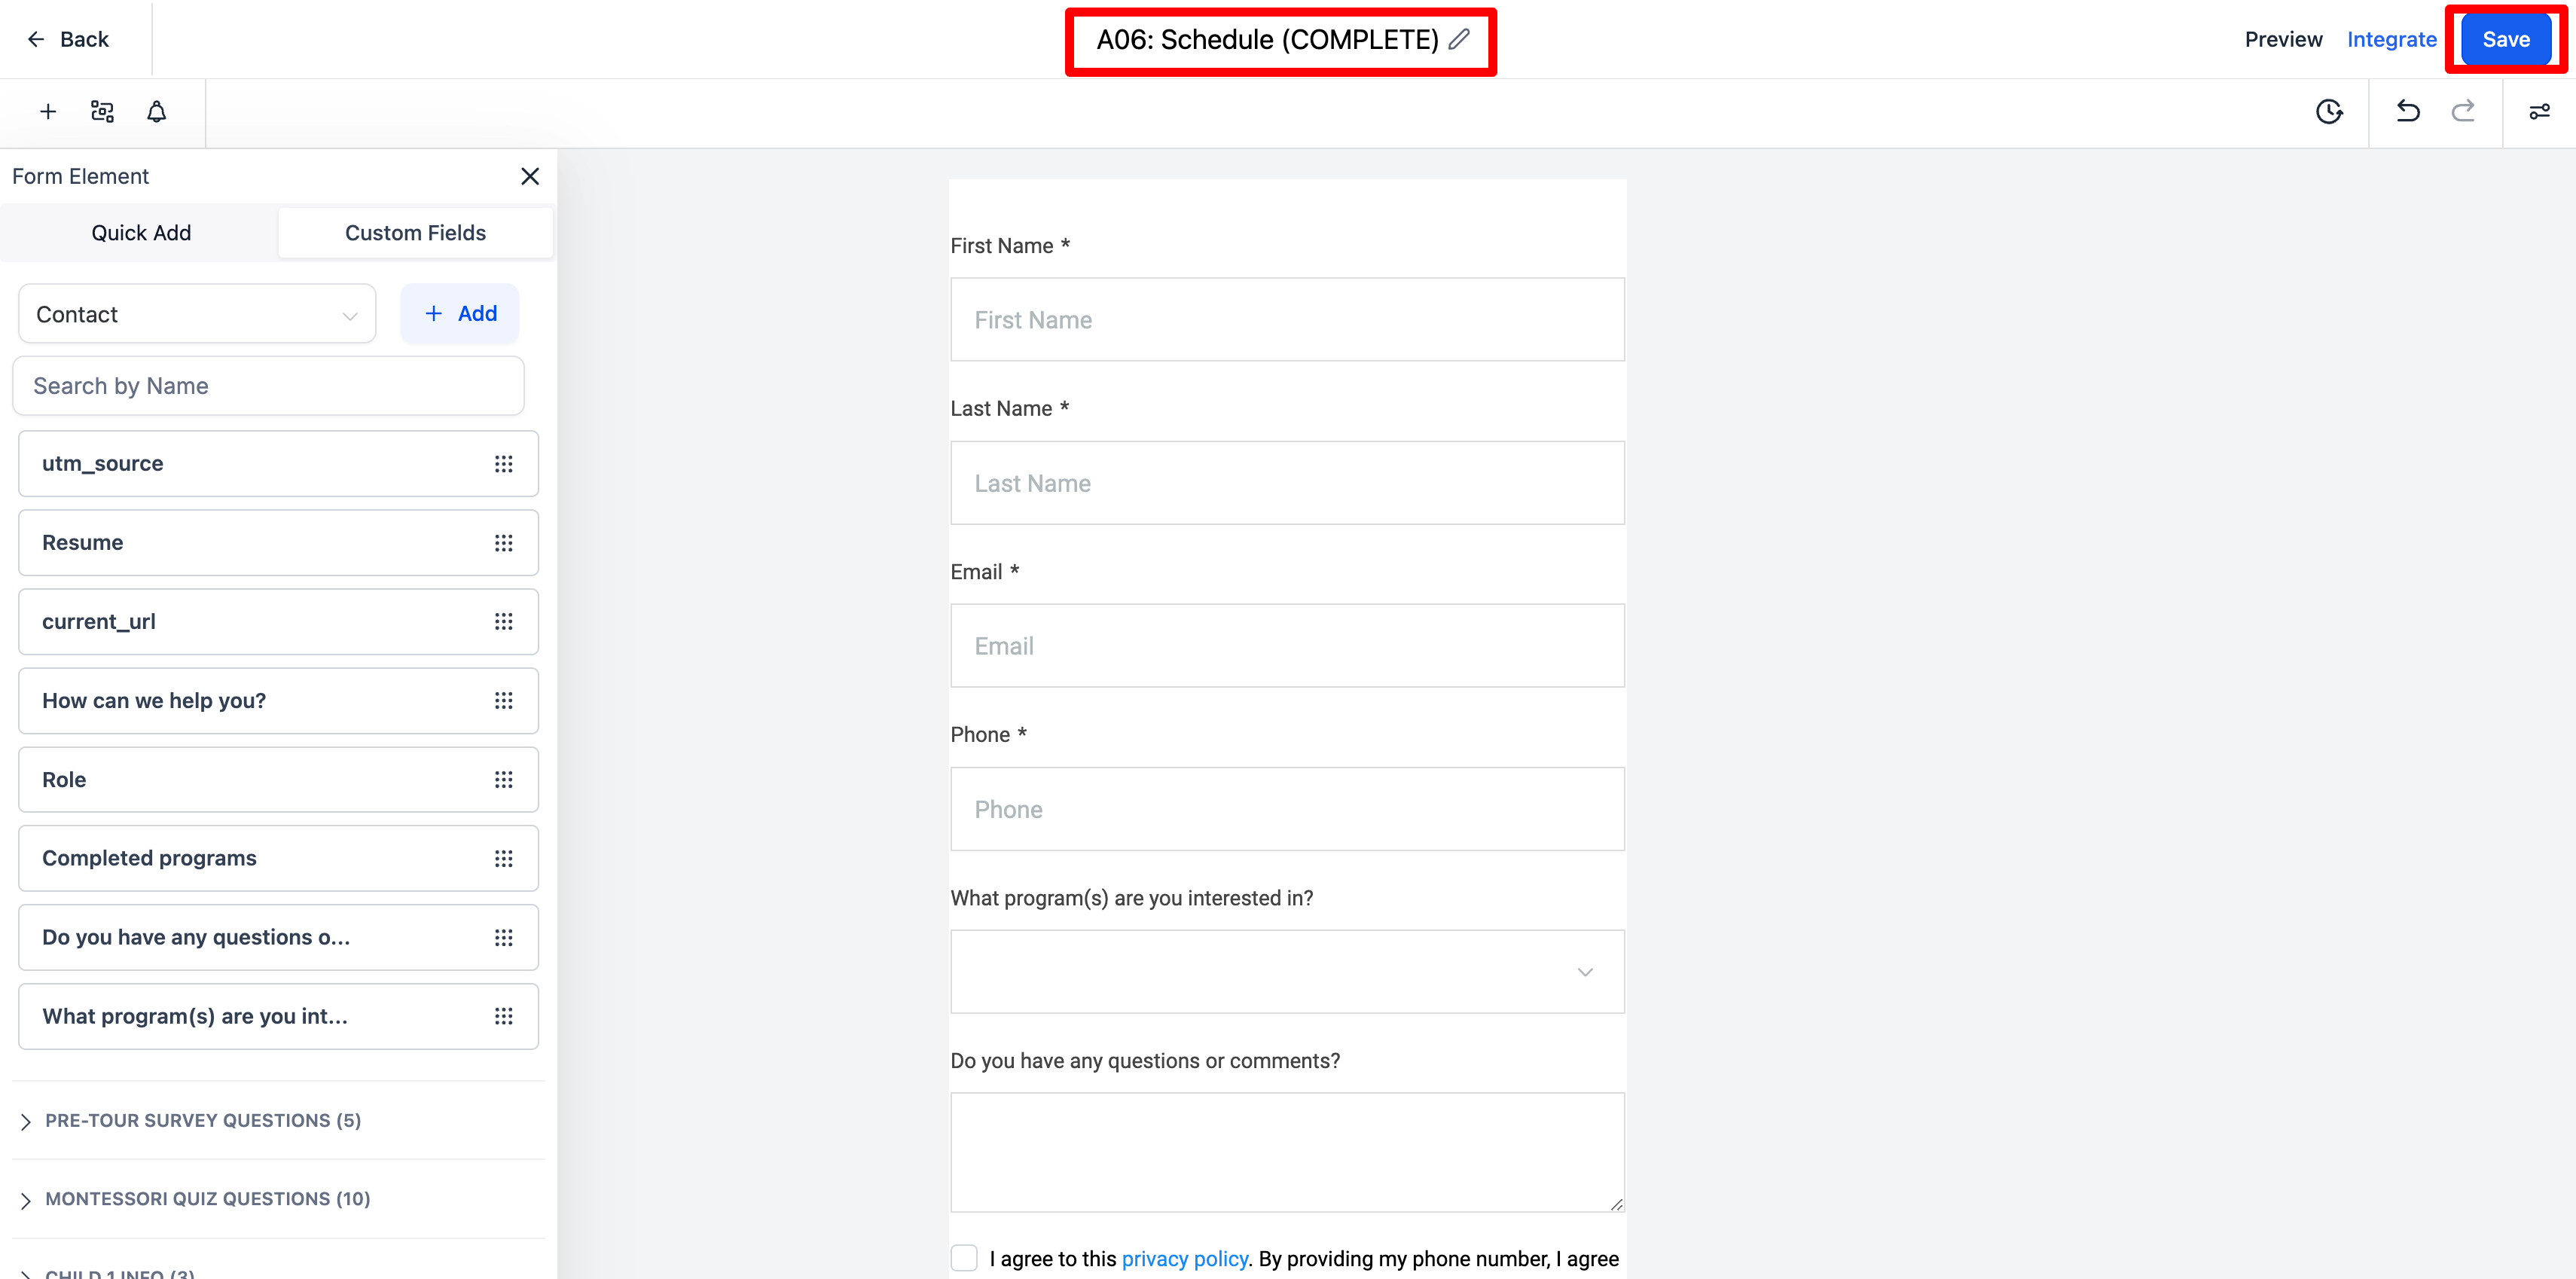
Once you are happy with the form please type in (COMPLETE) to the title so that our team knows you have reviewed the form. Be sure to select save in the top right-hand corner!
Customize your email confirmation
-
These are the email confirmations that are sent to parents once they have scheduled the tour. On the left-hand side select automation.
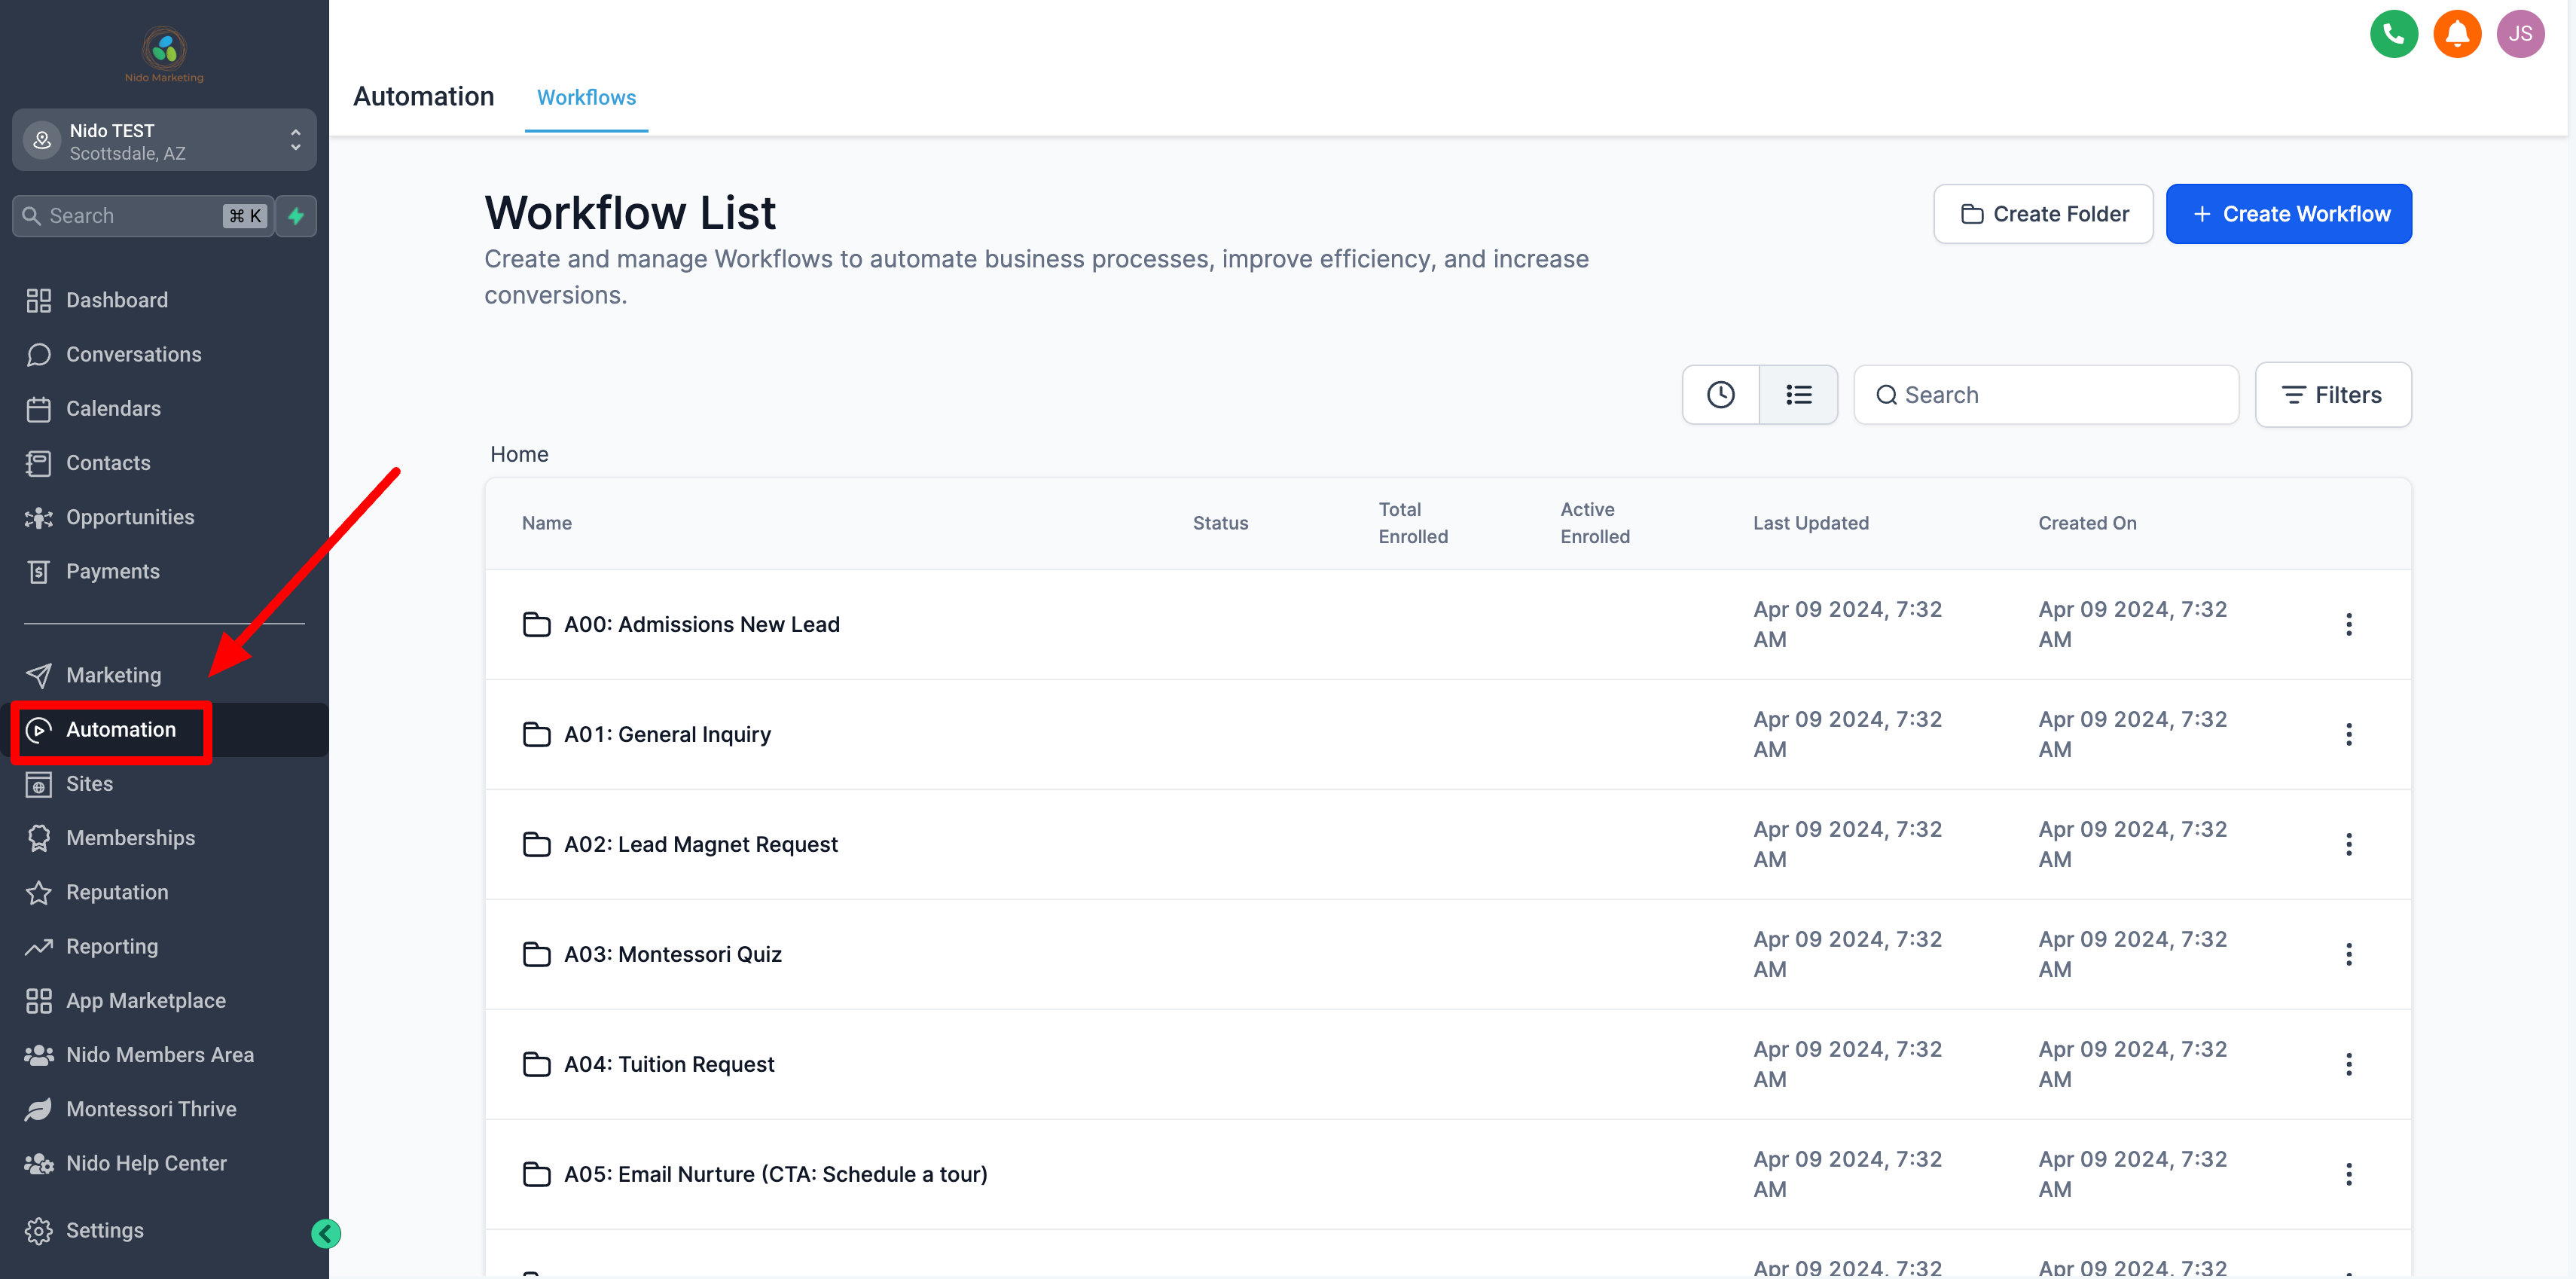
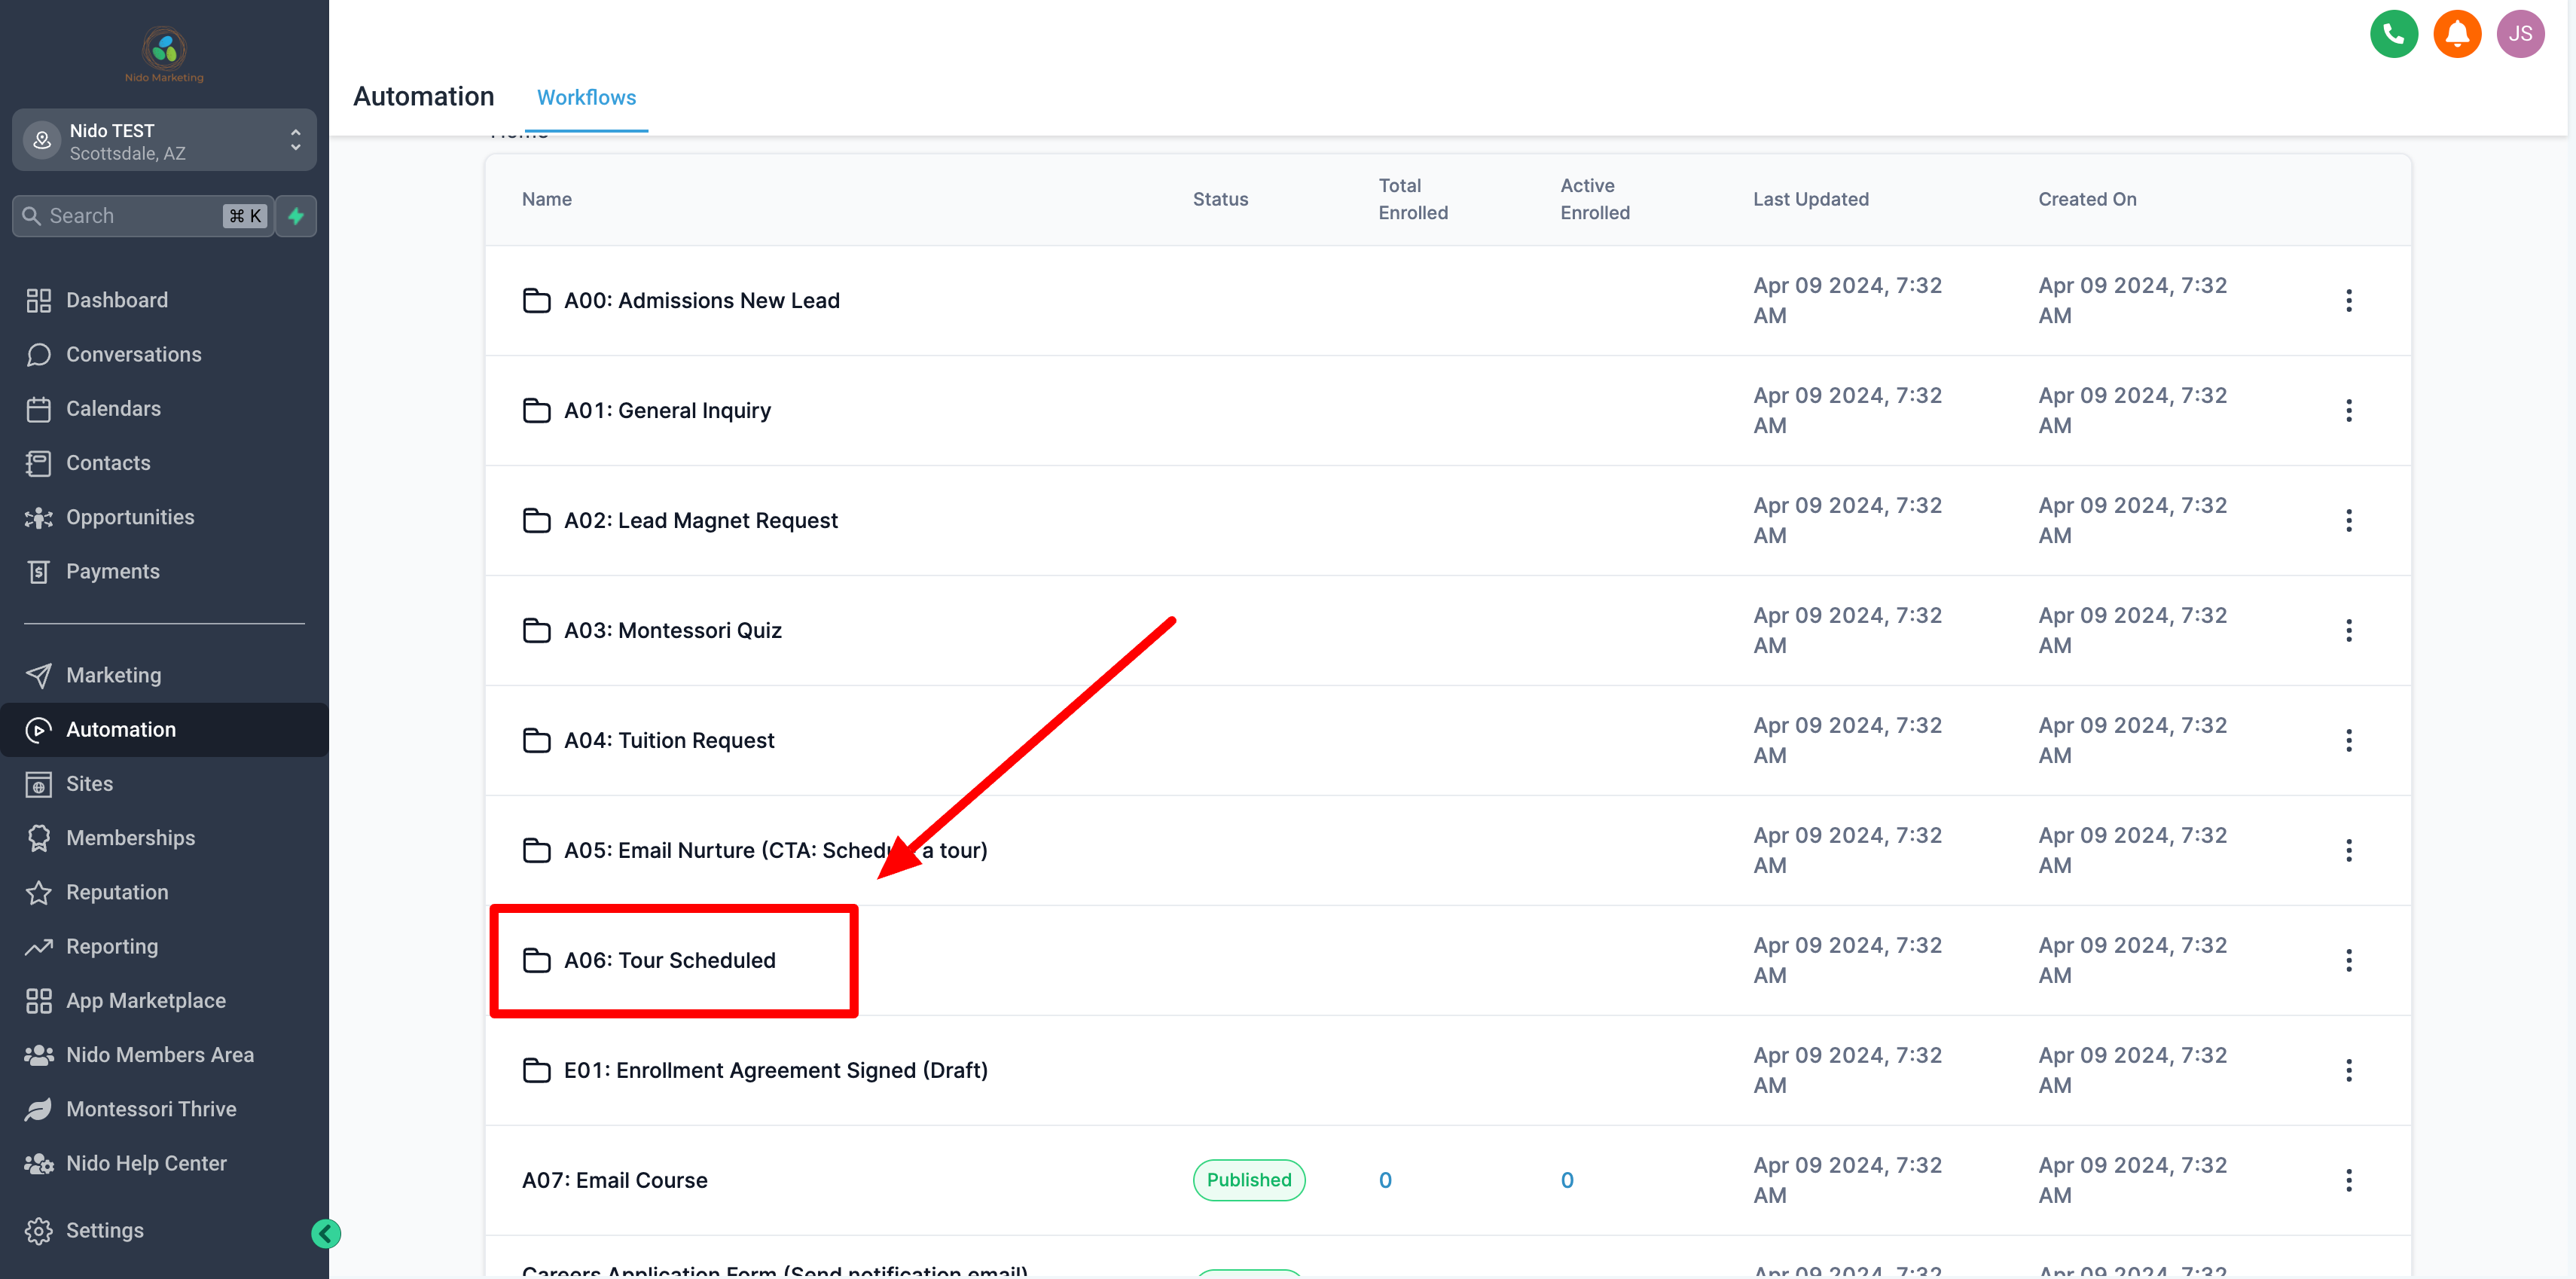
-
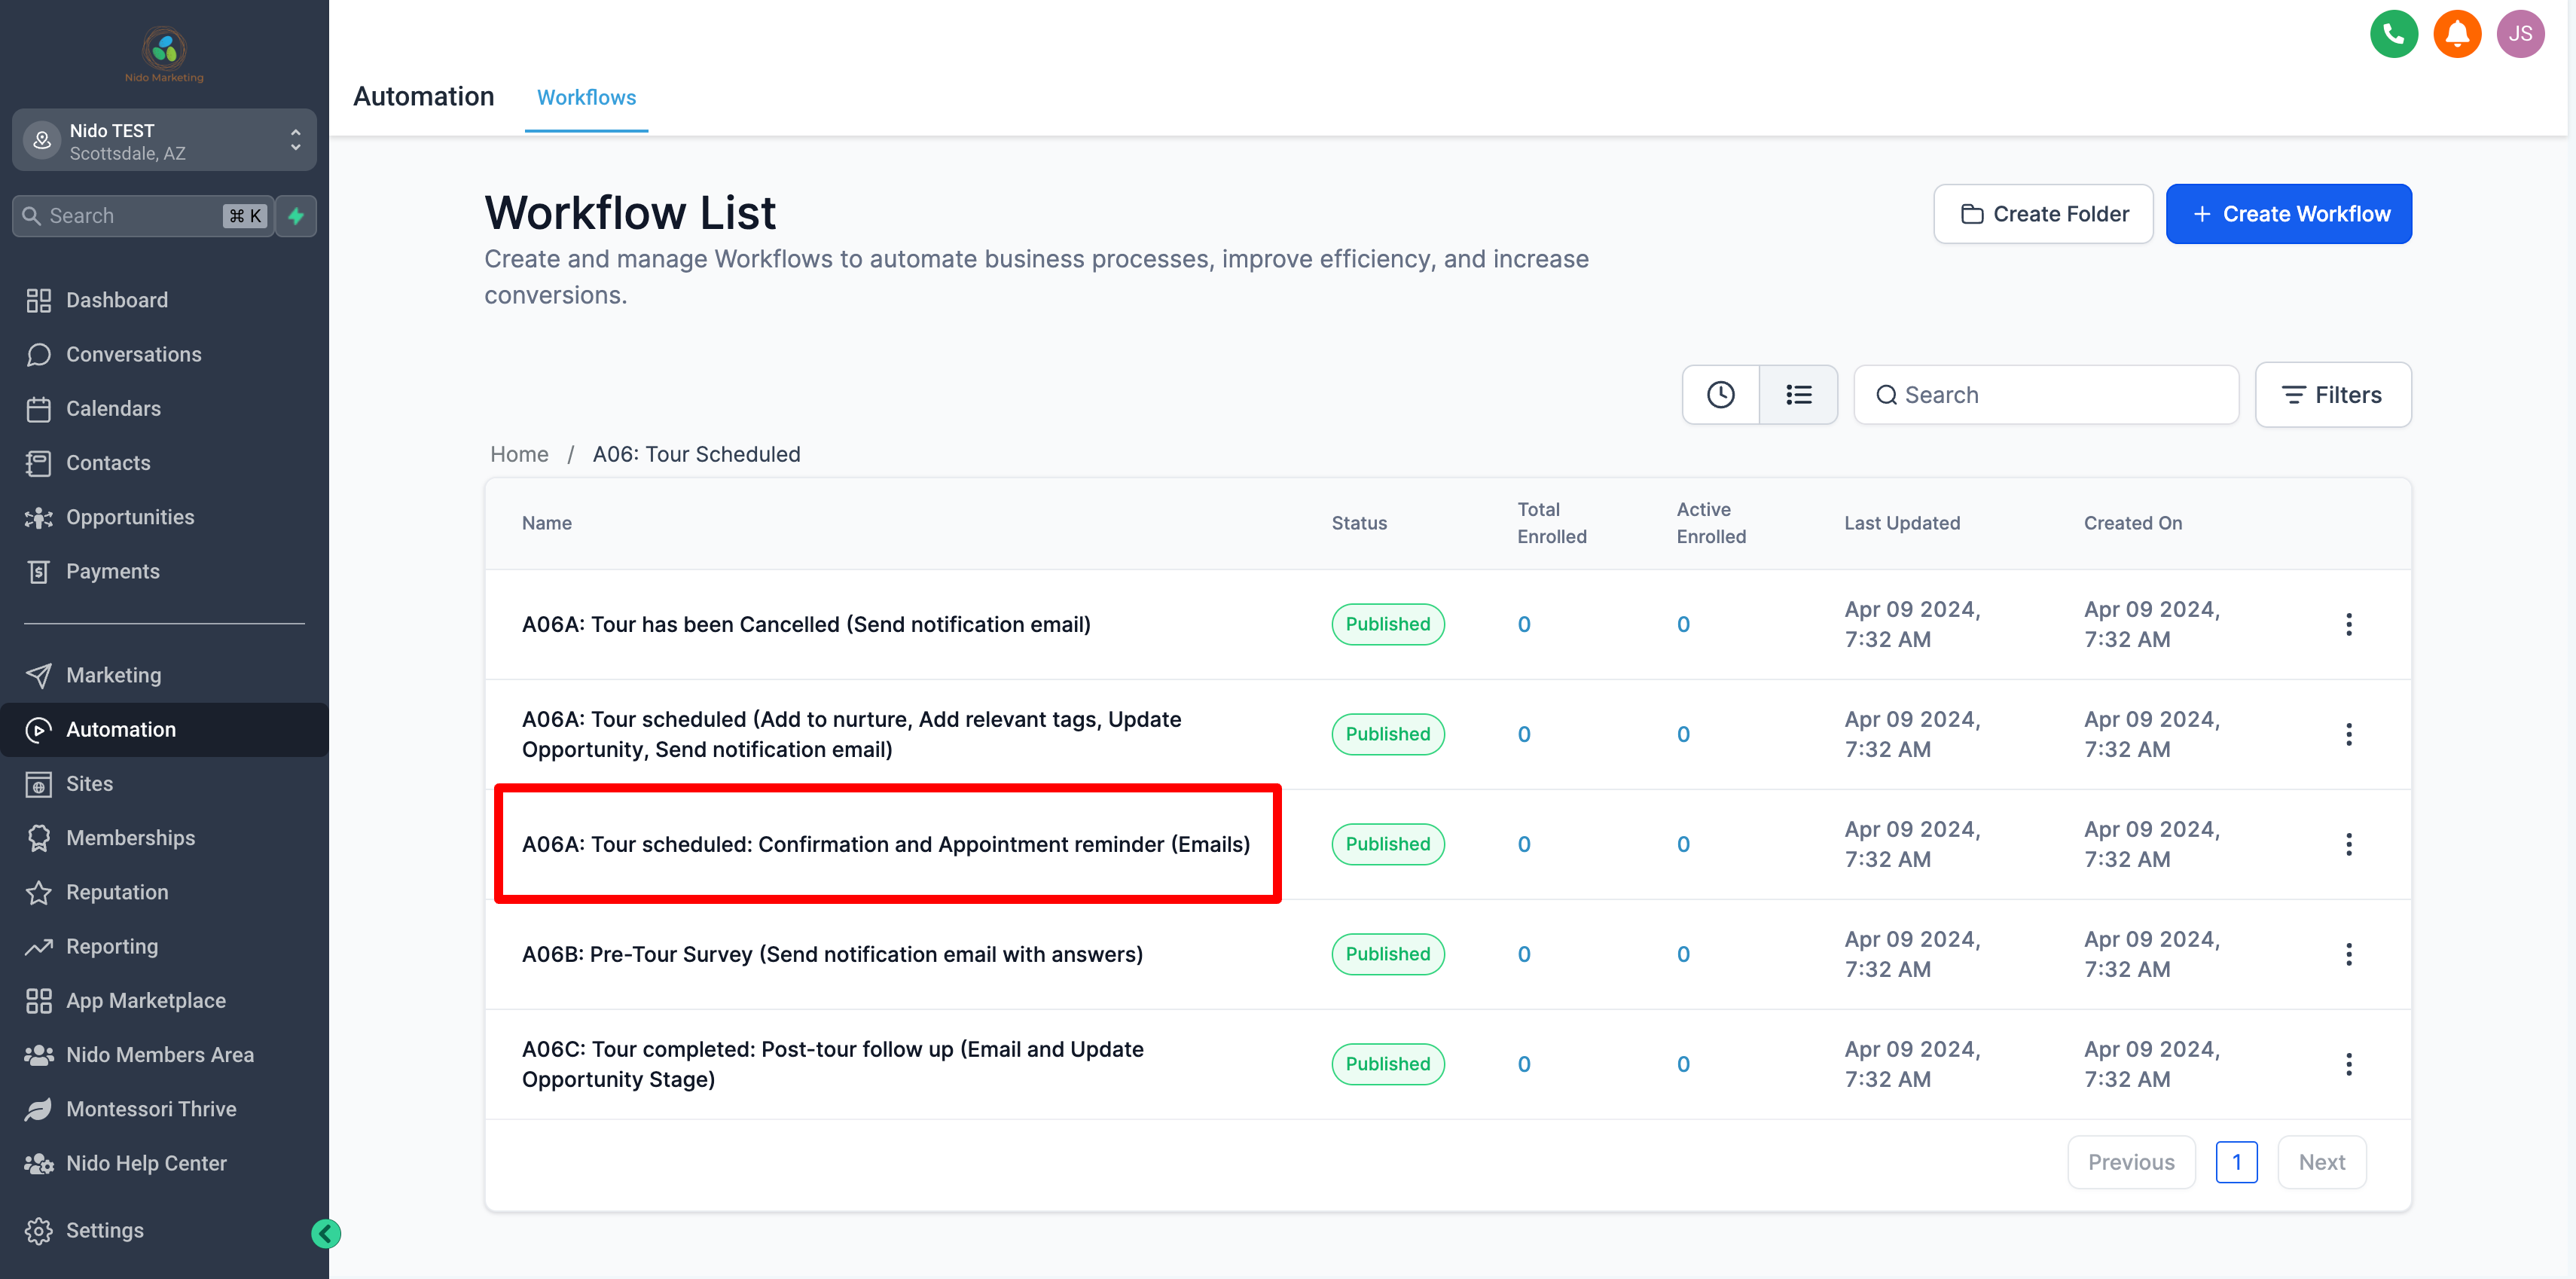
Click on tour scheduled
-
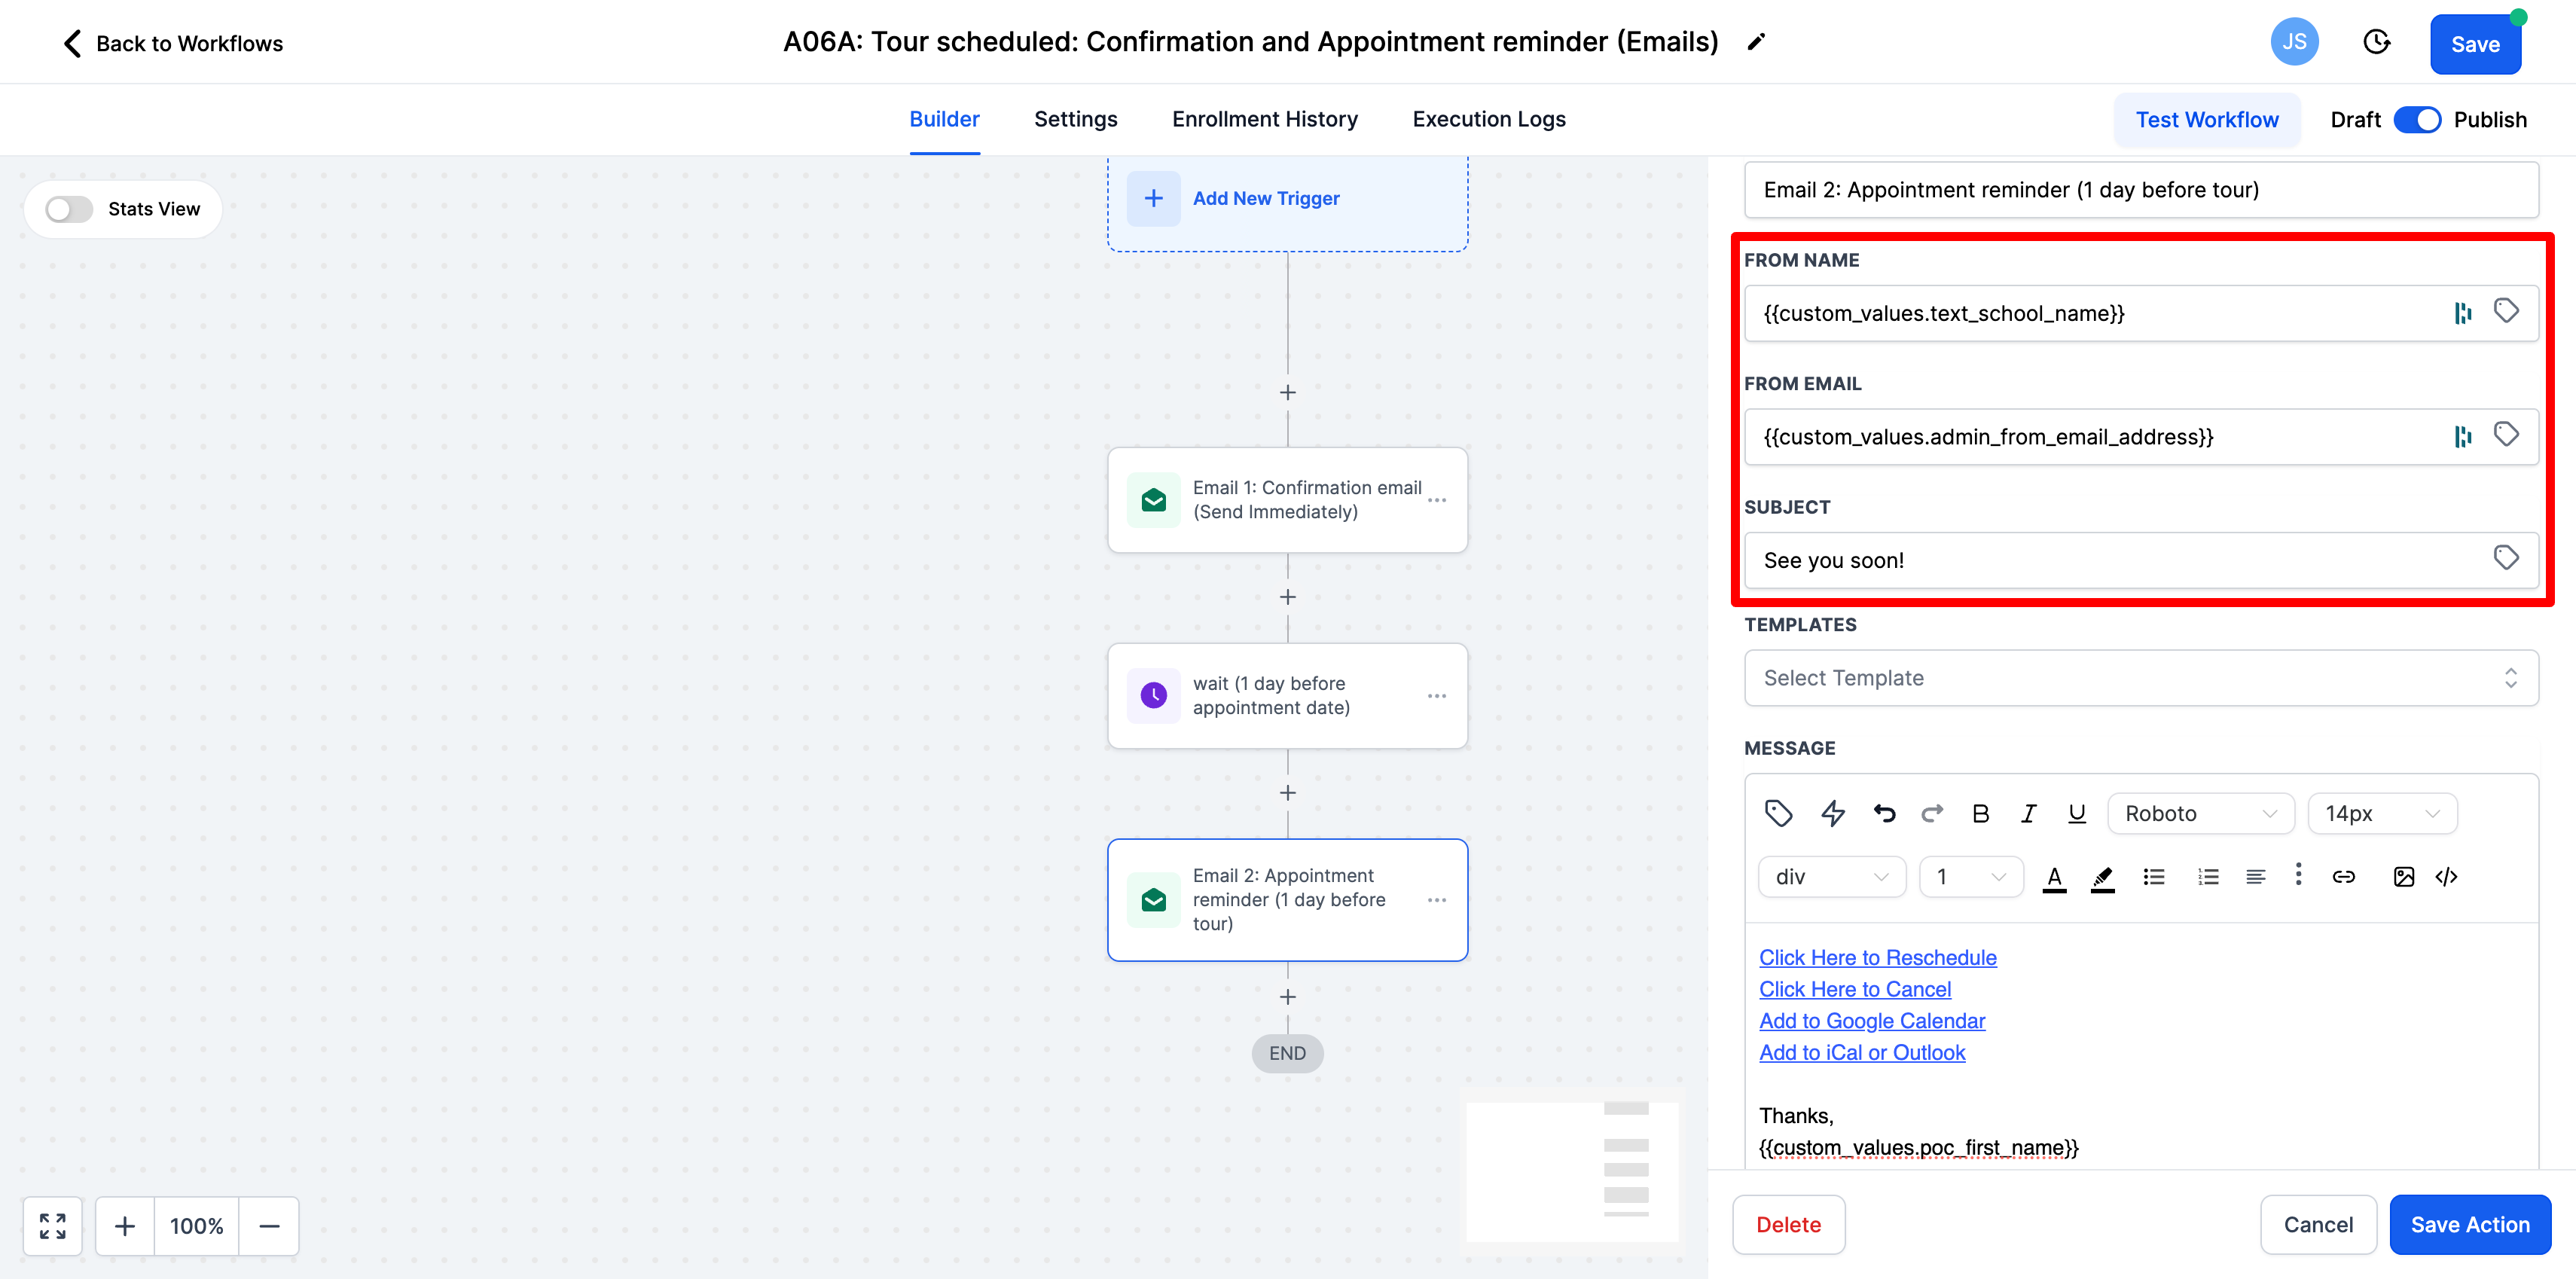
Select Confirmation and appointment reminder (emails)
-
Select email 1: confirmation email. This is the email that gets sent to the parents immediately after they book a tour.
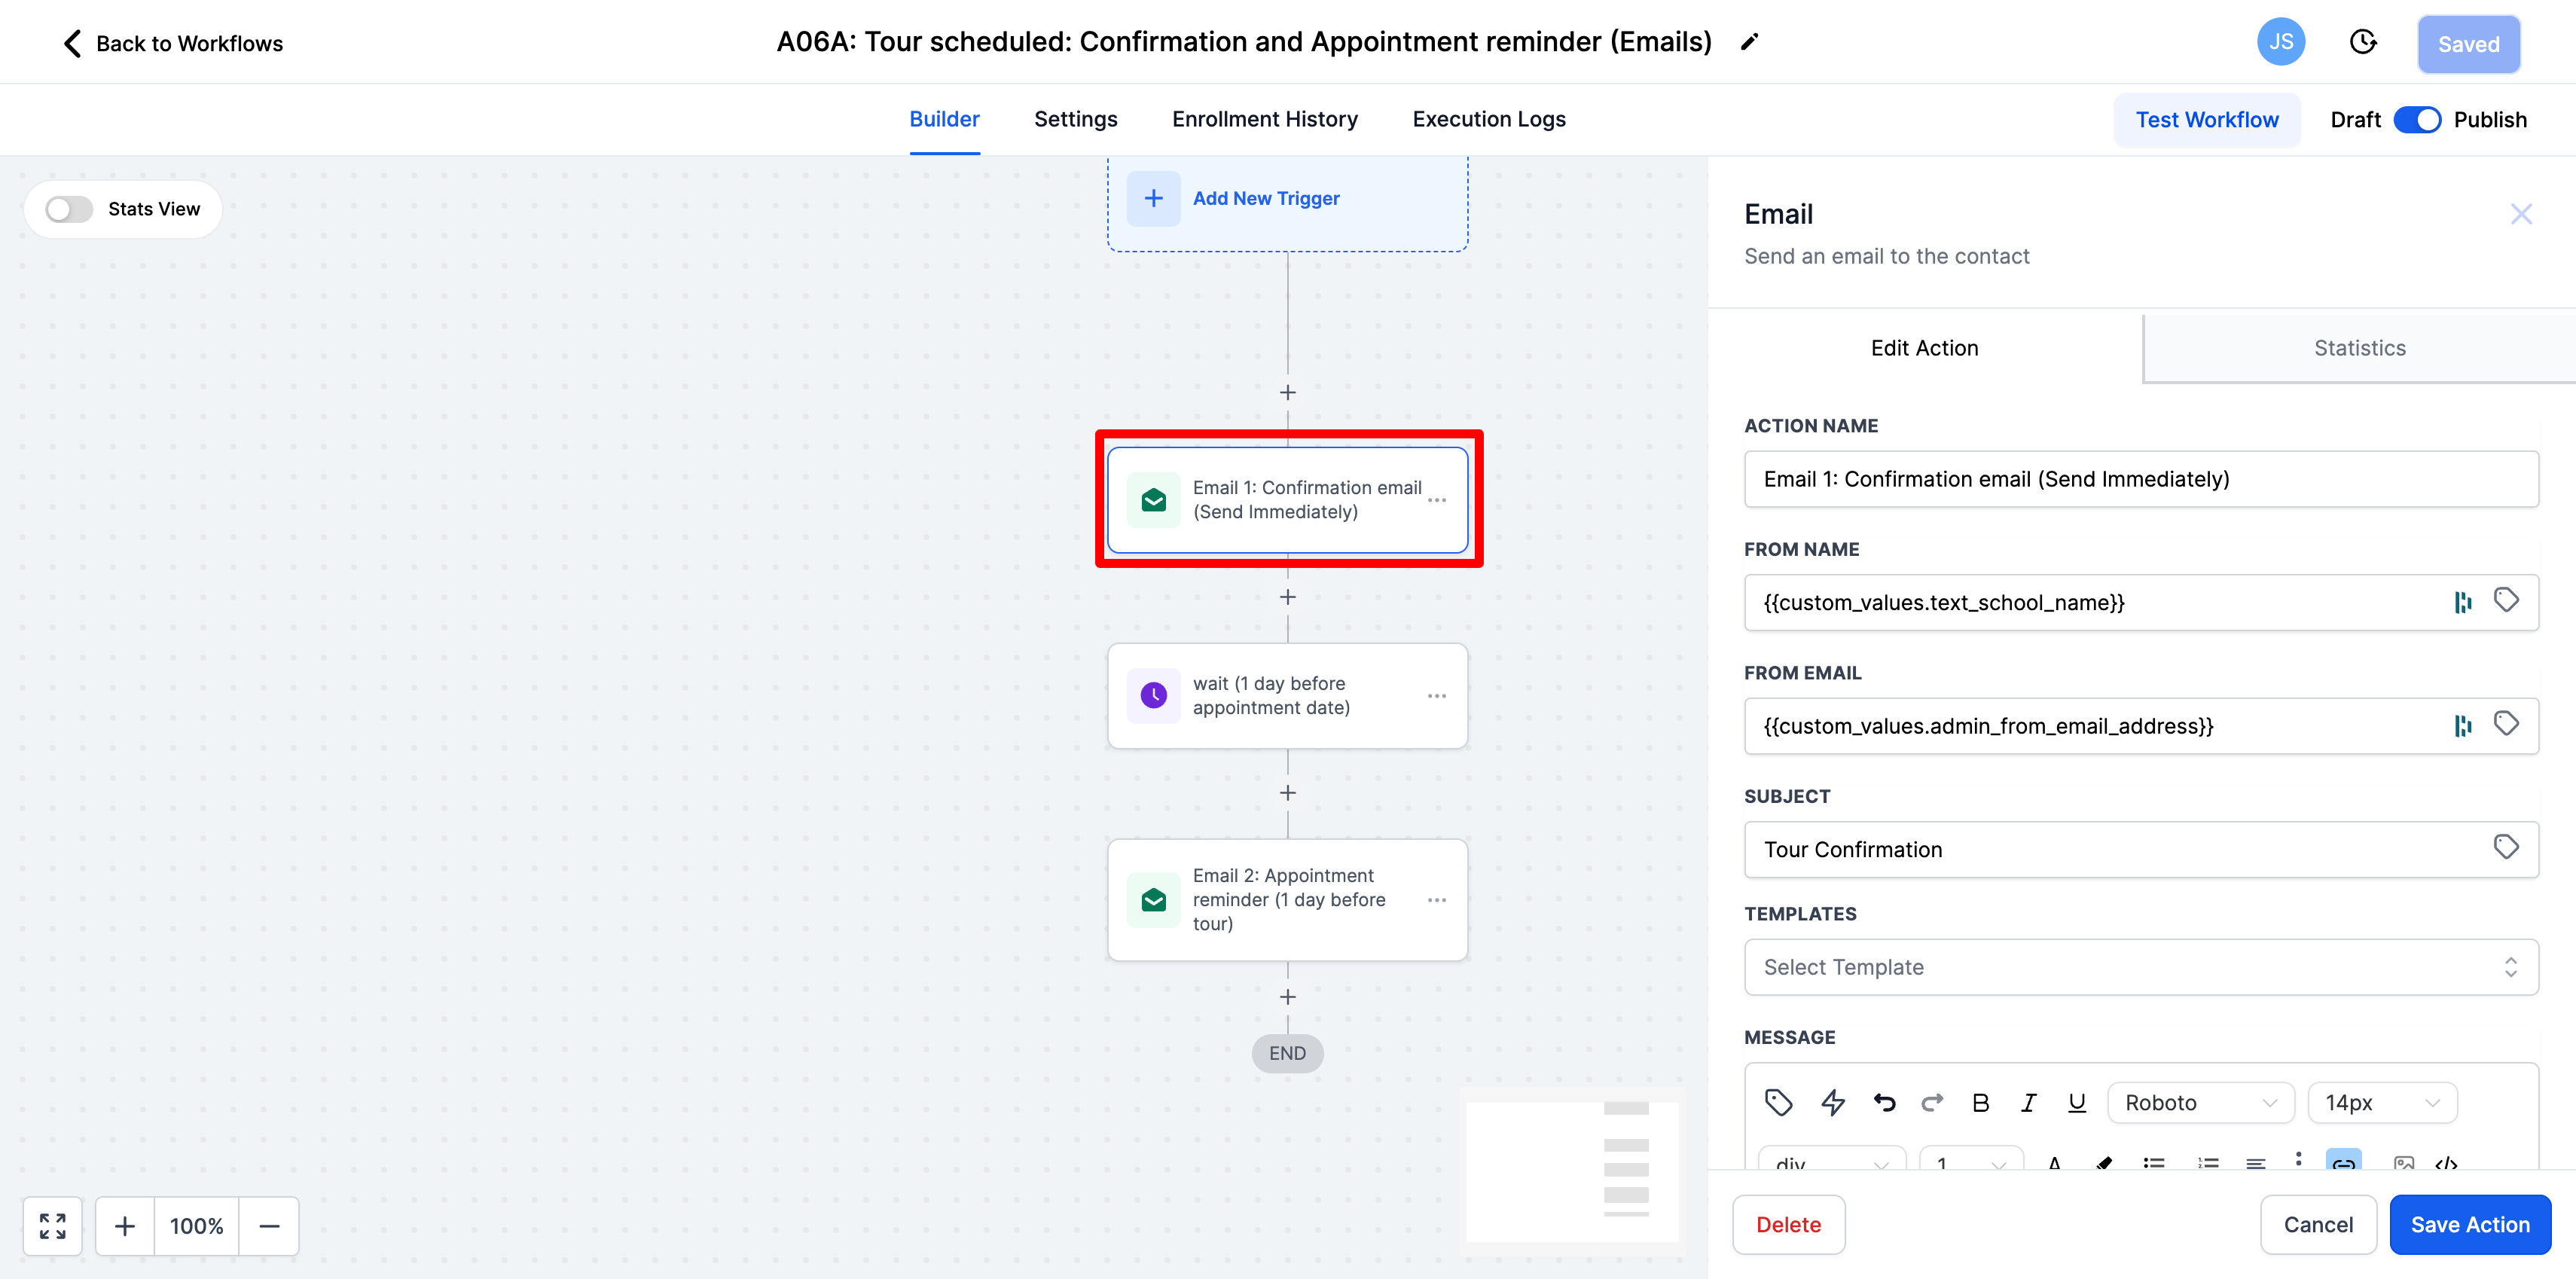
-
The from name and from email are preset as custom values. You can change those by selecting the tag icon next to the field or you can enter in the direct from name and email.
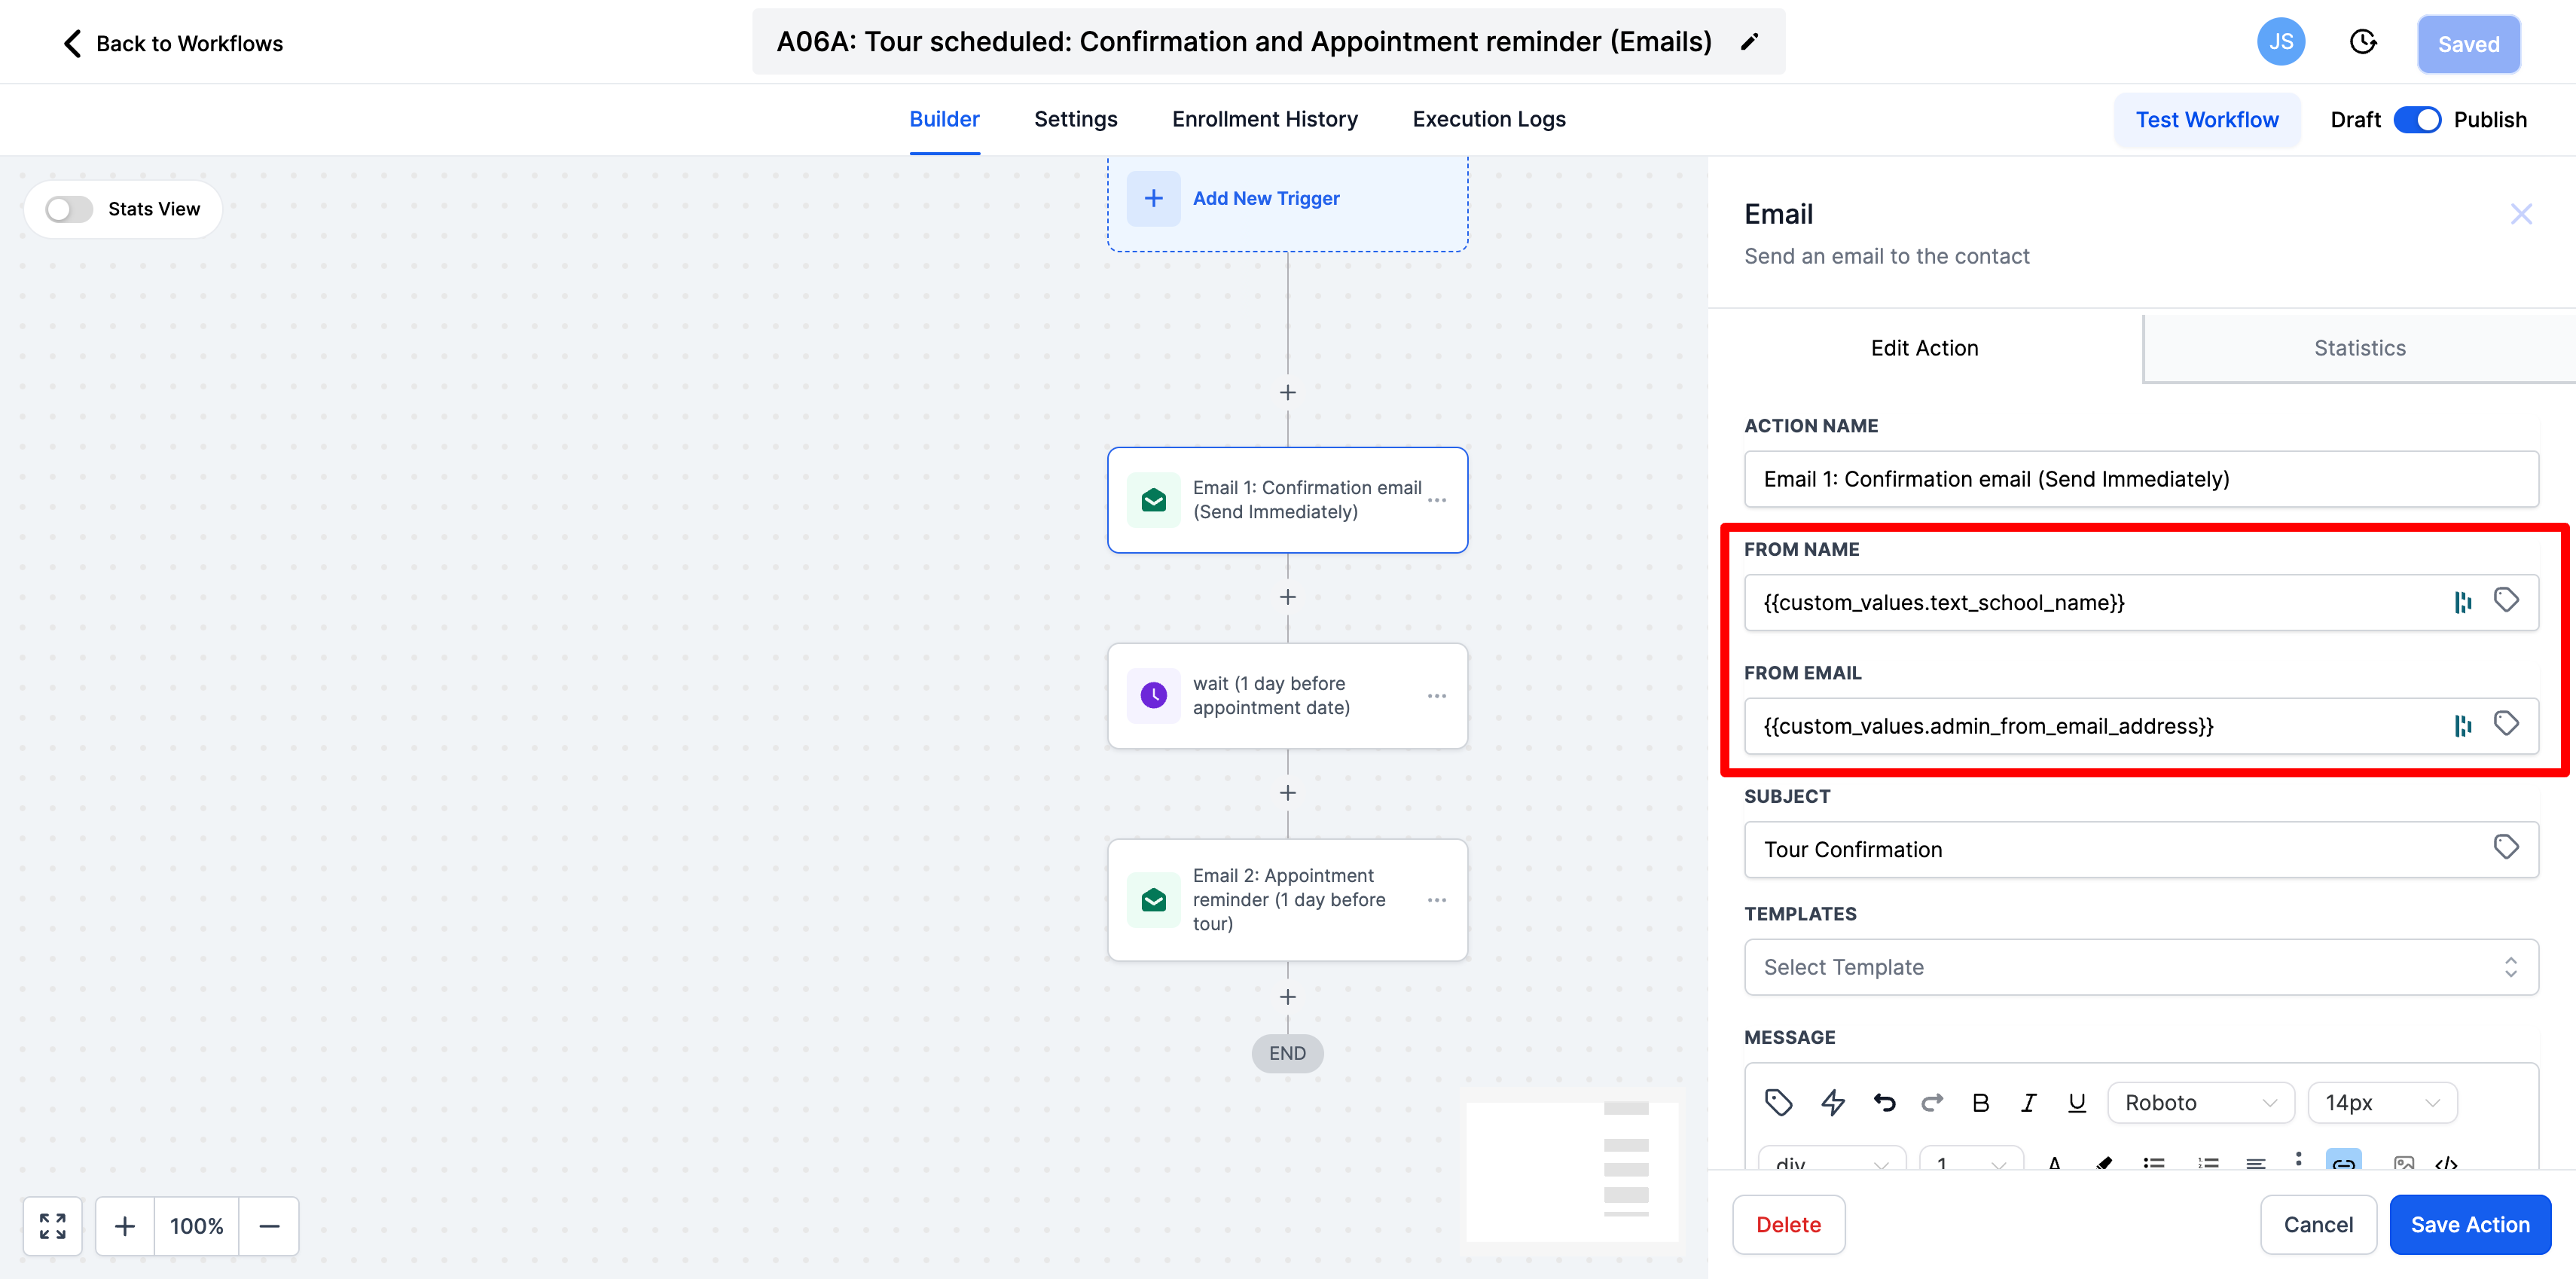
-
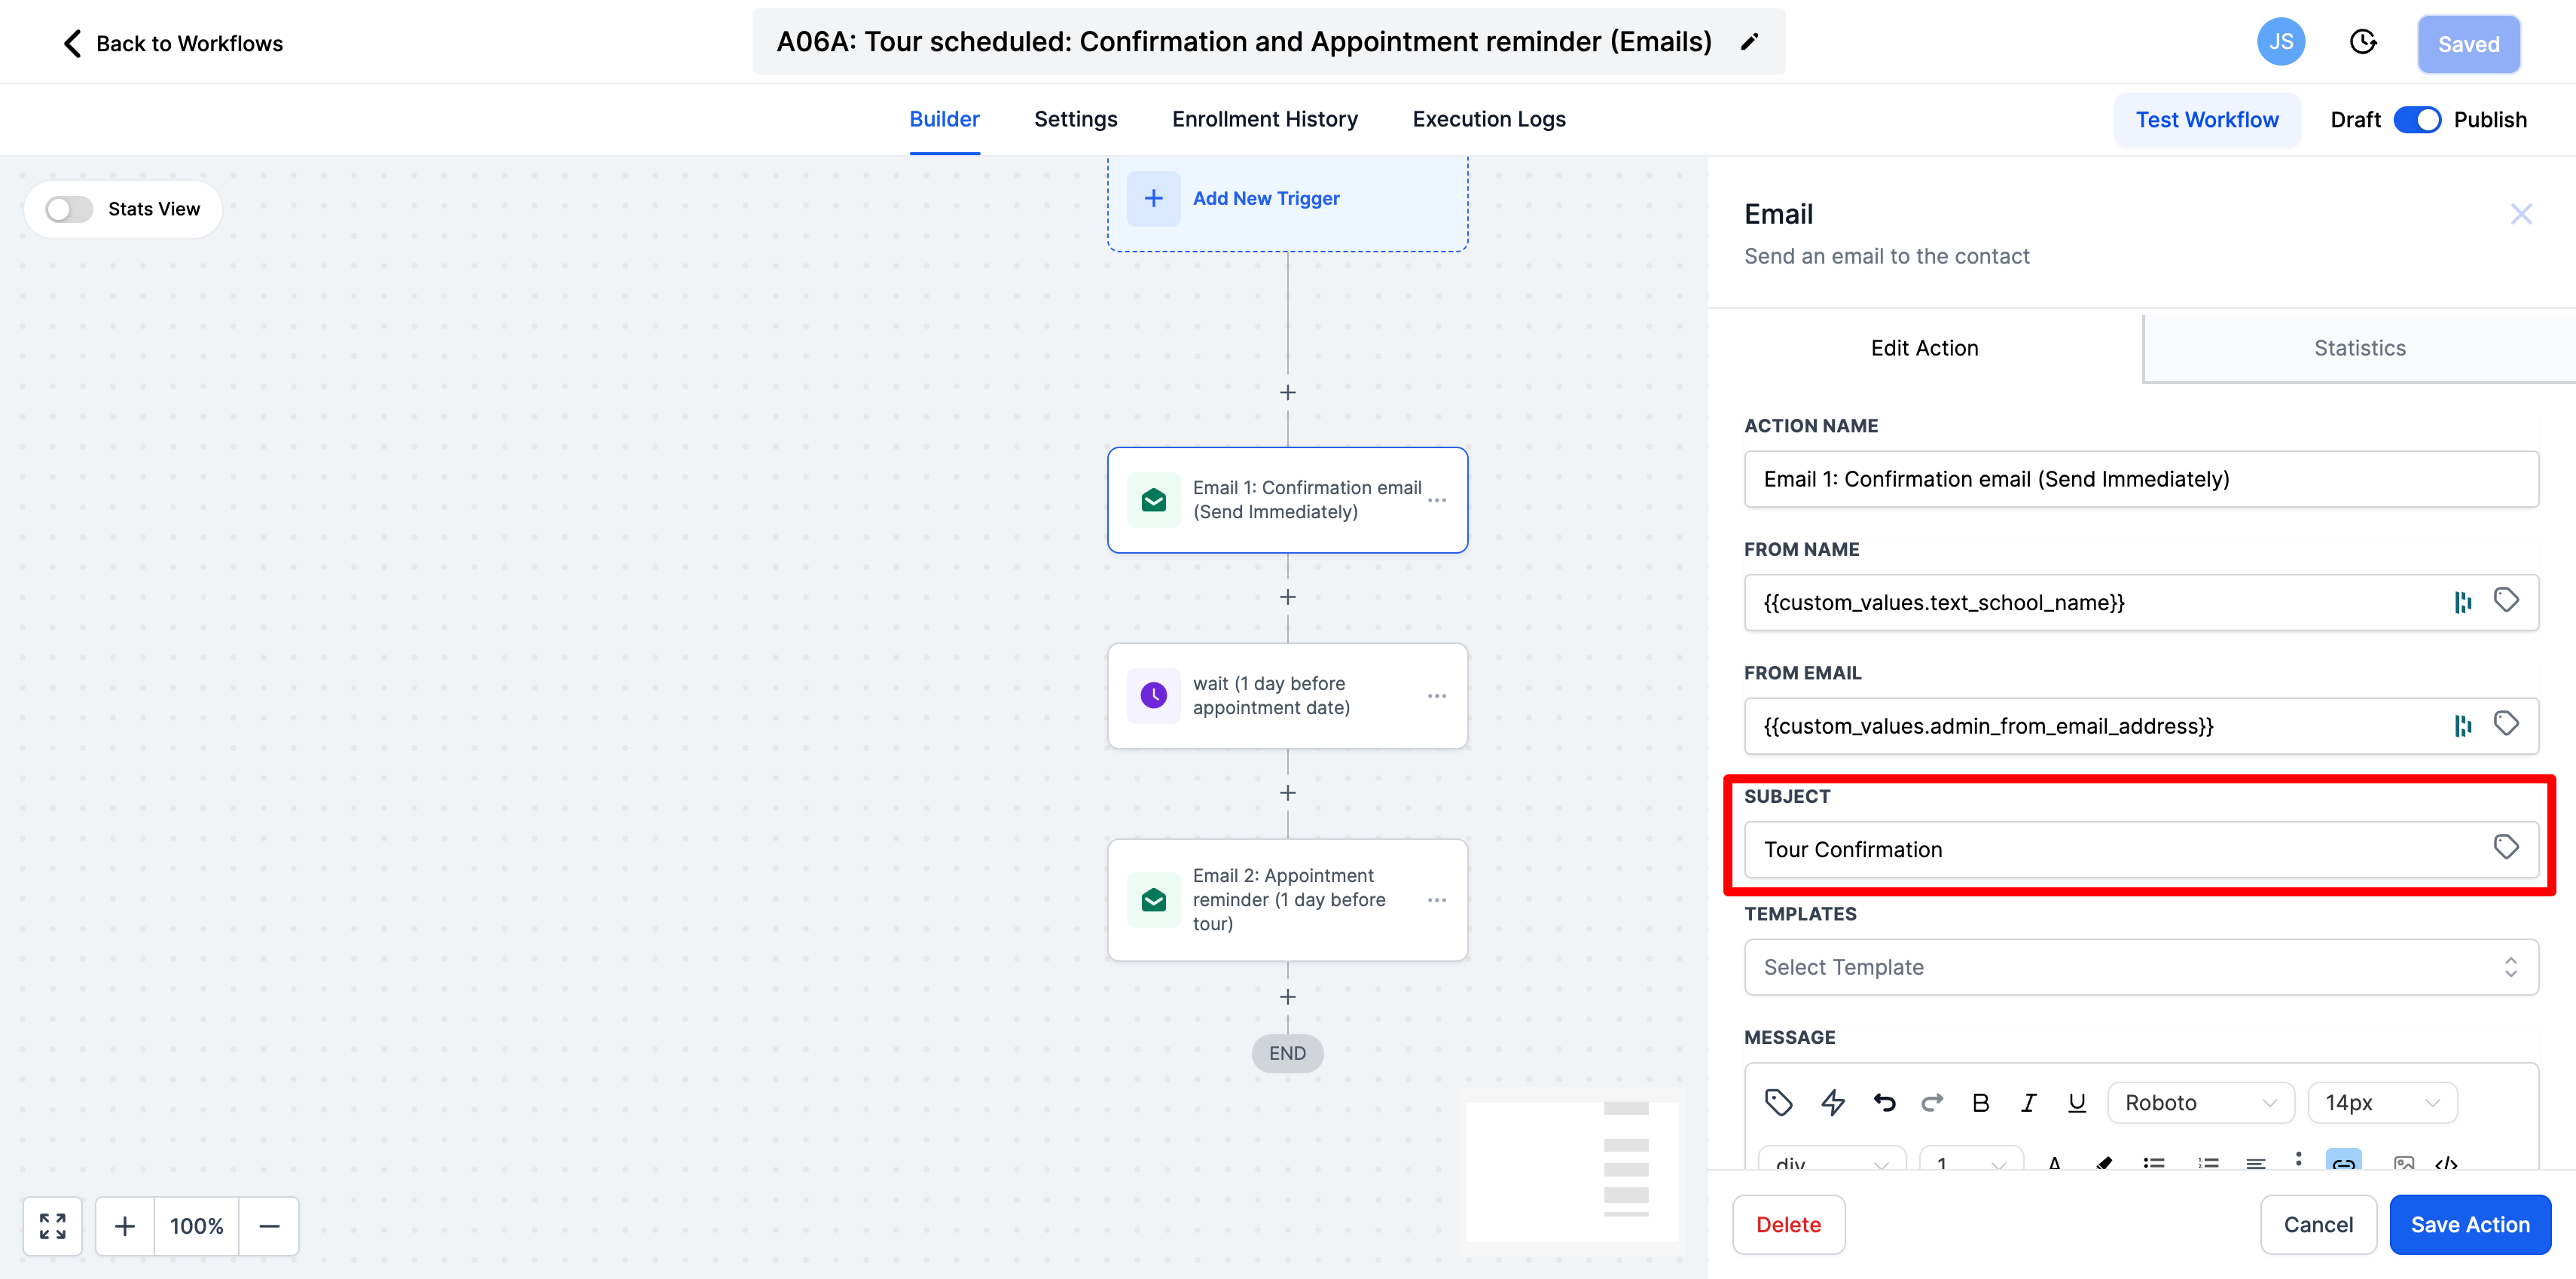
The subject is what the email subject will be
-
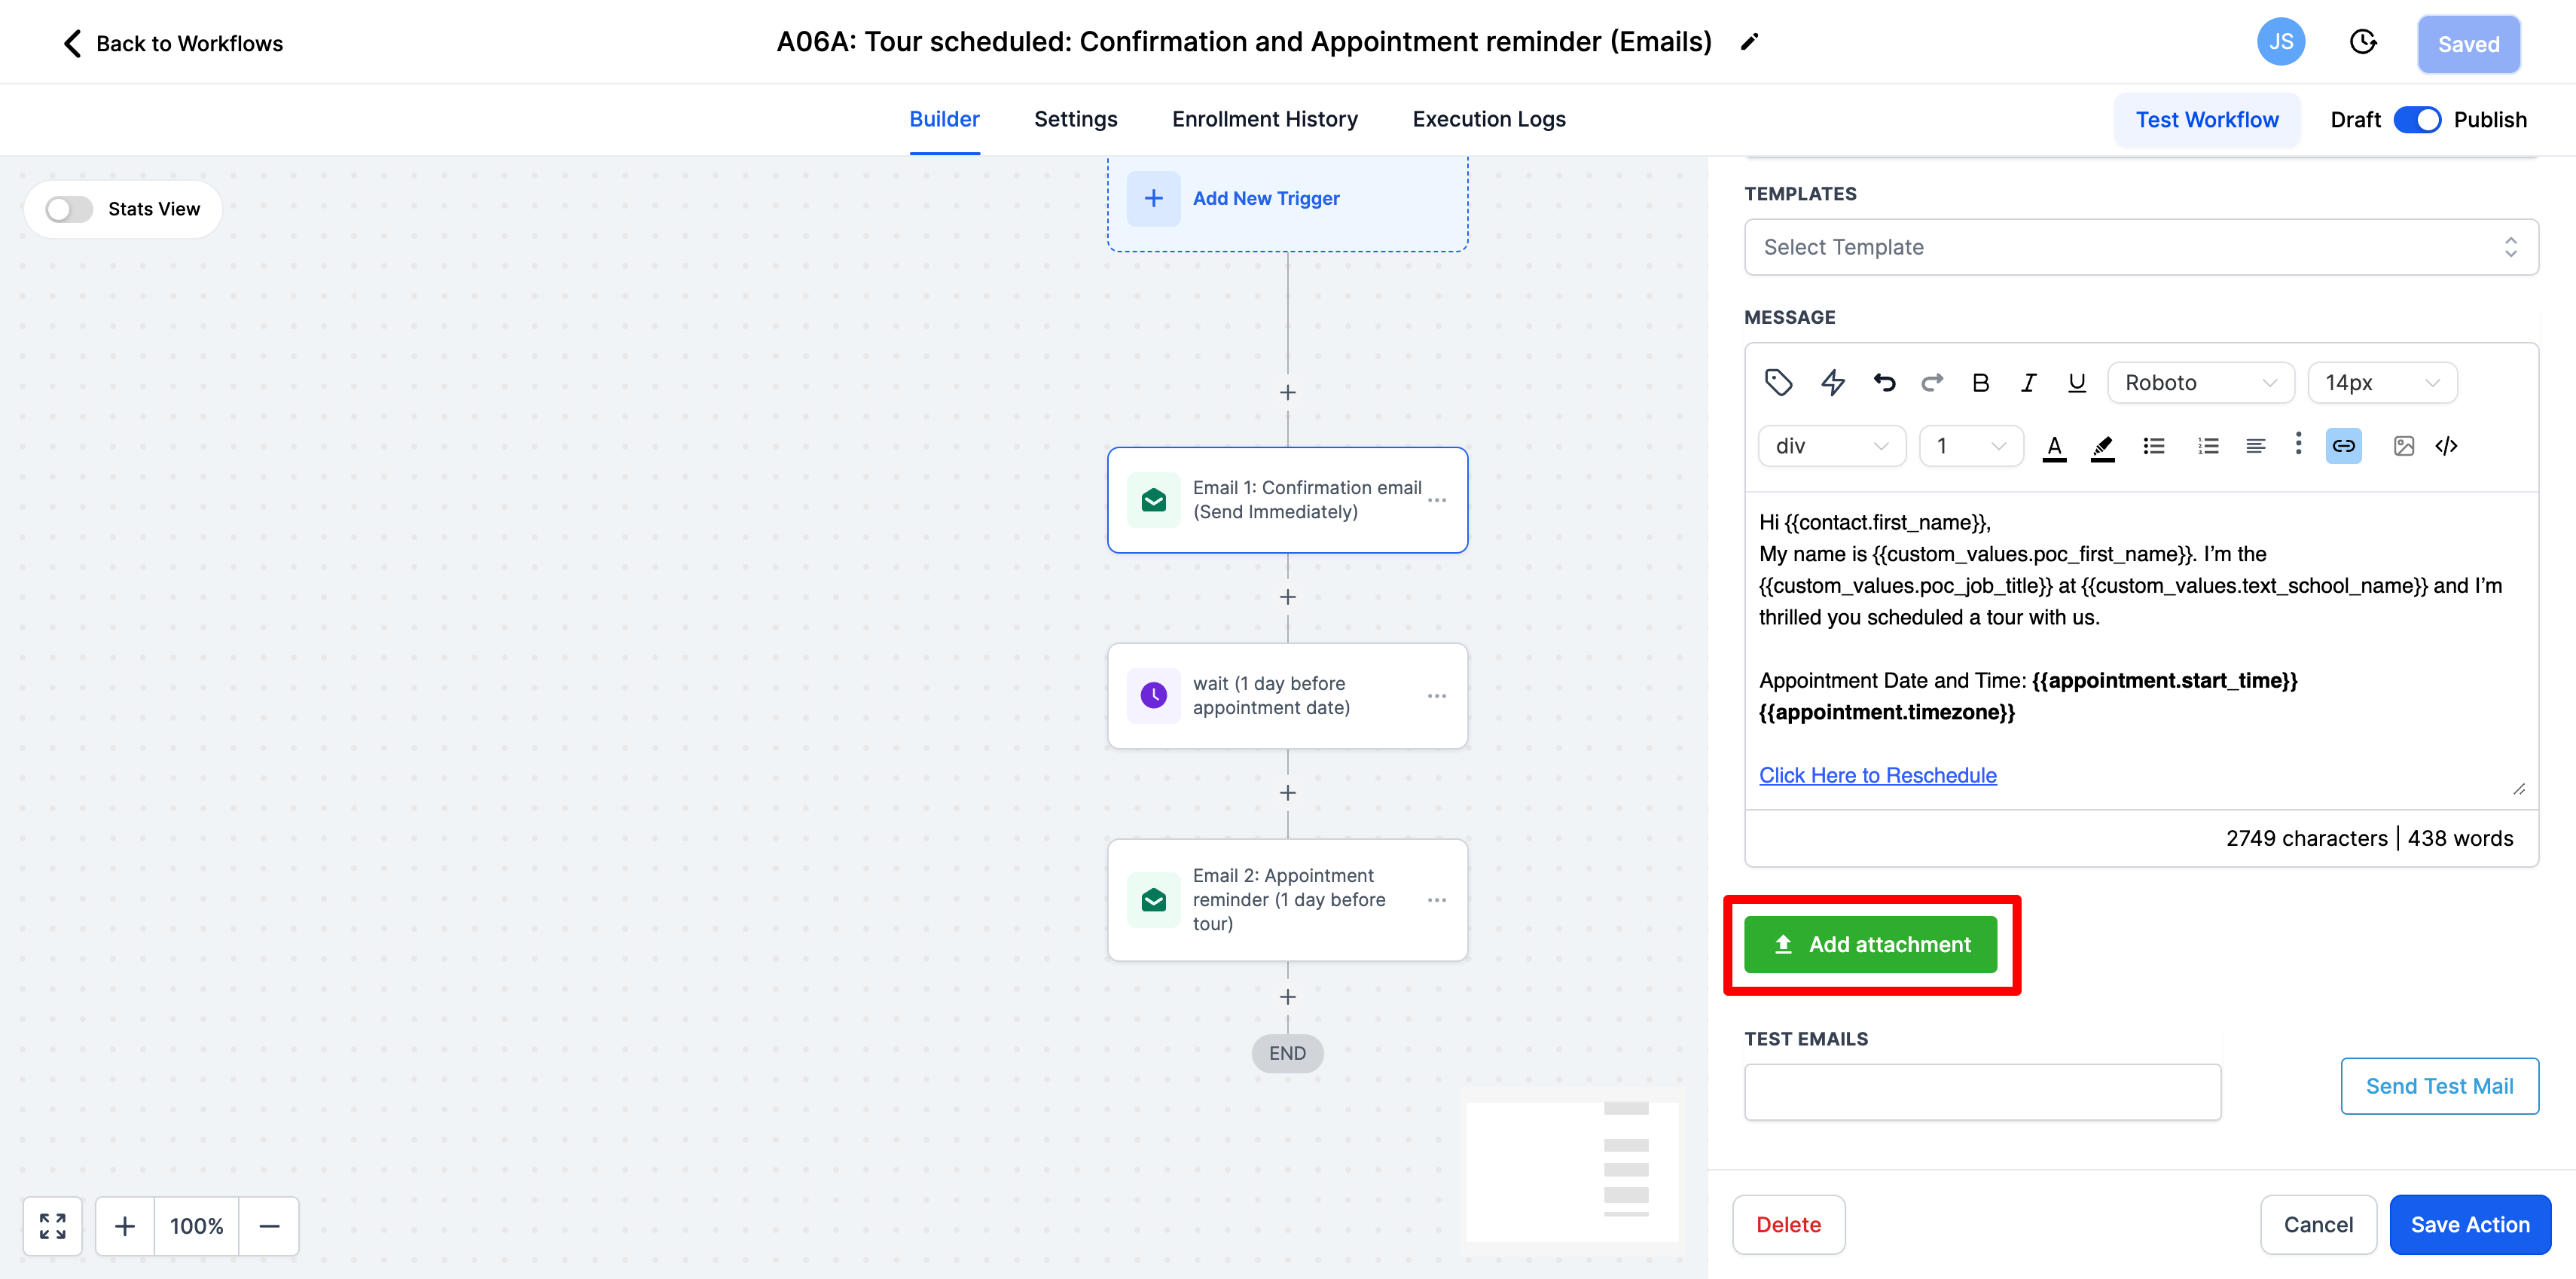
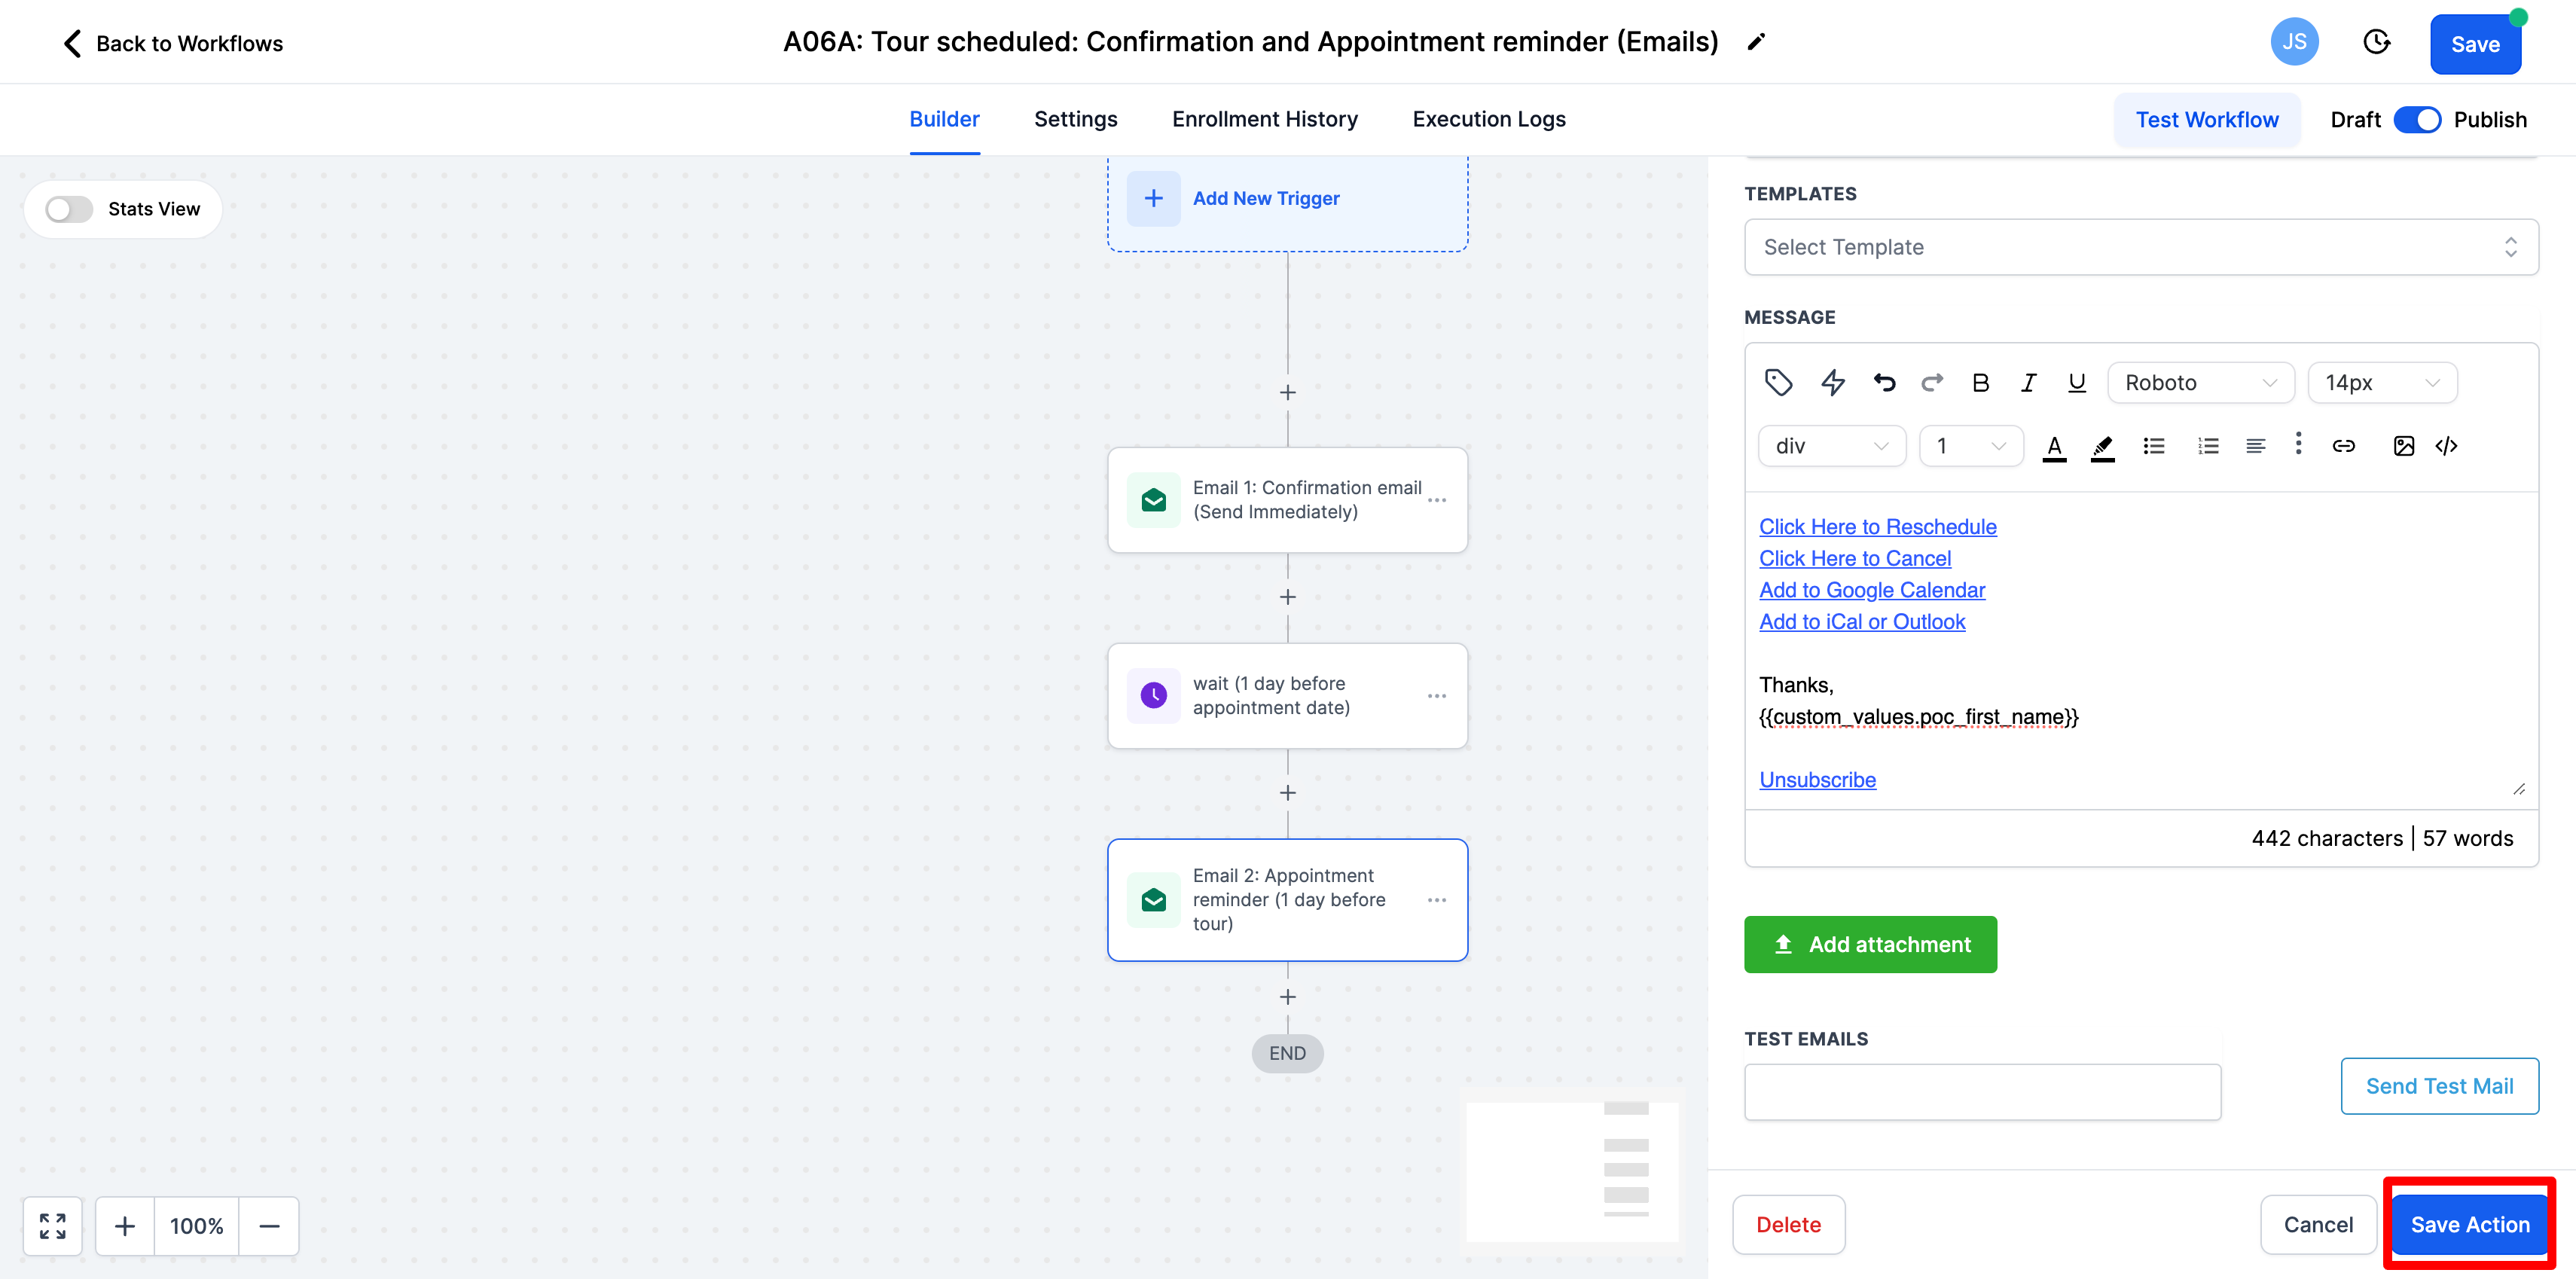
Scroll down and customize the message of the email. We give you a prewritten email however we recommend customizing it to say what you want it to when a parent books a tour with you.
-
You can add any attachments you would like. For example, an observation guide, or a document about what it is like to tour at your school.
-
Send yourself a test email once you are done to be sure that the email reads and looks how you would like.

-
Once you are finished be sure to save action in the bottom right-hand corner.
-
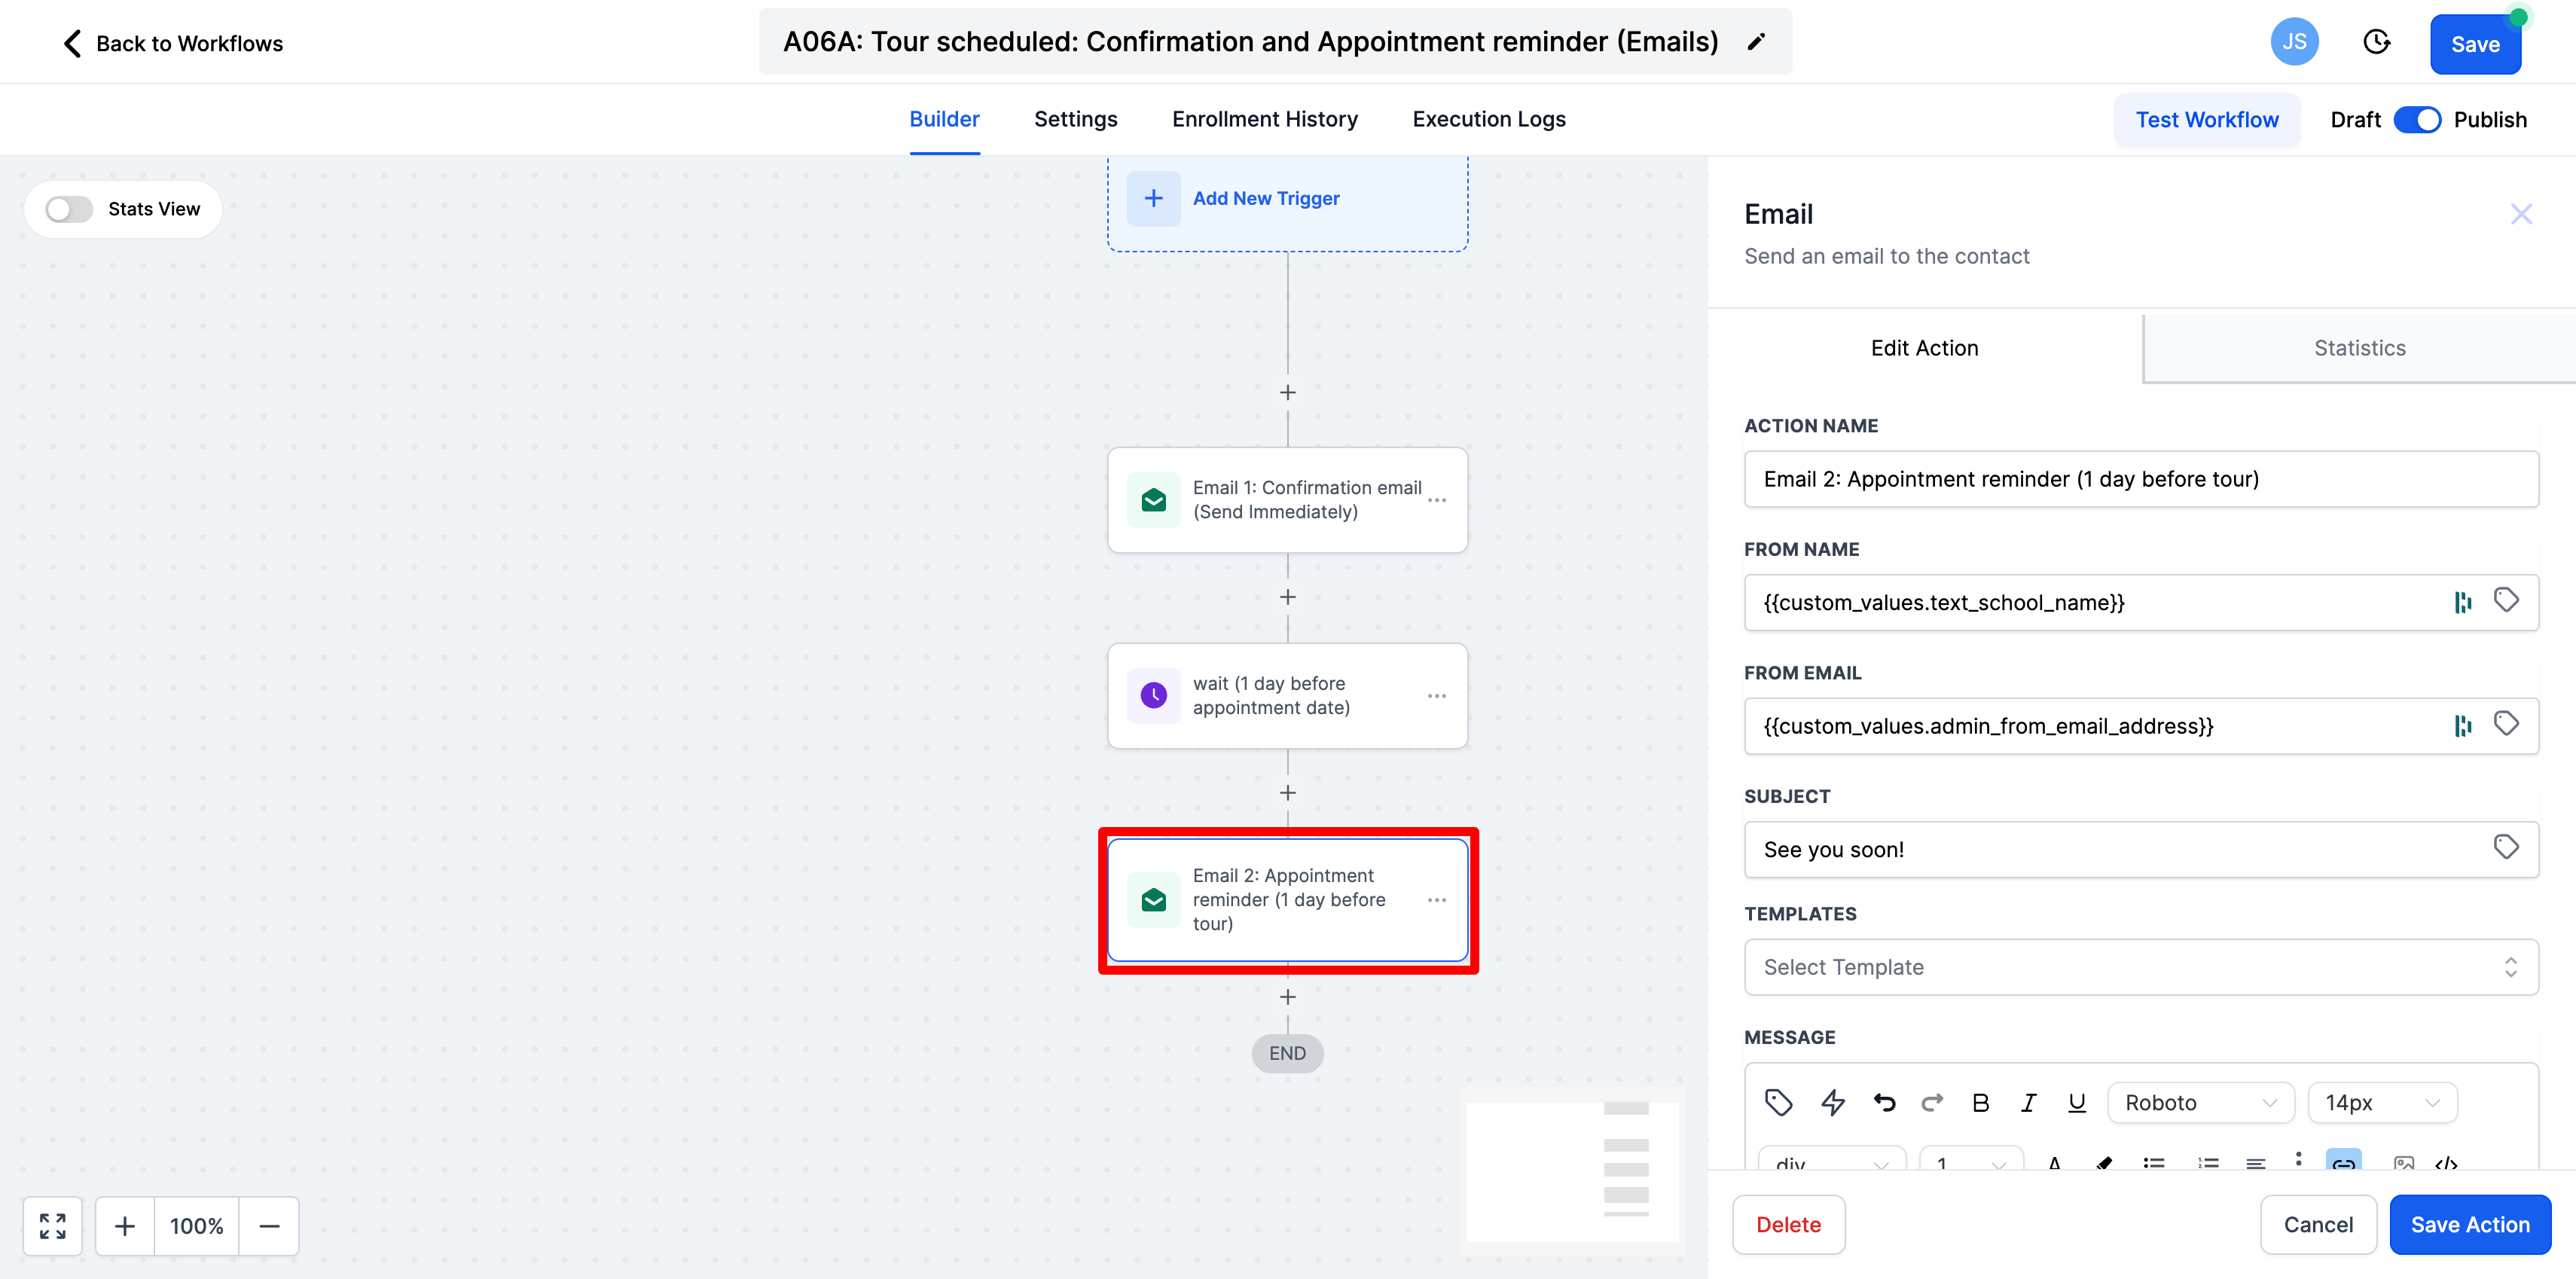
The next email that will sent is the reminder email. This will go out 1 day before the booked tour. Select email 2: appointment reminder.
-
Feel free to edit the from name or email as well as the subject of the email. Due to this being a reminder email, there shouldn't be much that needs to be edited in the message of the email.
-
Send yourself a test email to be sure it looks and sounds the way that you would like
-
Be sure to save action in the bottom right-hand corner
-
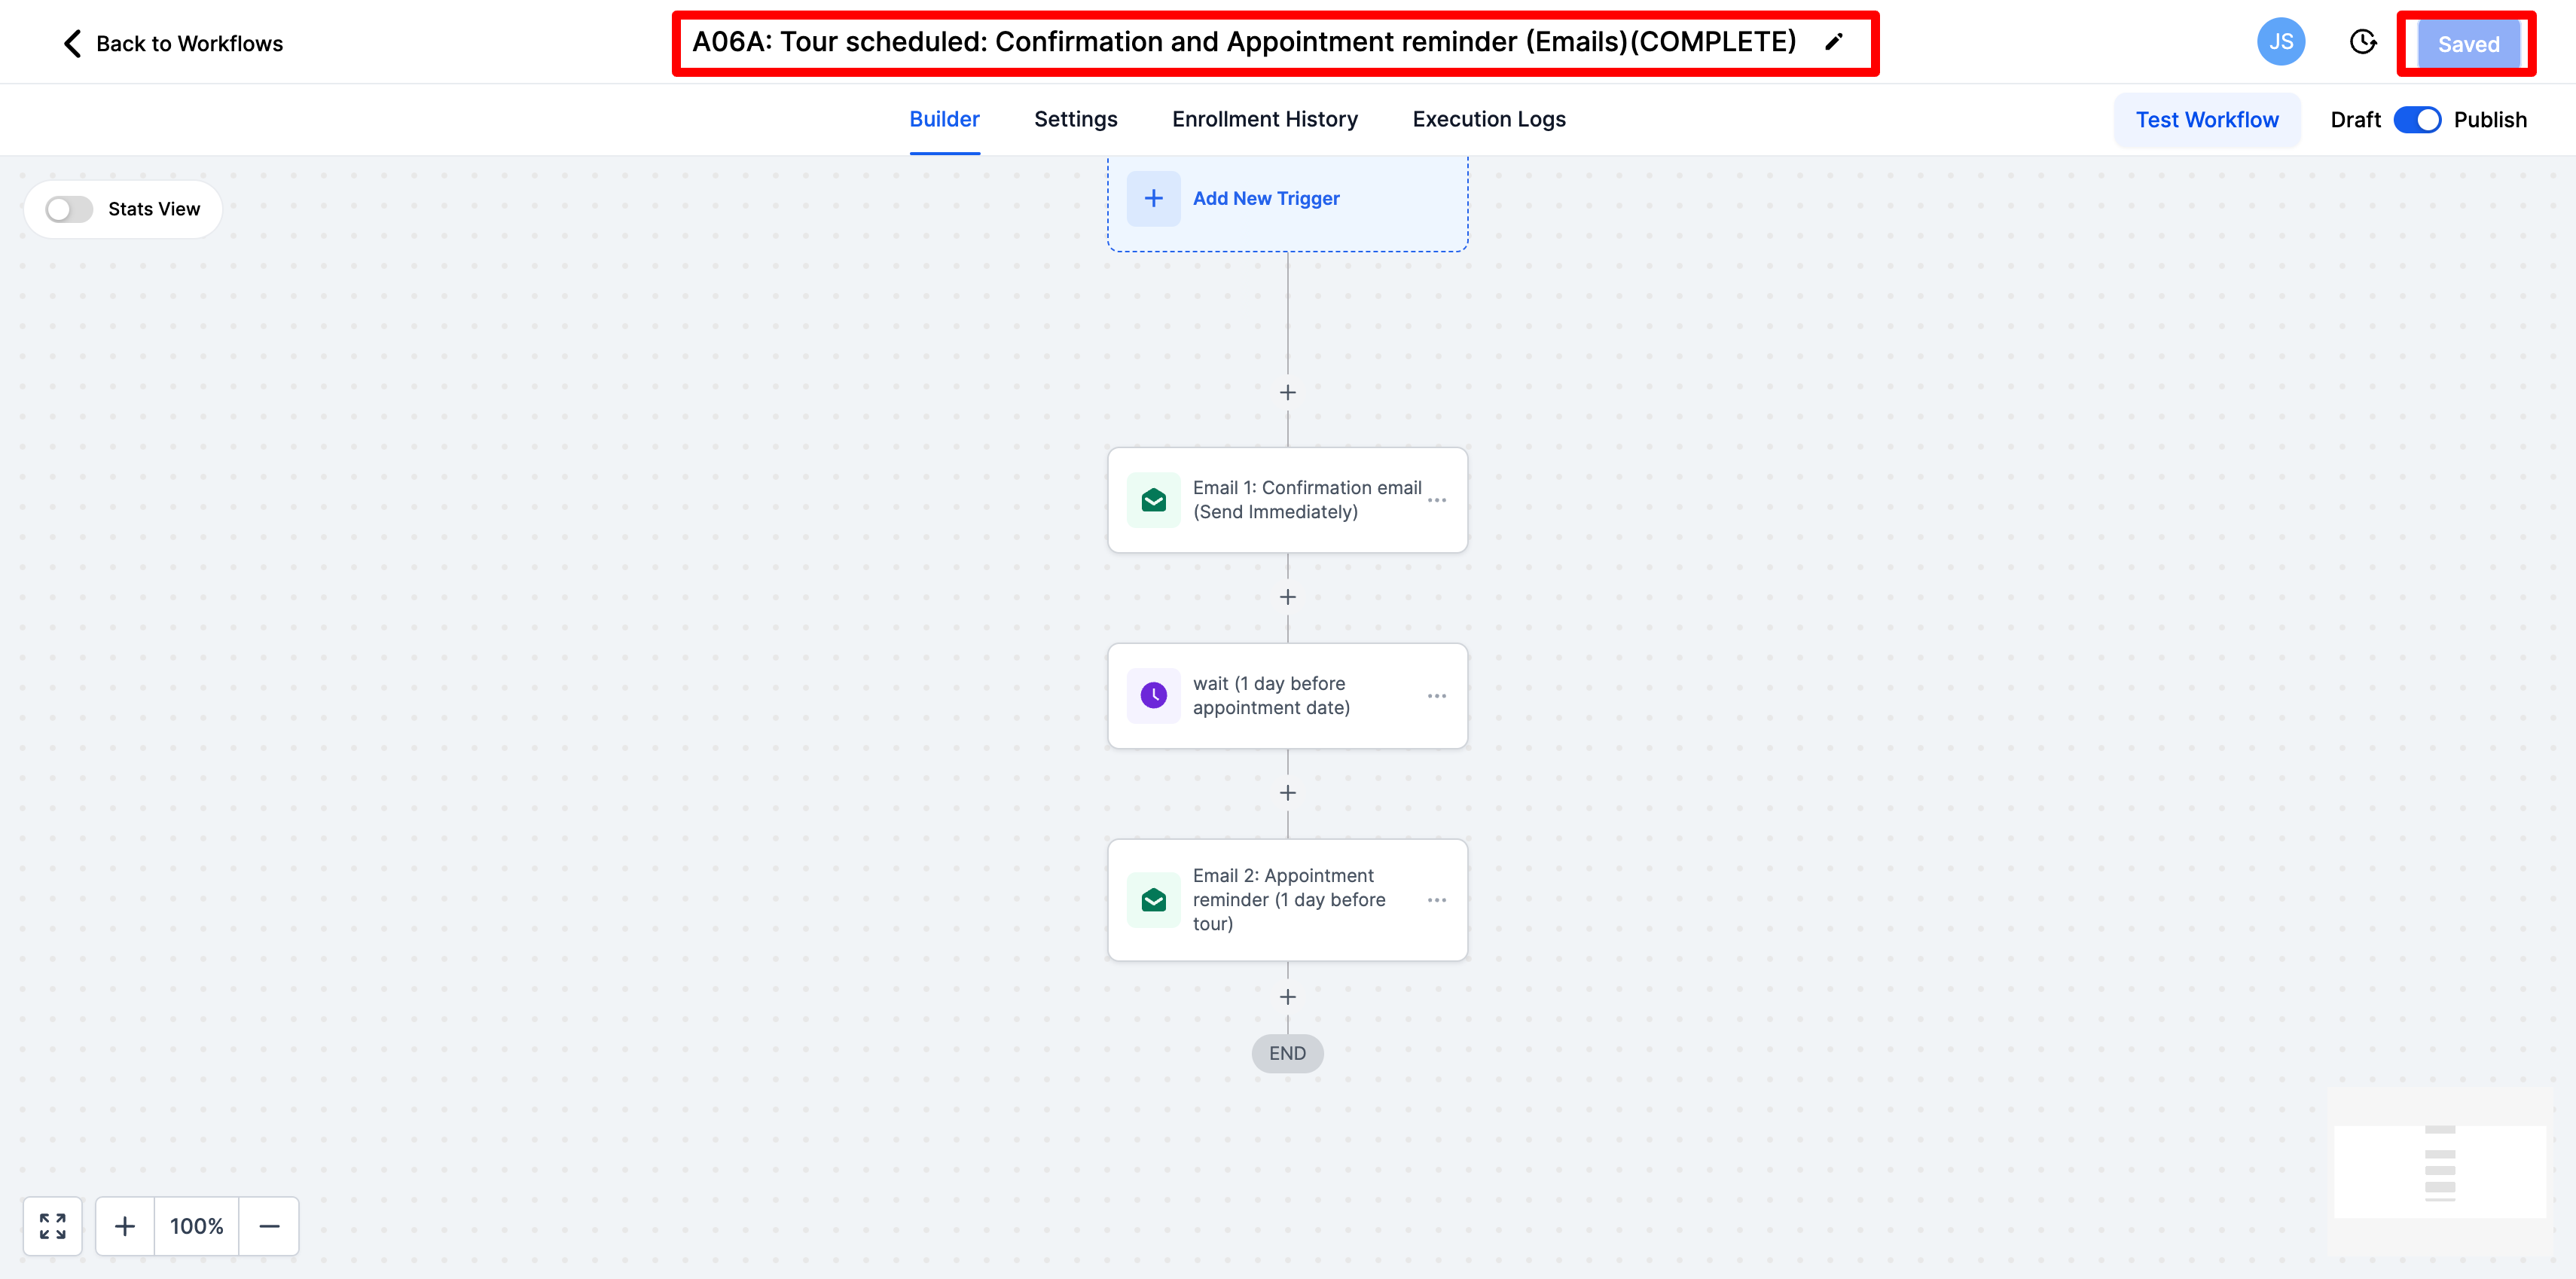
Once you are done please add (COMPLETE) to the title so that our team knows that you have reviewed these emails and click save
-
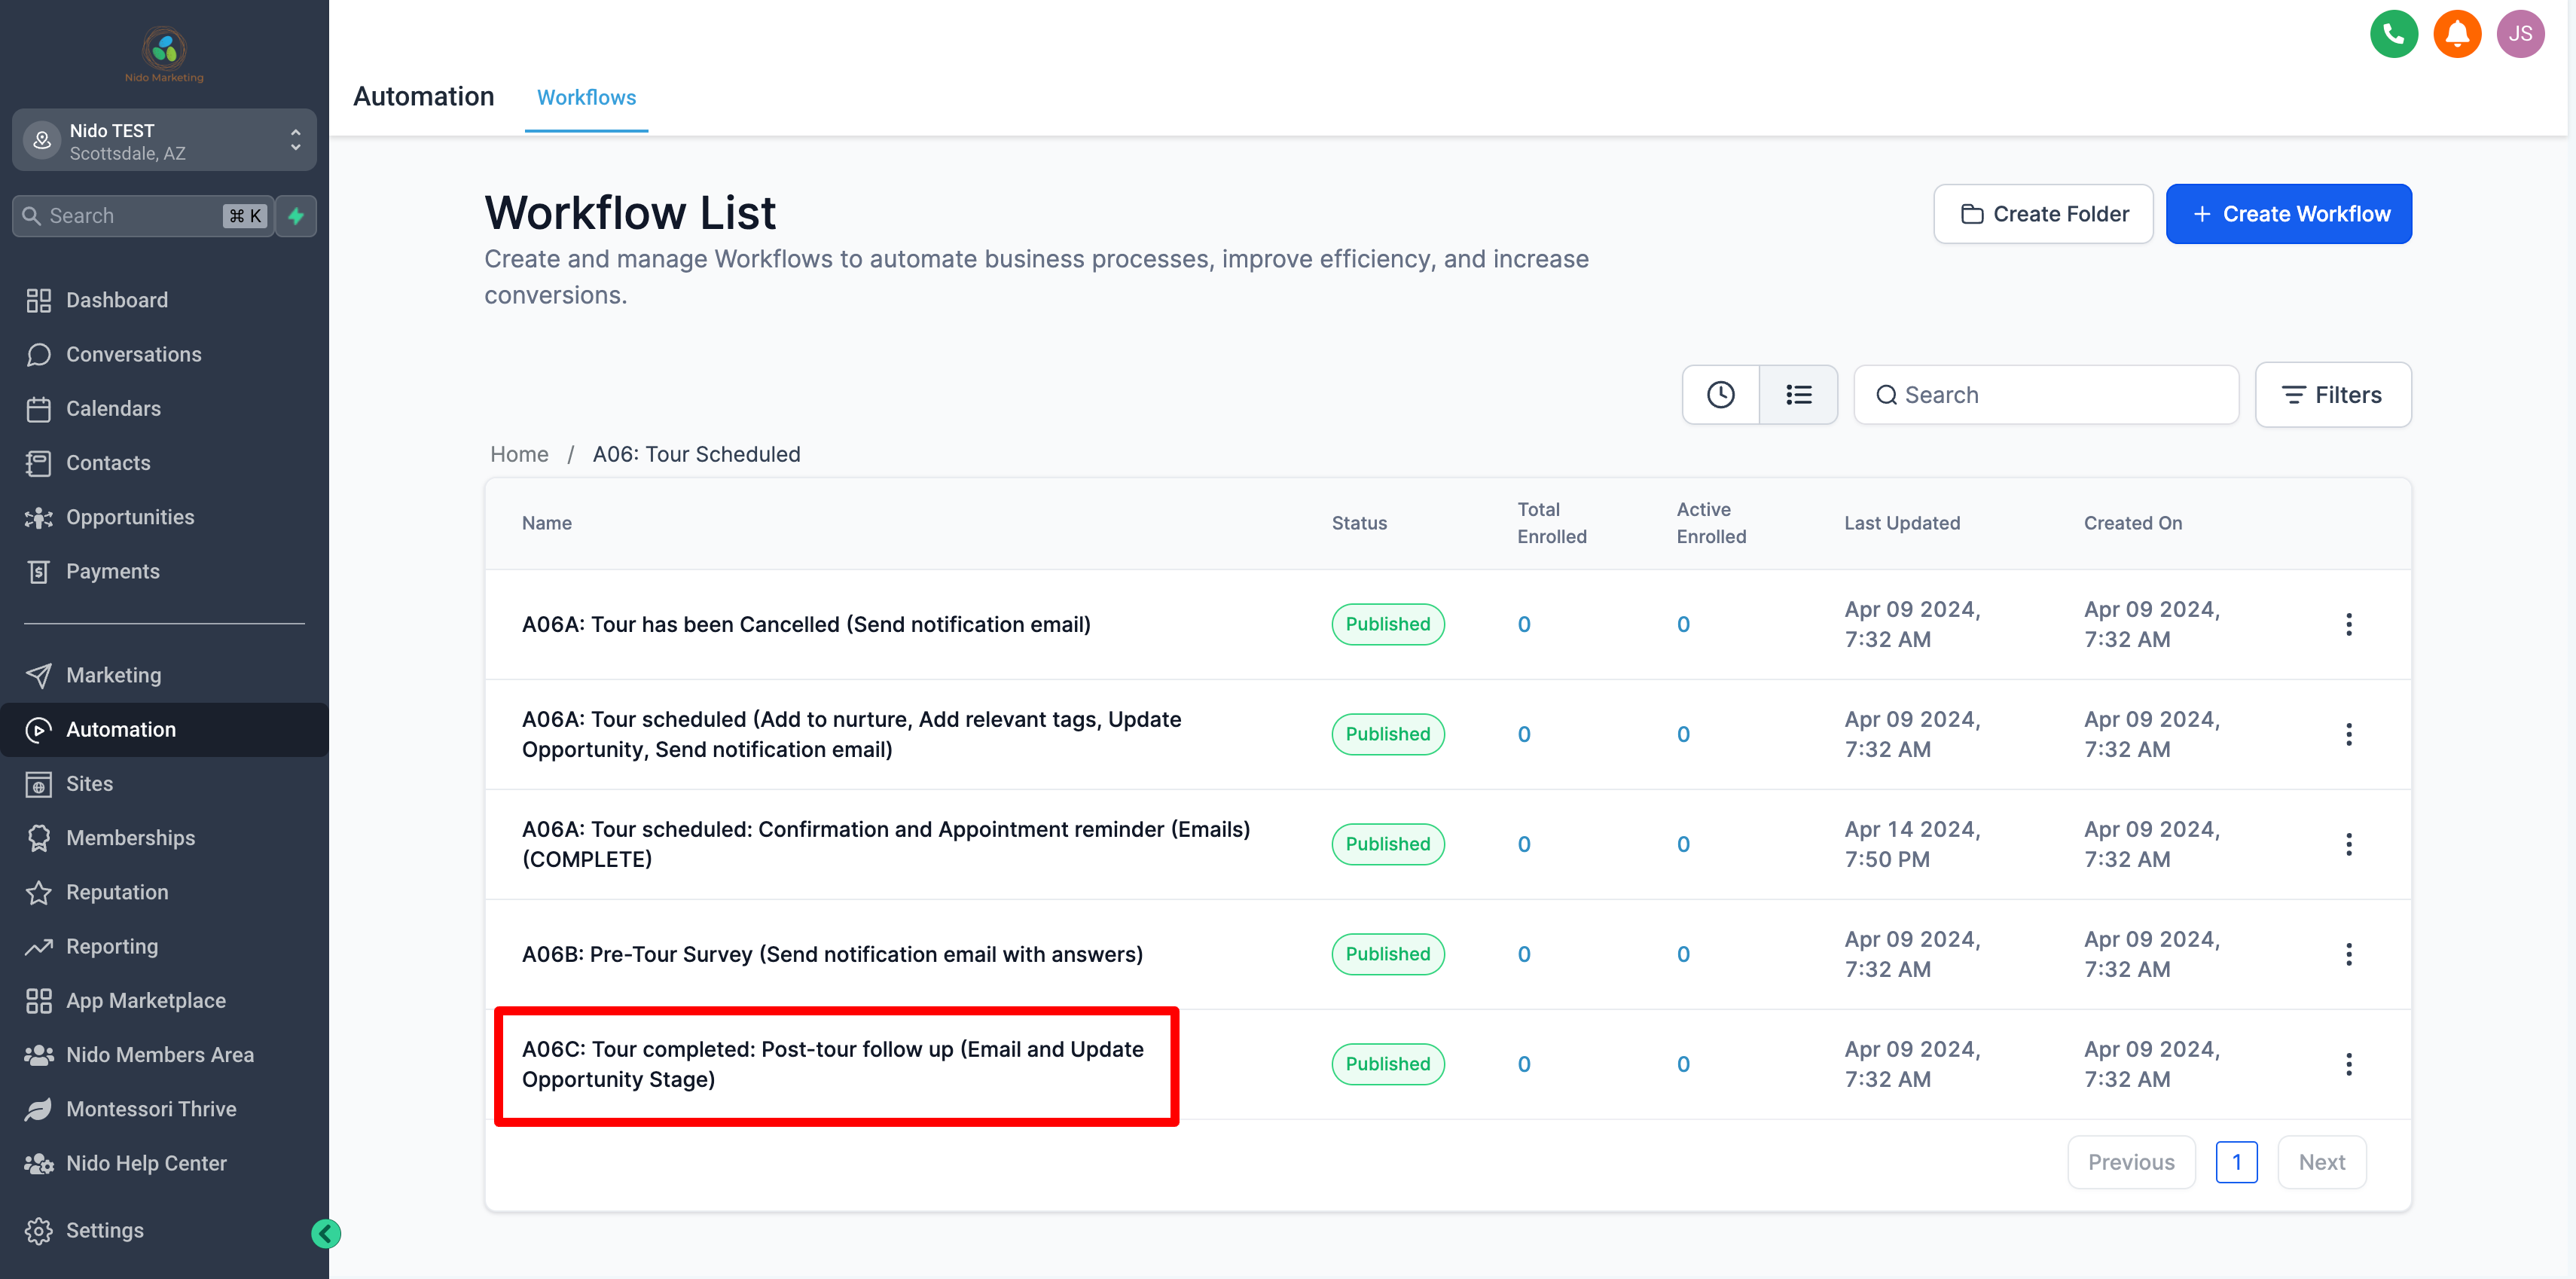
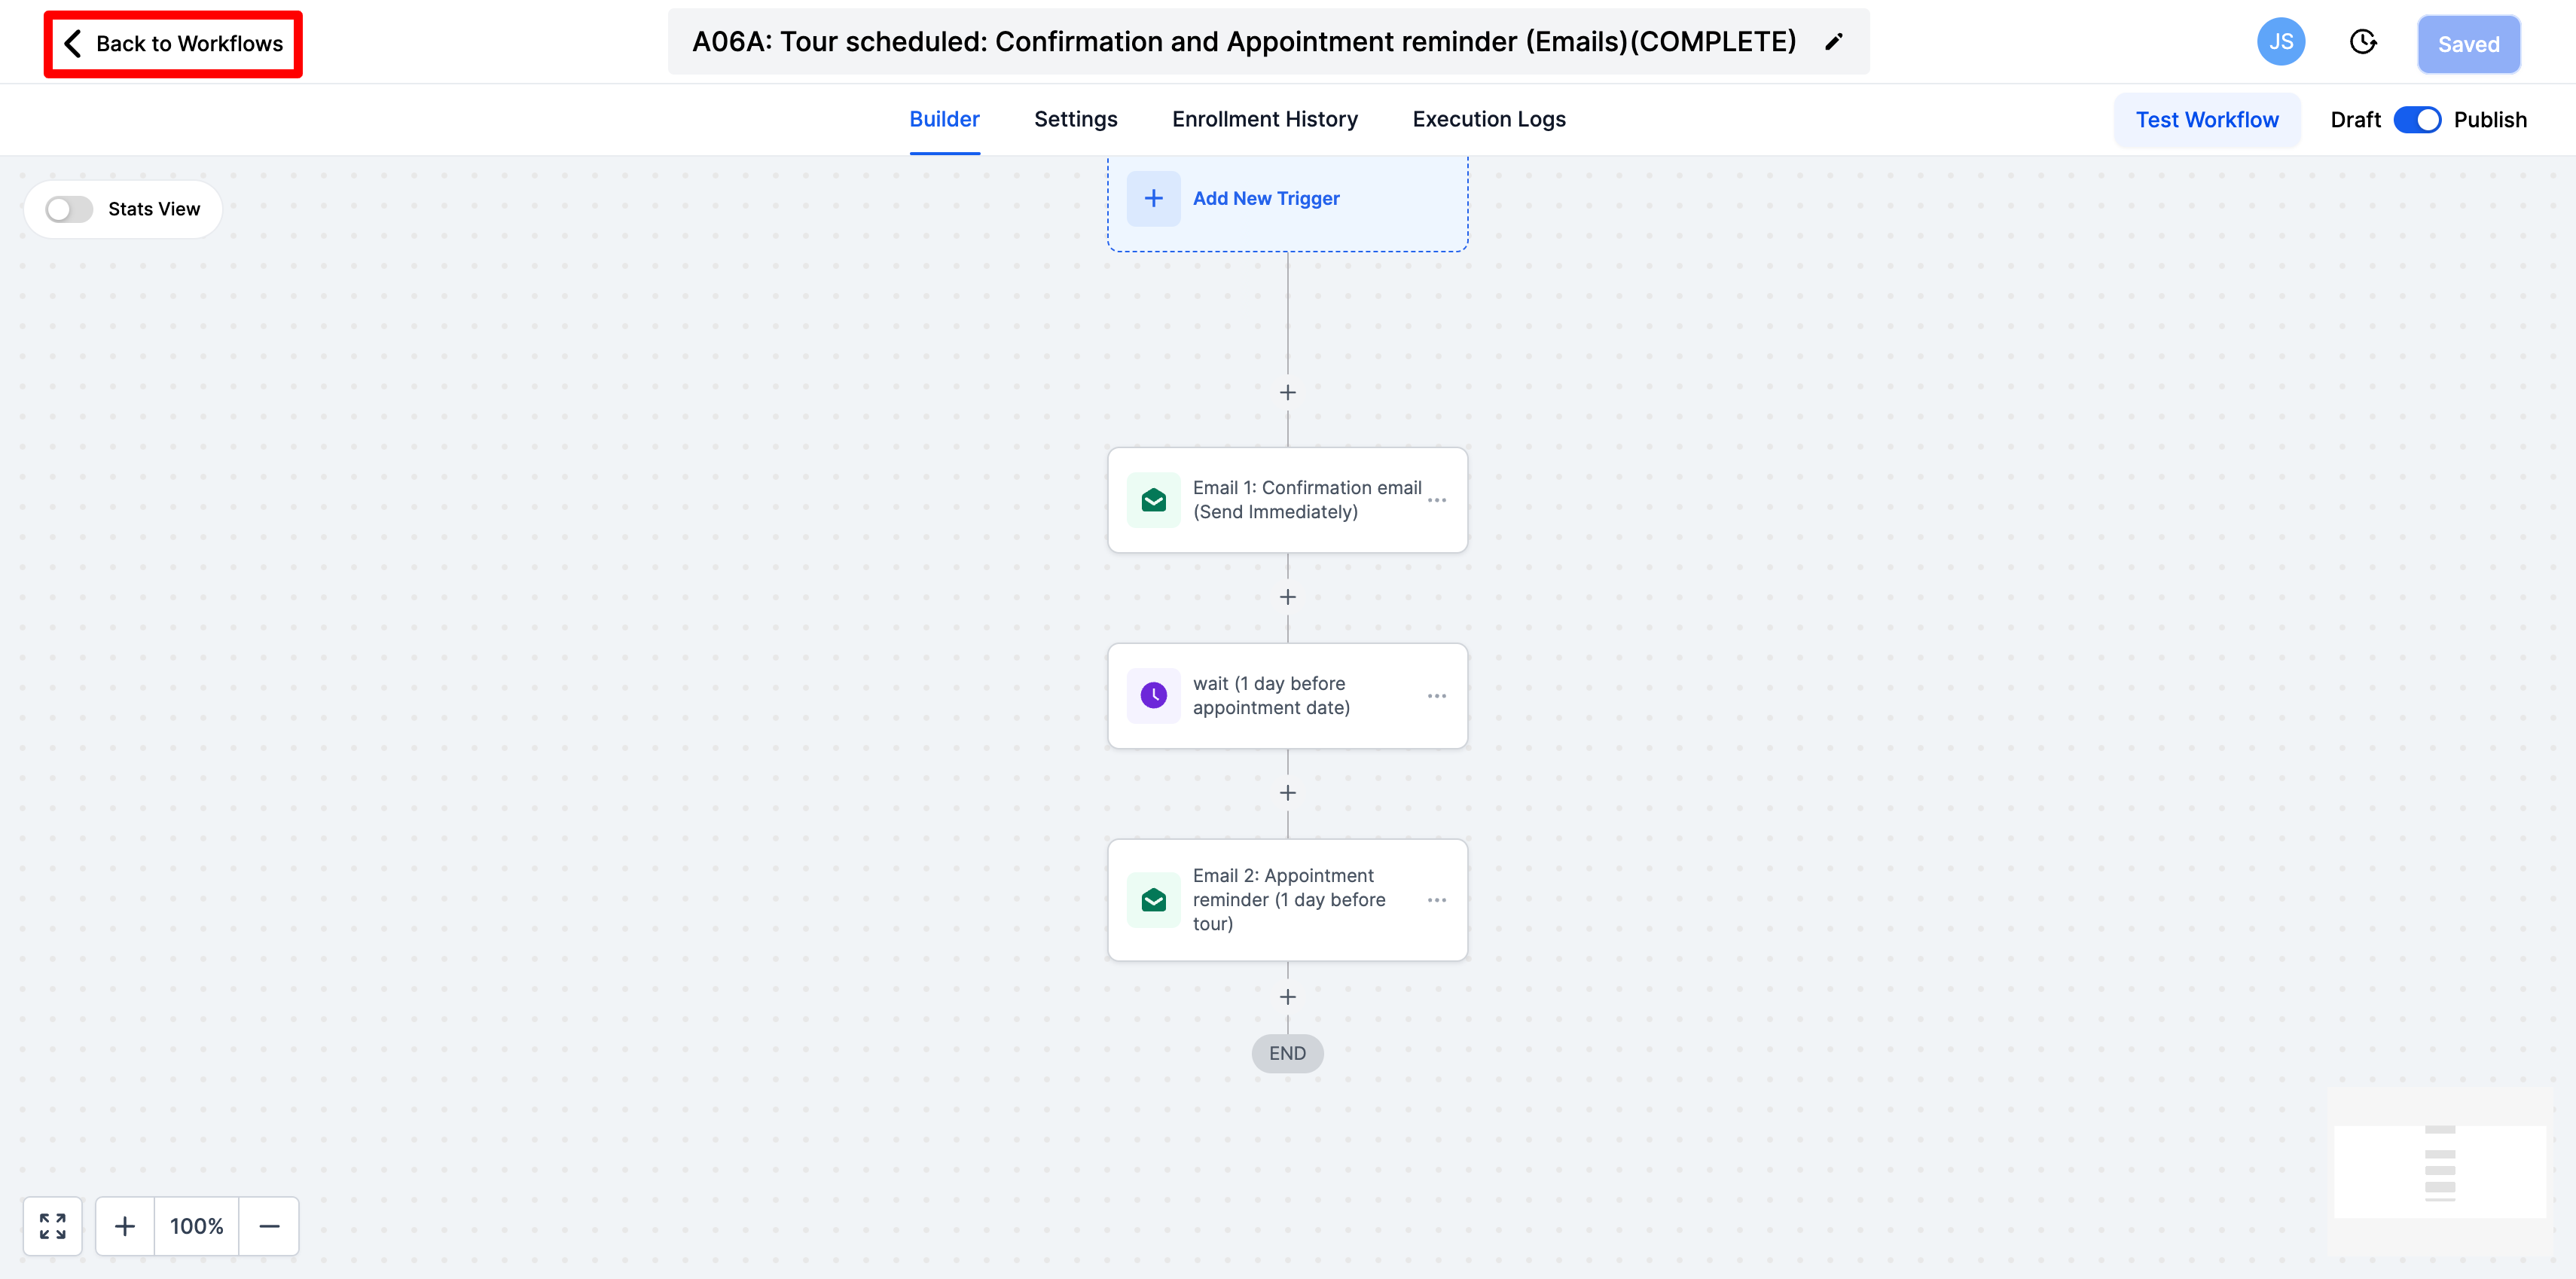
In the top left-hand corner click on back to workflows
-
Next, find the workflow called Post Tour follow-up. This is the workflow for if you would like to send an automatic follow-up after a tour. You will need to go in and mark the tour as showed so that the system knows to send this email. If this is something you would like to utilize please edit the email as you did for the confirmation and reminder. Mark it as complete and let your client manager know that you would like to use this. They will then instruct you on how to mark the tour as showed.