How to customize your email nurture
The email nurture is the series of emails that help to teach your new leads about you, your school, and Montessori in general once they fill out a form on your website (lead magnet request, tuition request, quiz). This allows you to automatically follow up with each new lead.
-
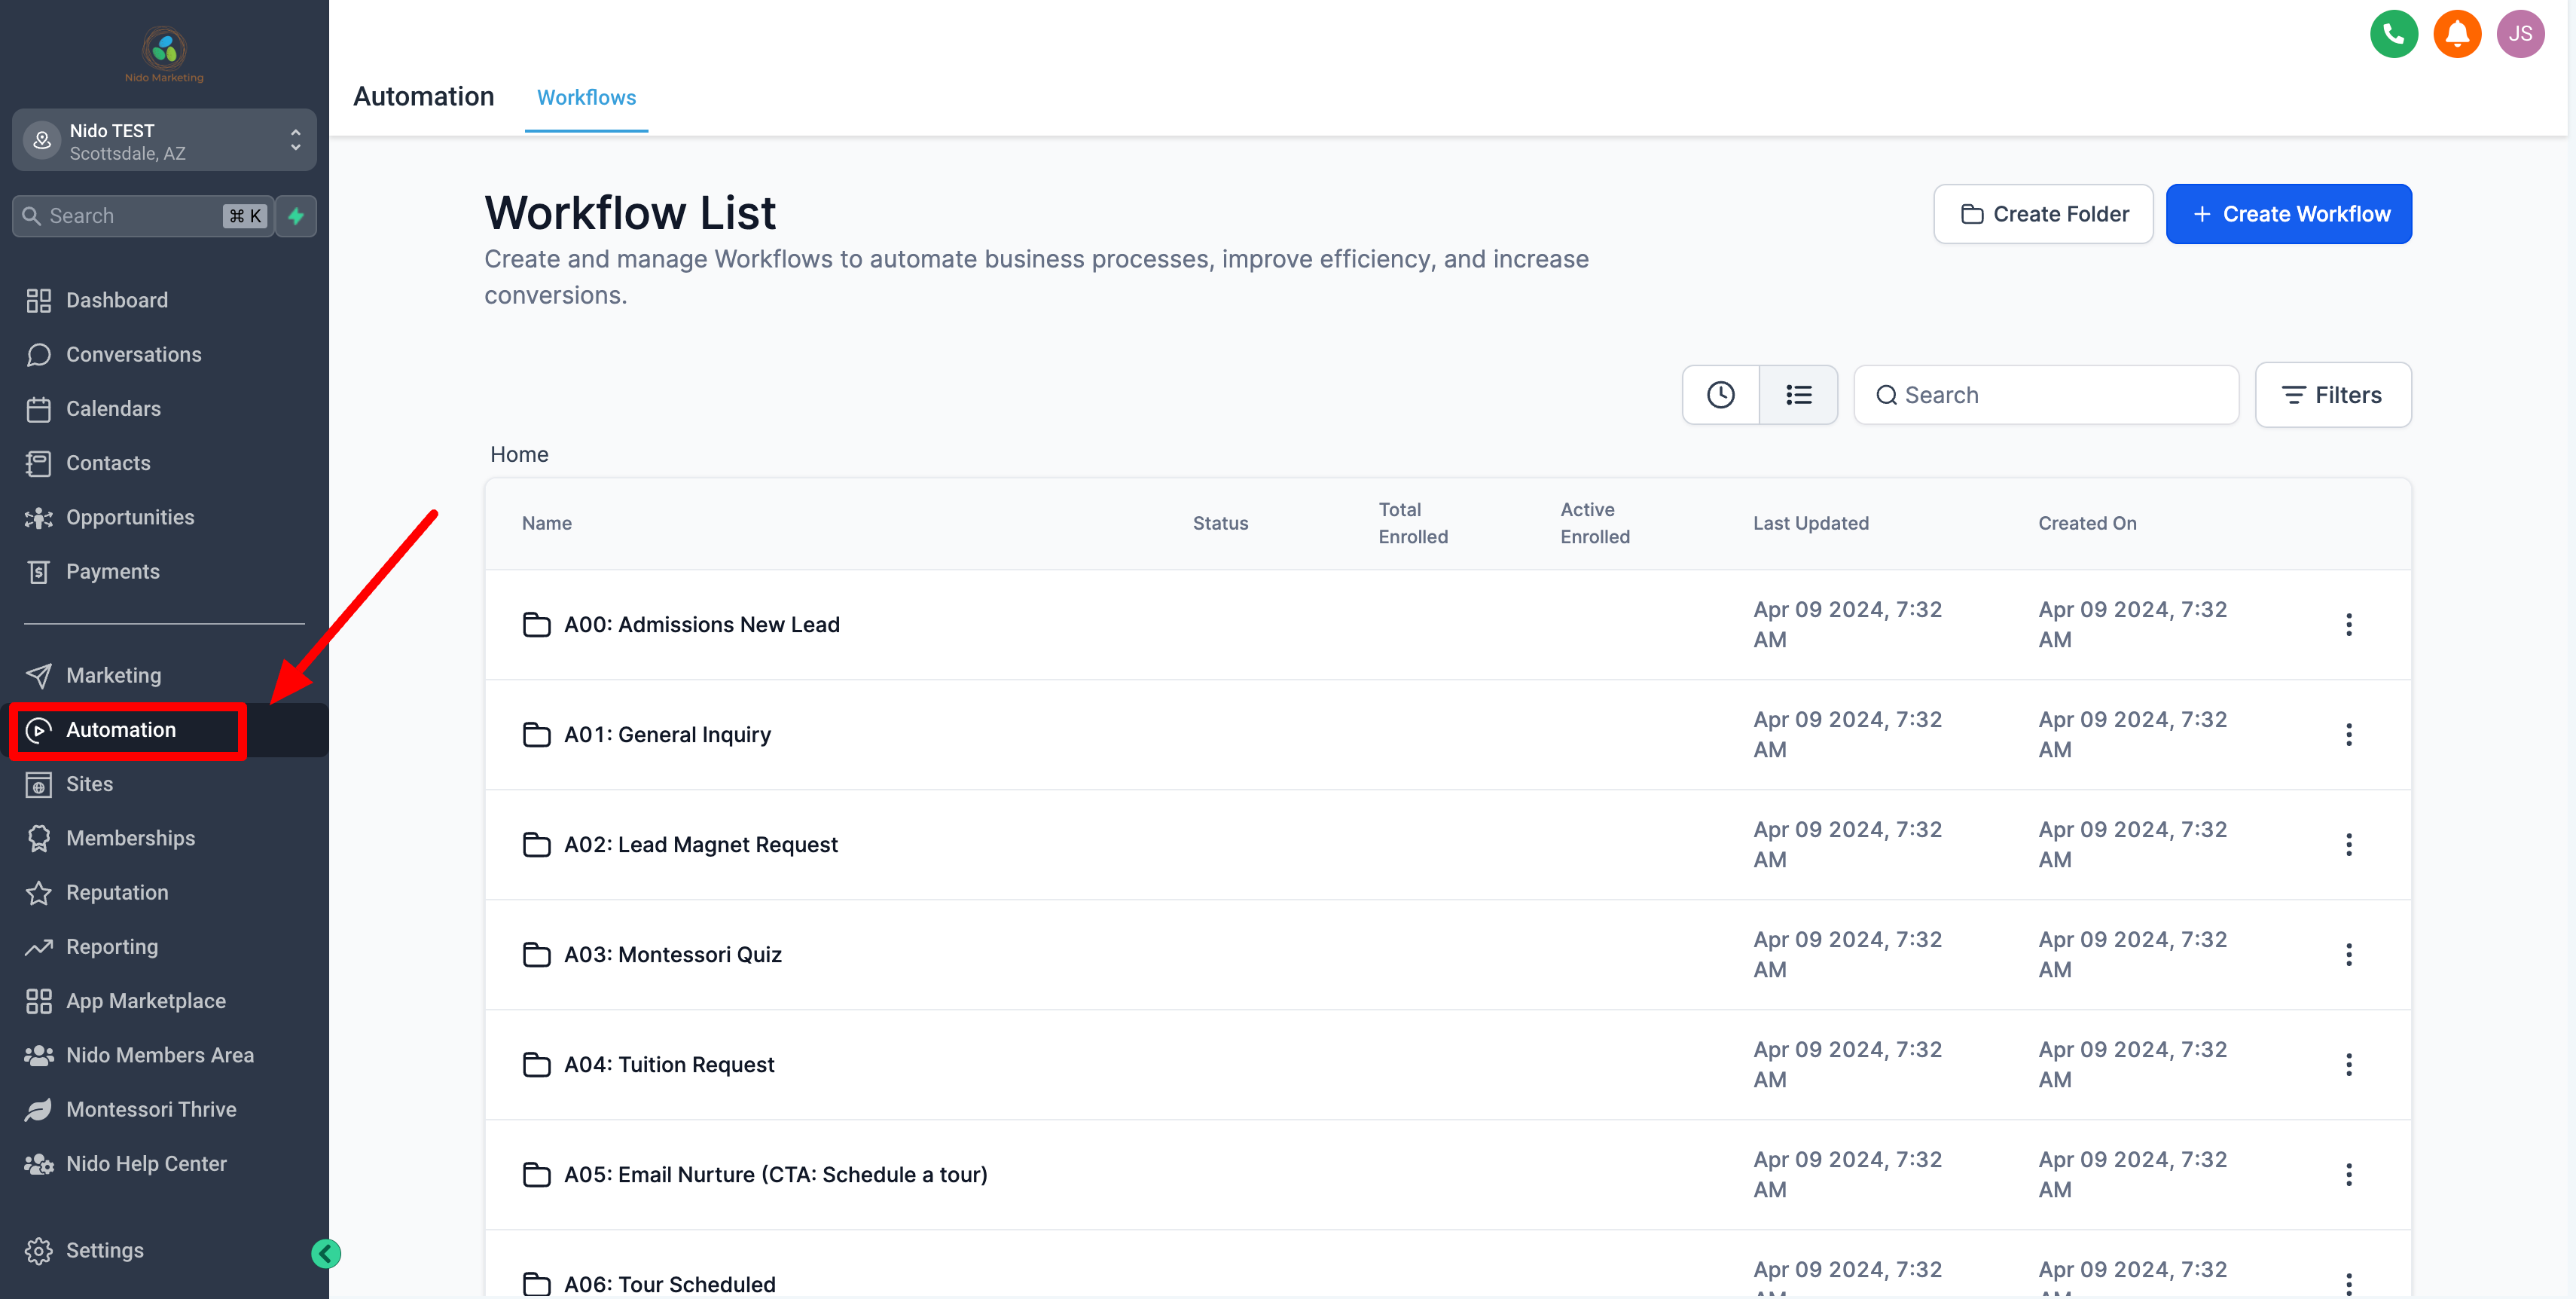
Click on automation on the left-hand side
-
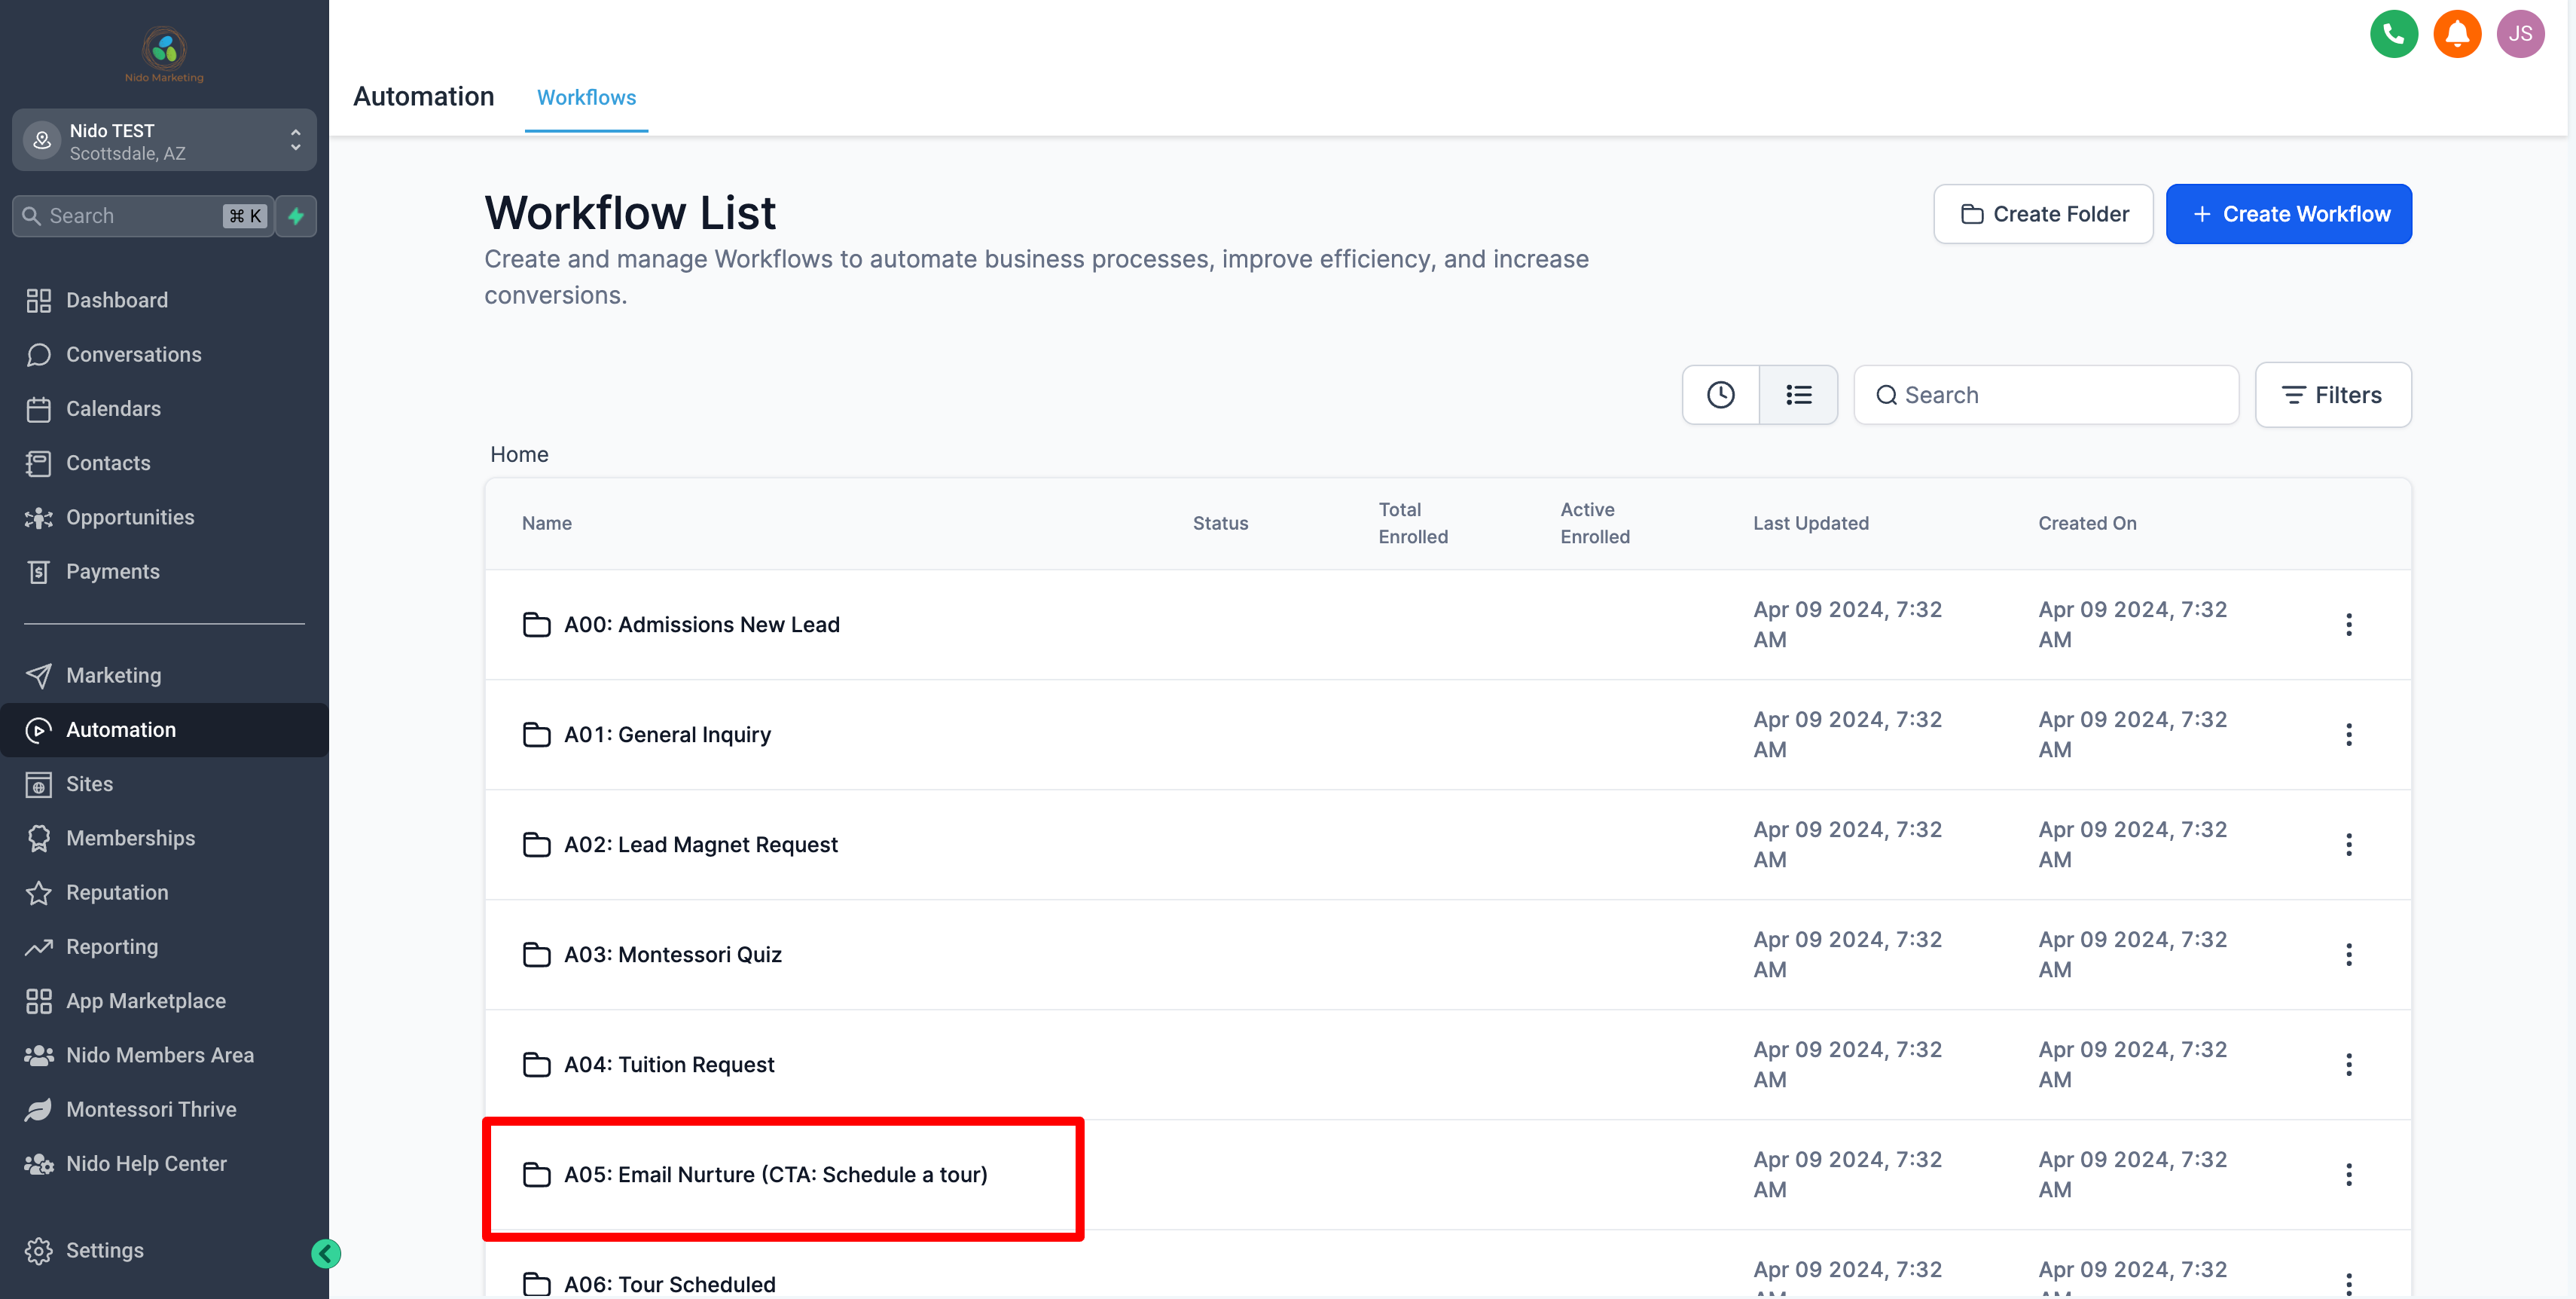
Click on email nurture
-
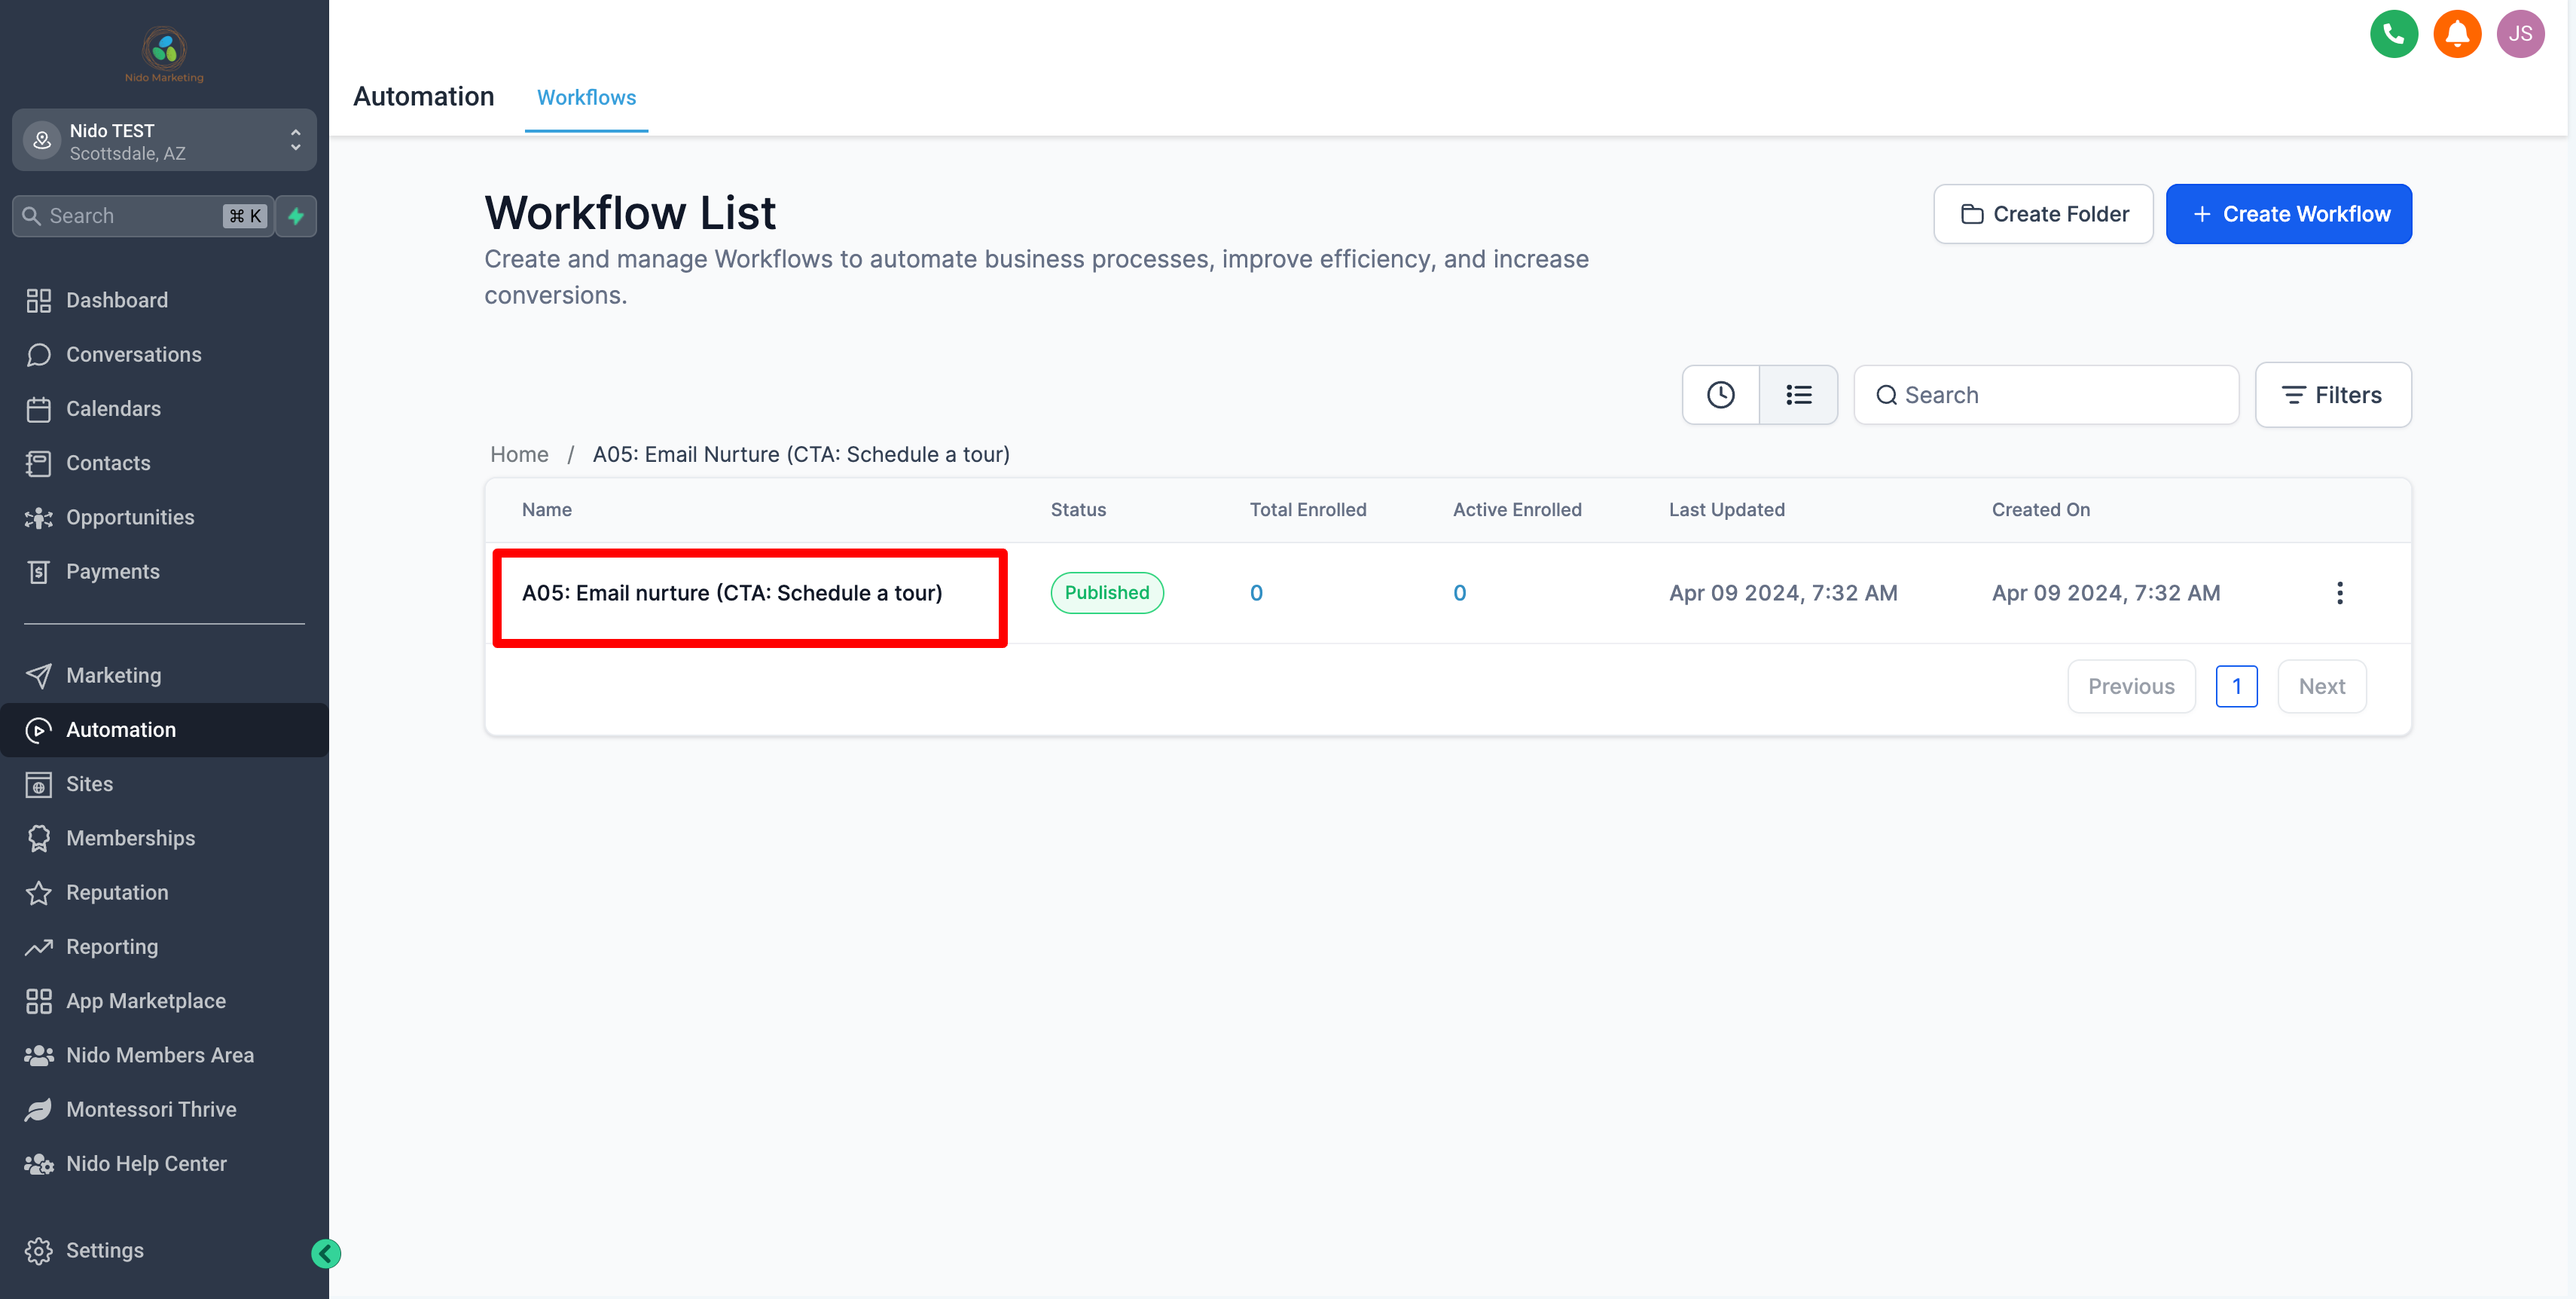
Click on email nurture again
-
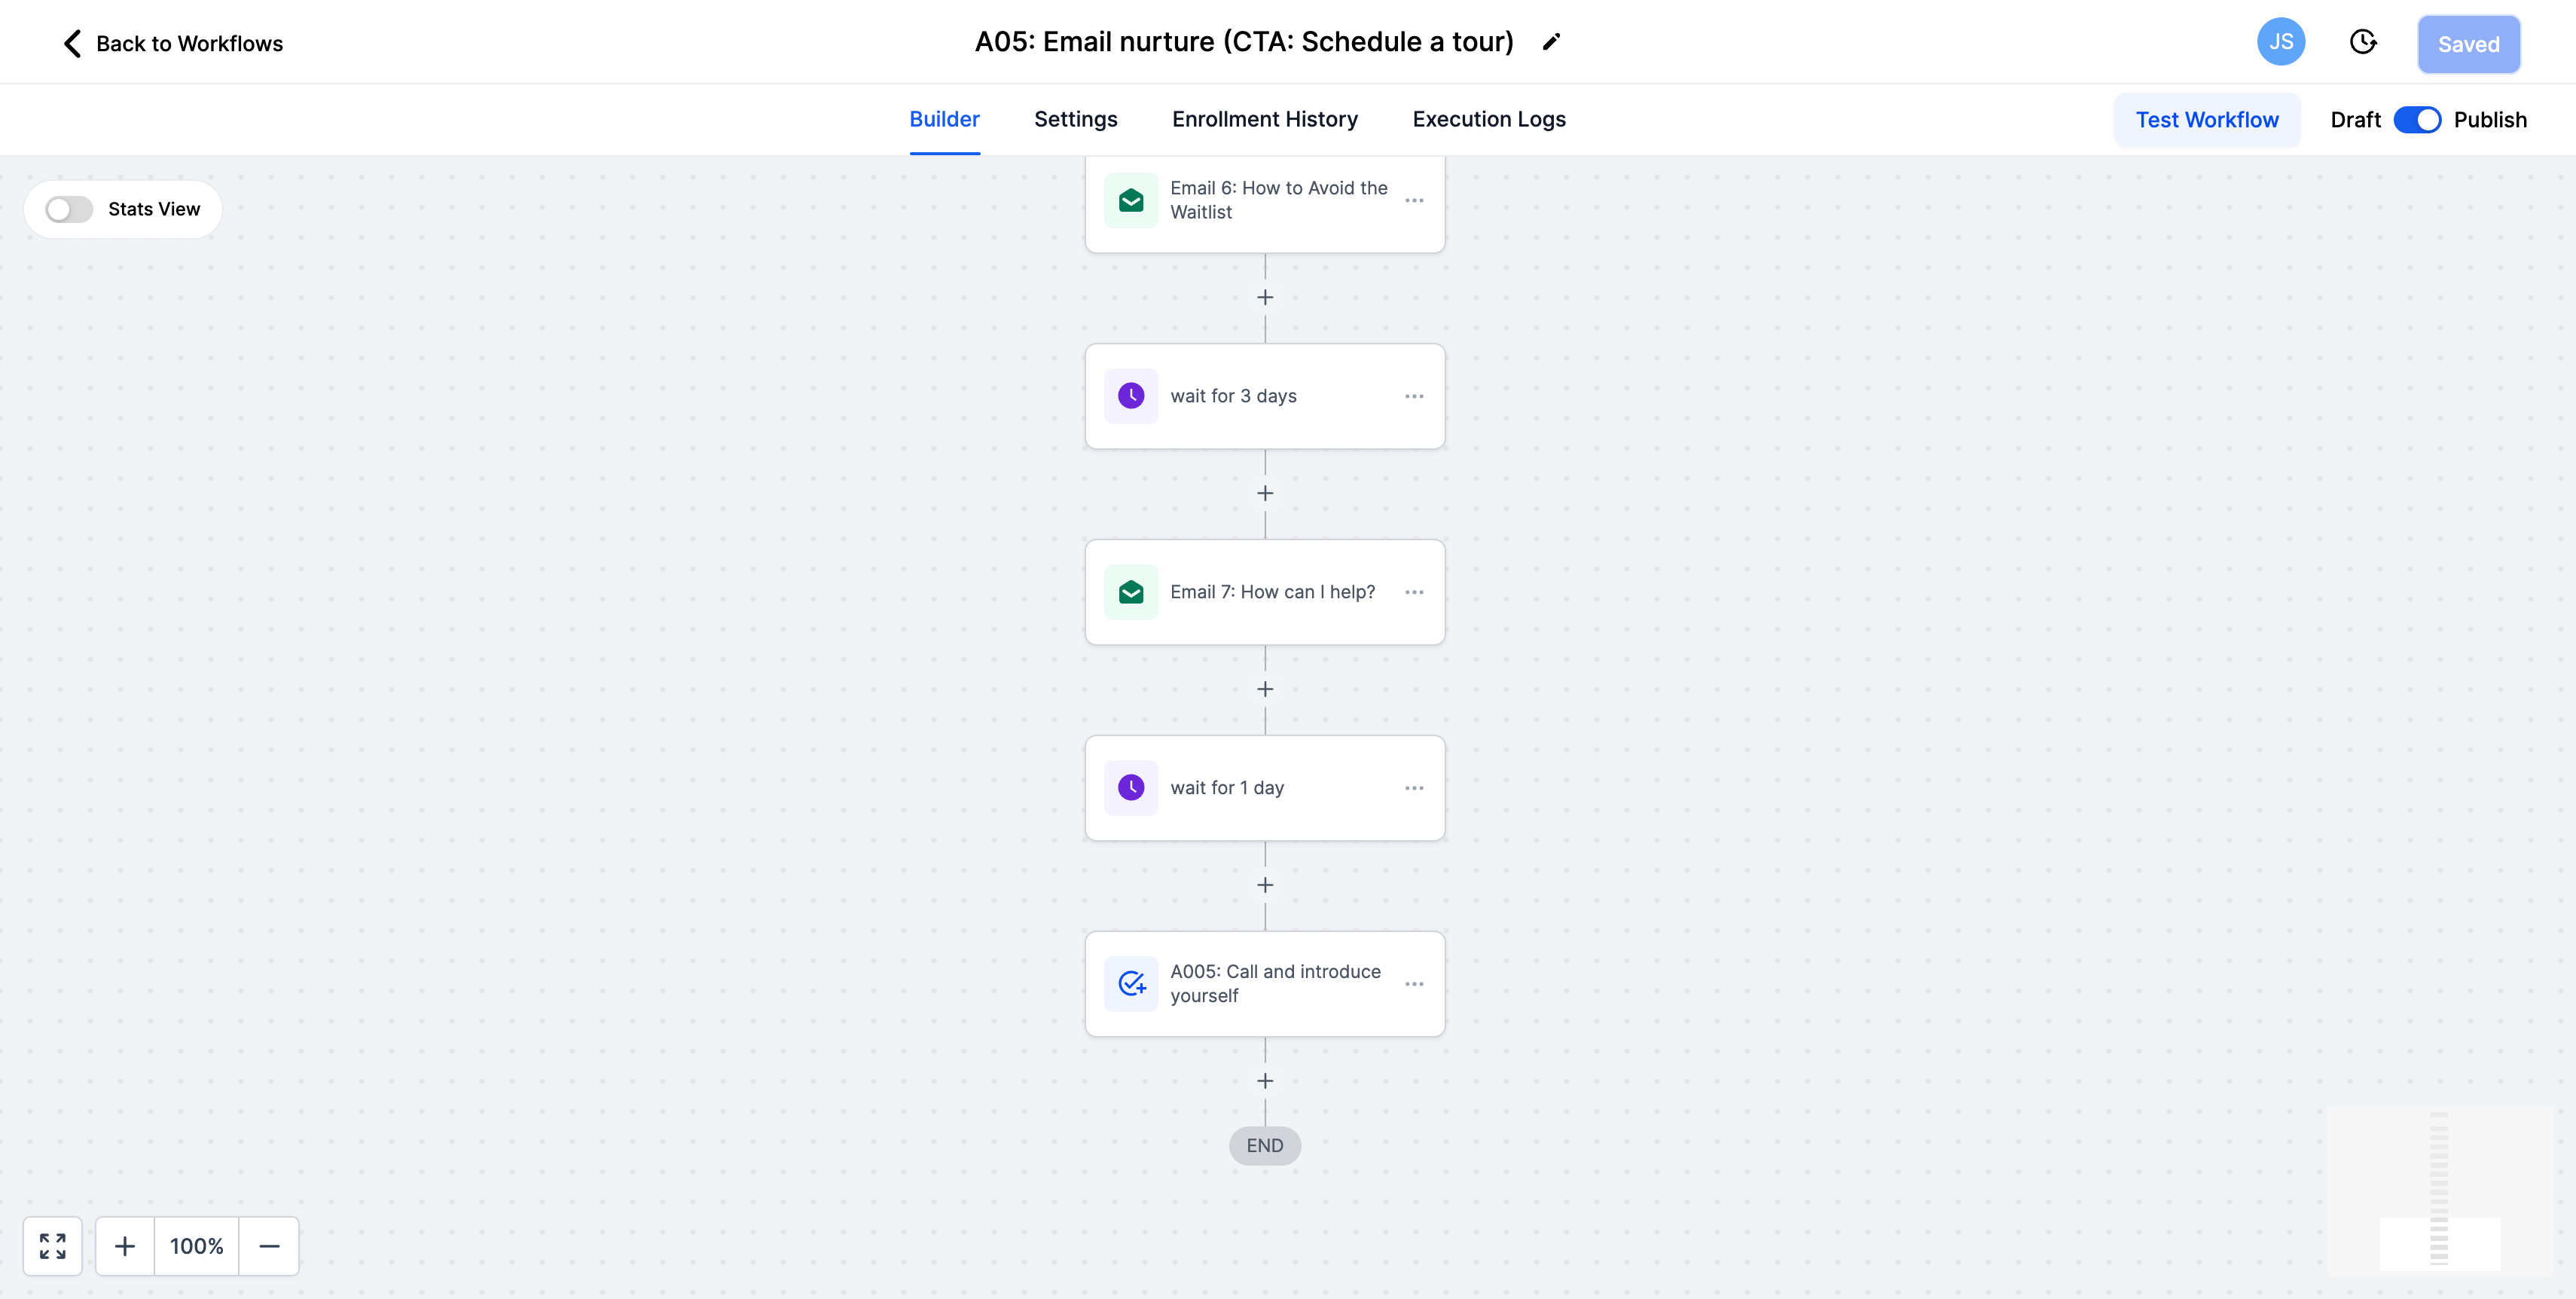
This is the series of emails that prospective parents will receive and you will notice that there are quite a few of them. Statistically 80% of all online conversions happen after the 8th touch point which is why you'll notice that there are 7 emails and then a call. This is what we recommend but you can customize it however you see fit.
-
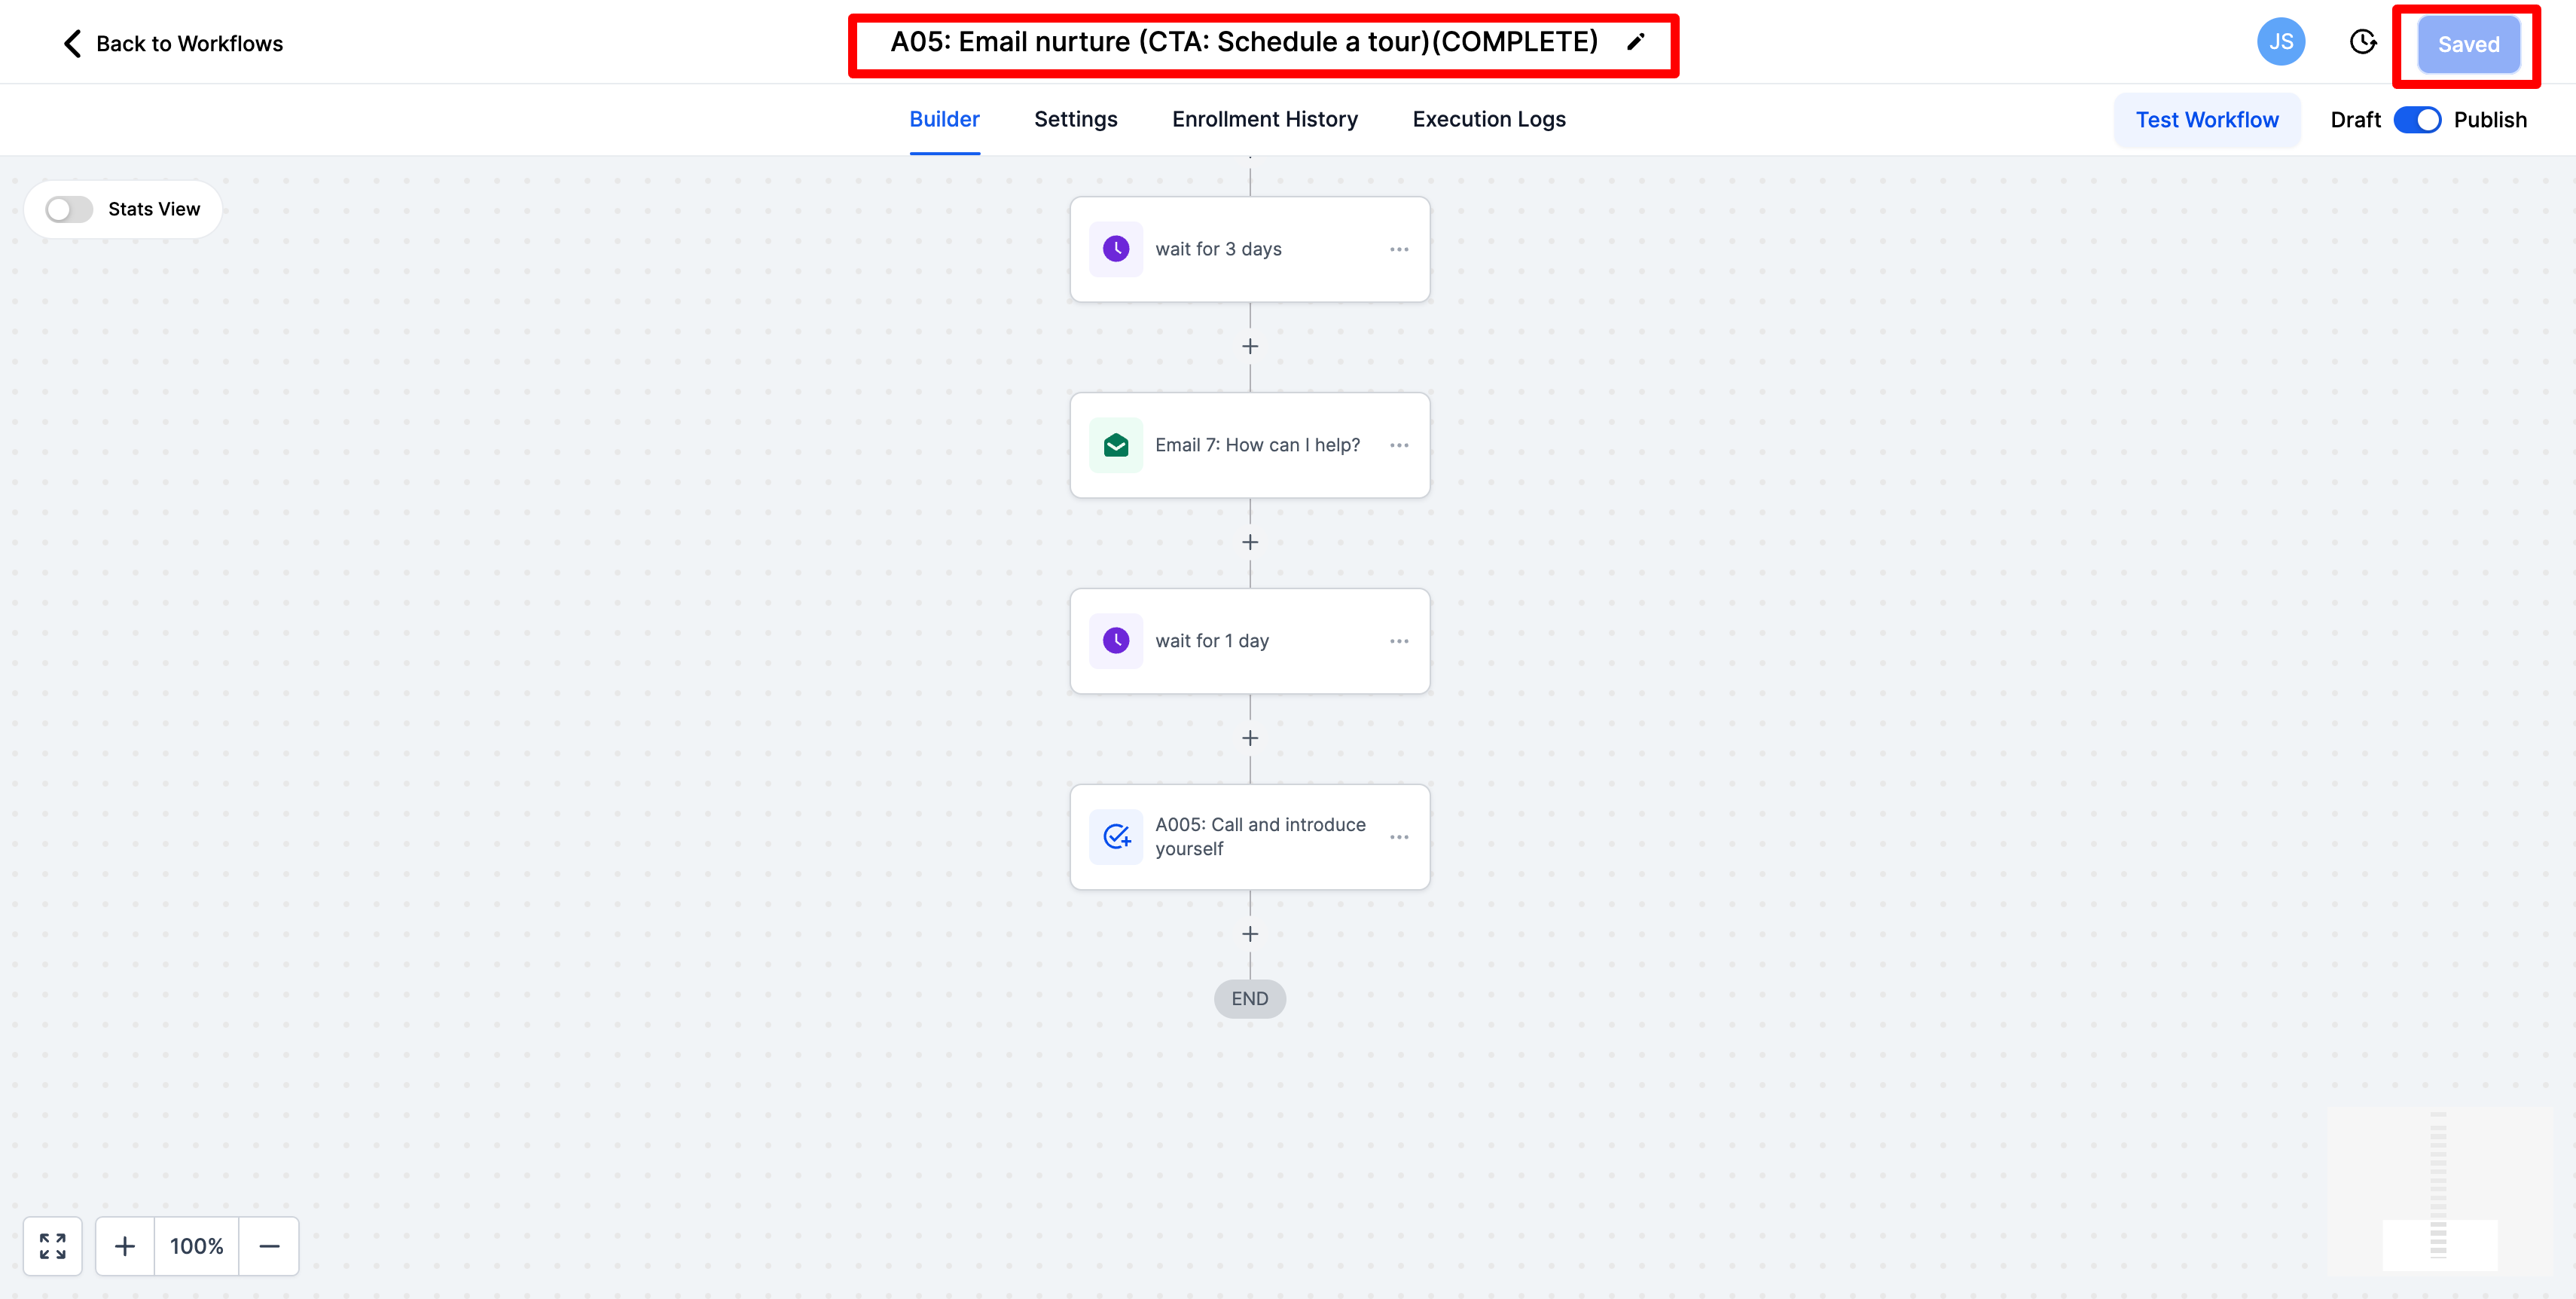
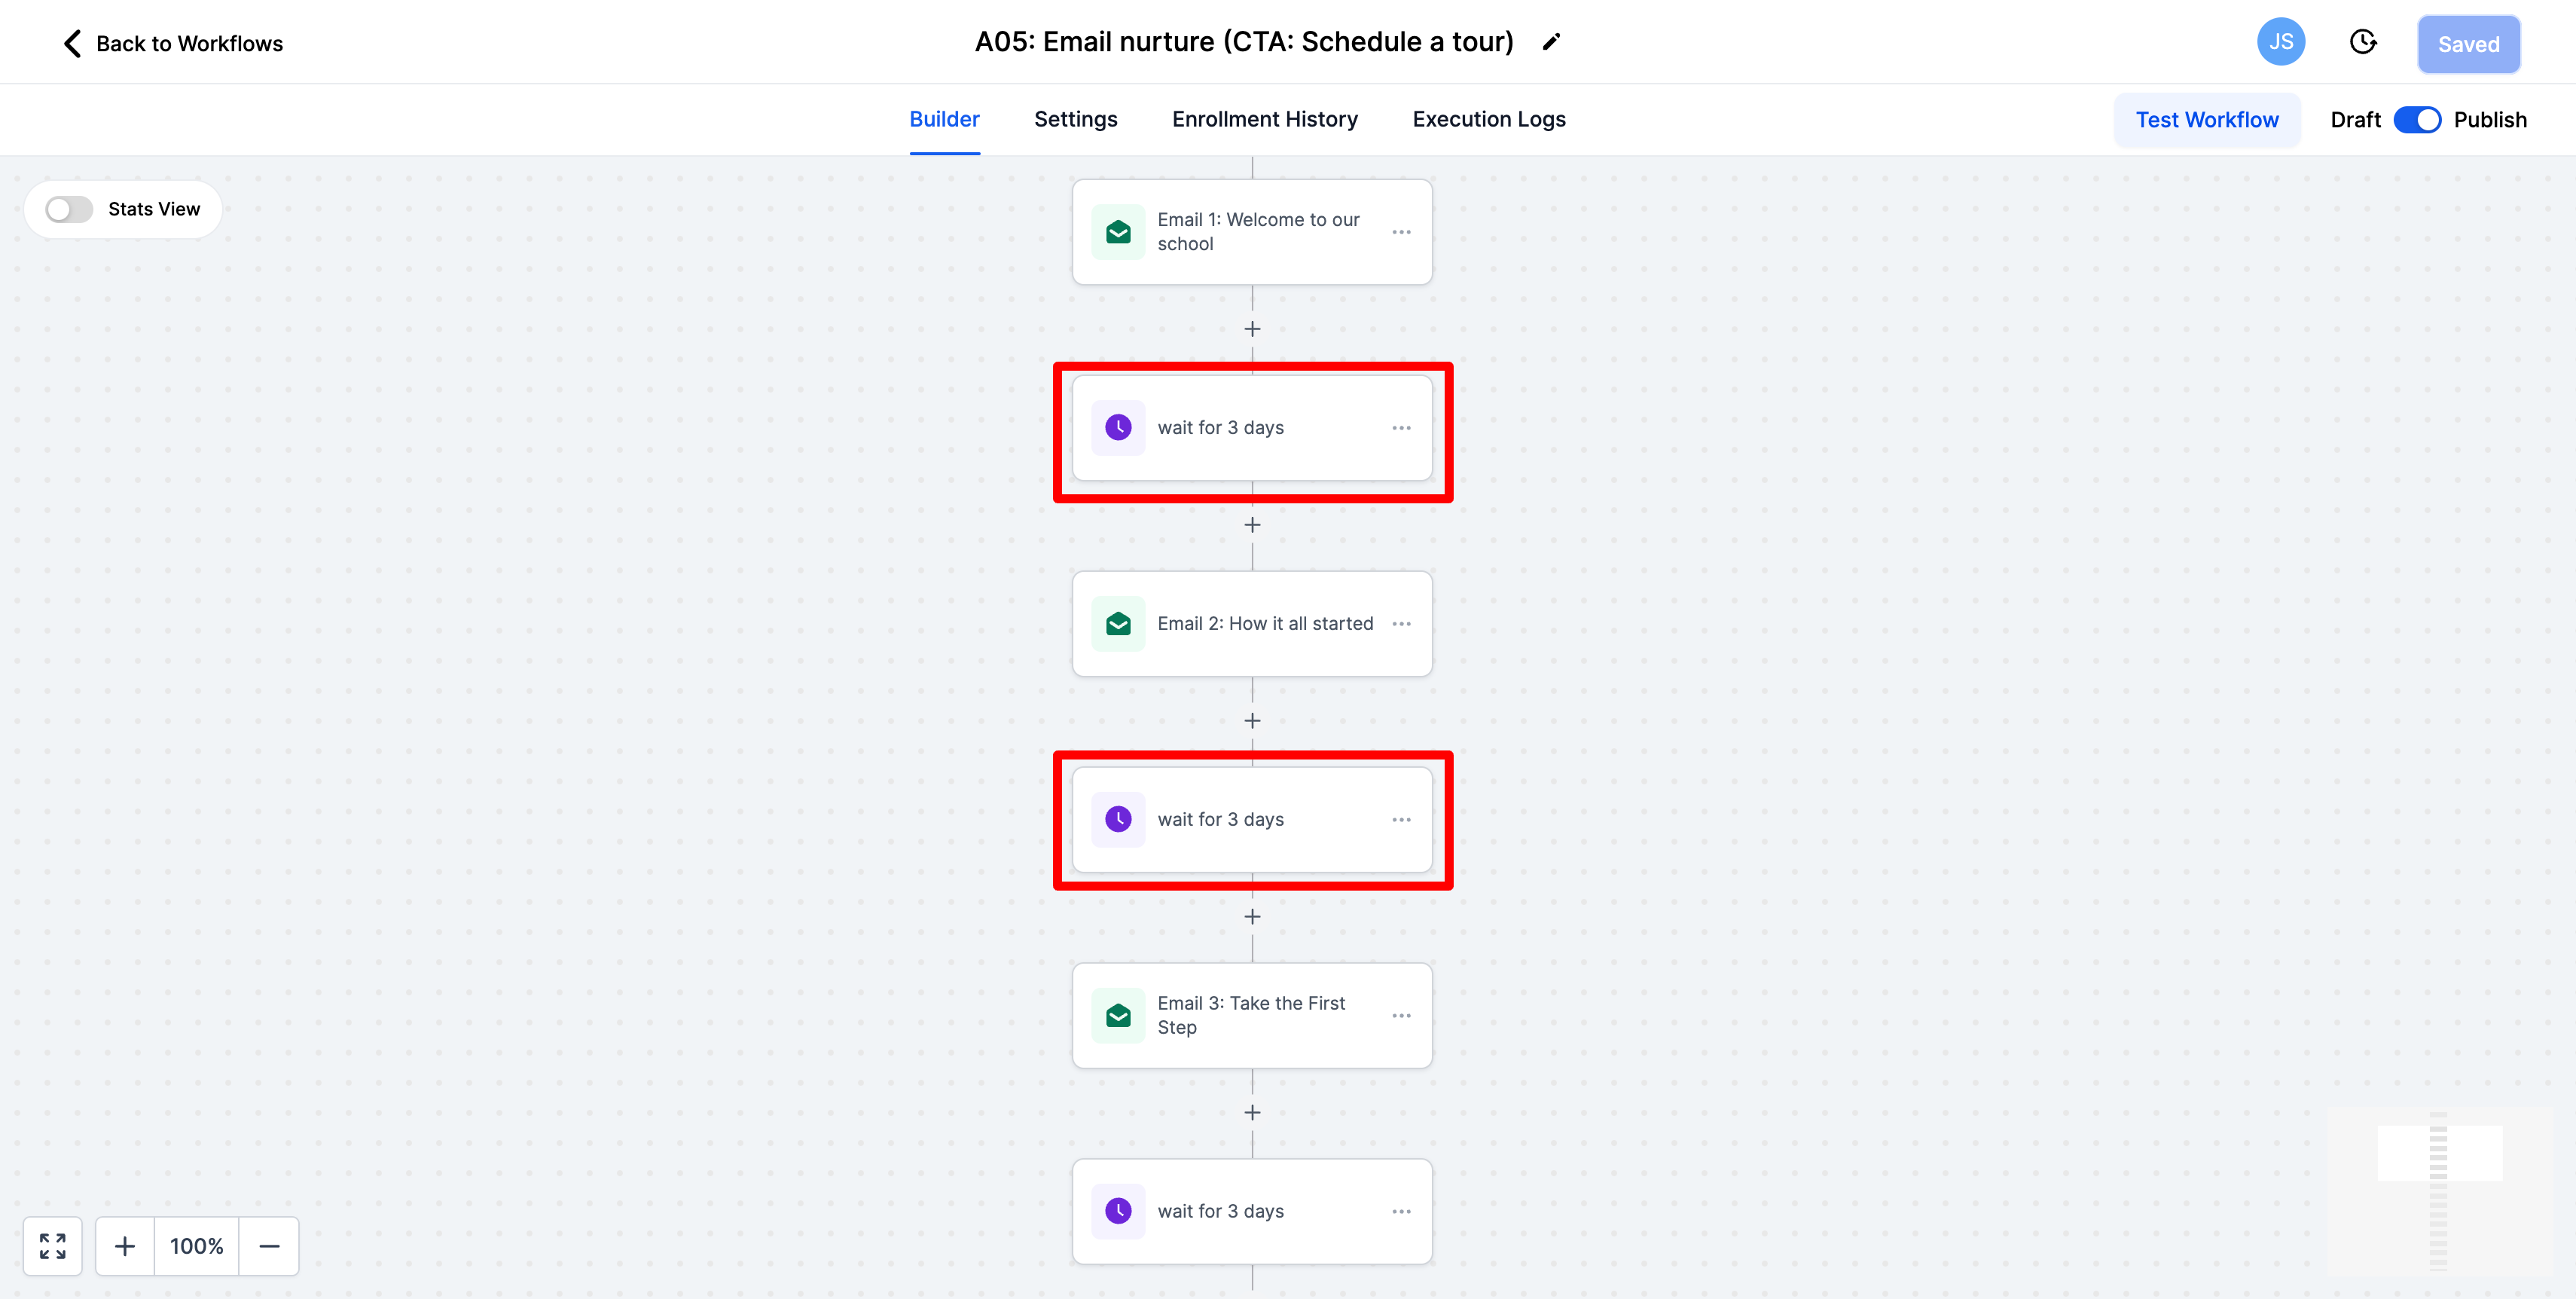
Before you customize the email content please take a look at the sequence of events. You will see that is set to wait 3 days between each email. We recommend setting that to every 1 day. This means that prospective parents will receive one email from you every day for 7 days.
-
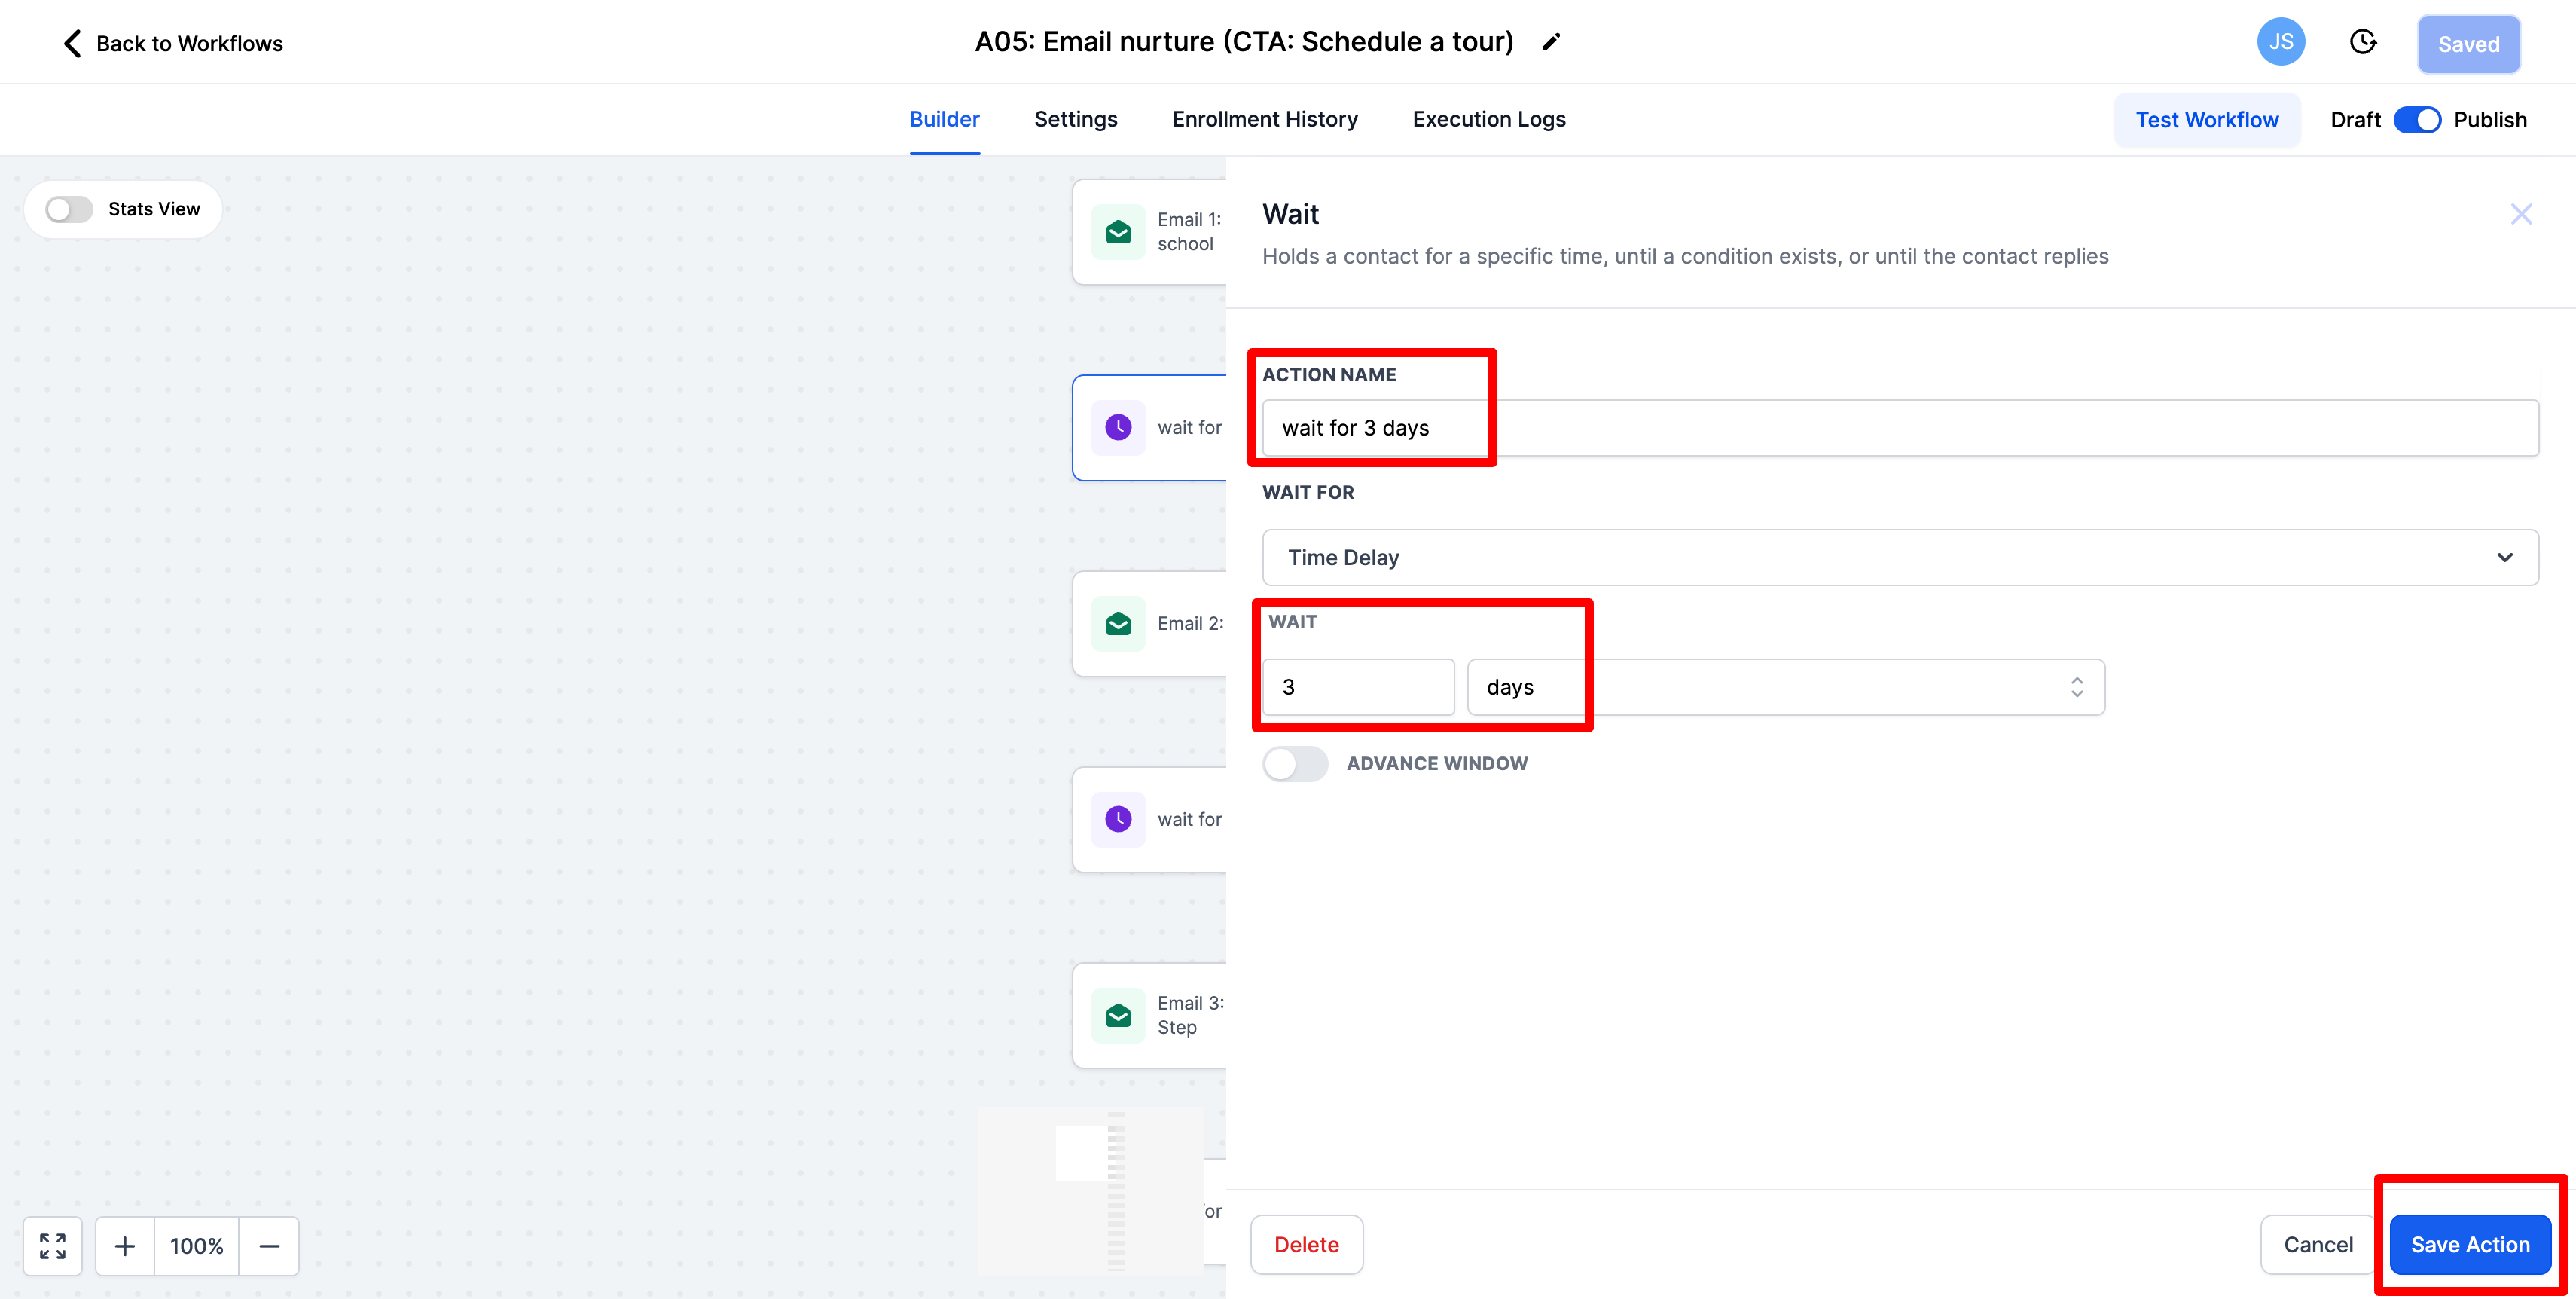
To customize the delay click on the step in the workflow change the action name to the interval you would like and change the wait interval as well. Be sure to save the action at the bottom once you are done. Be sure to do this for all of the intervals so that they are consistent!
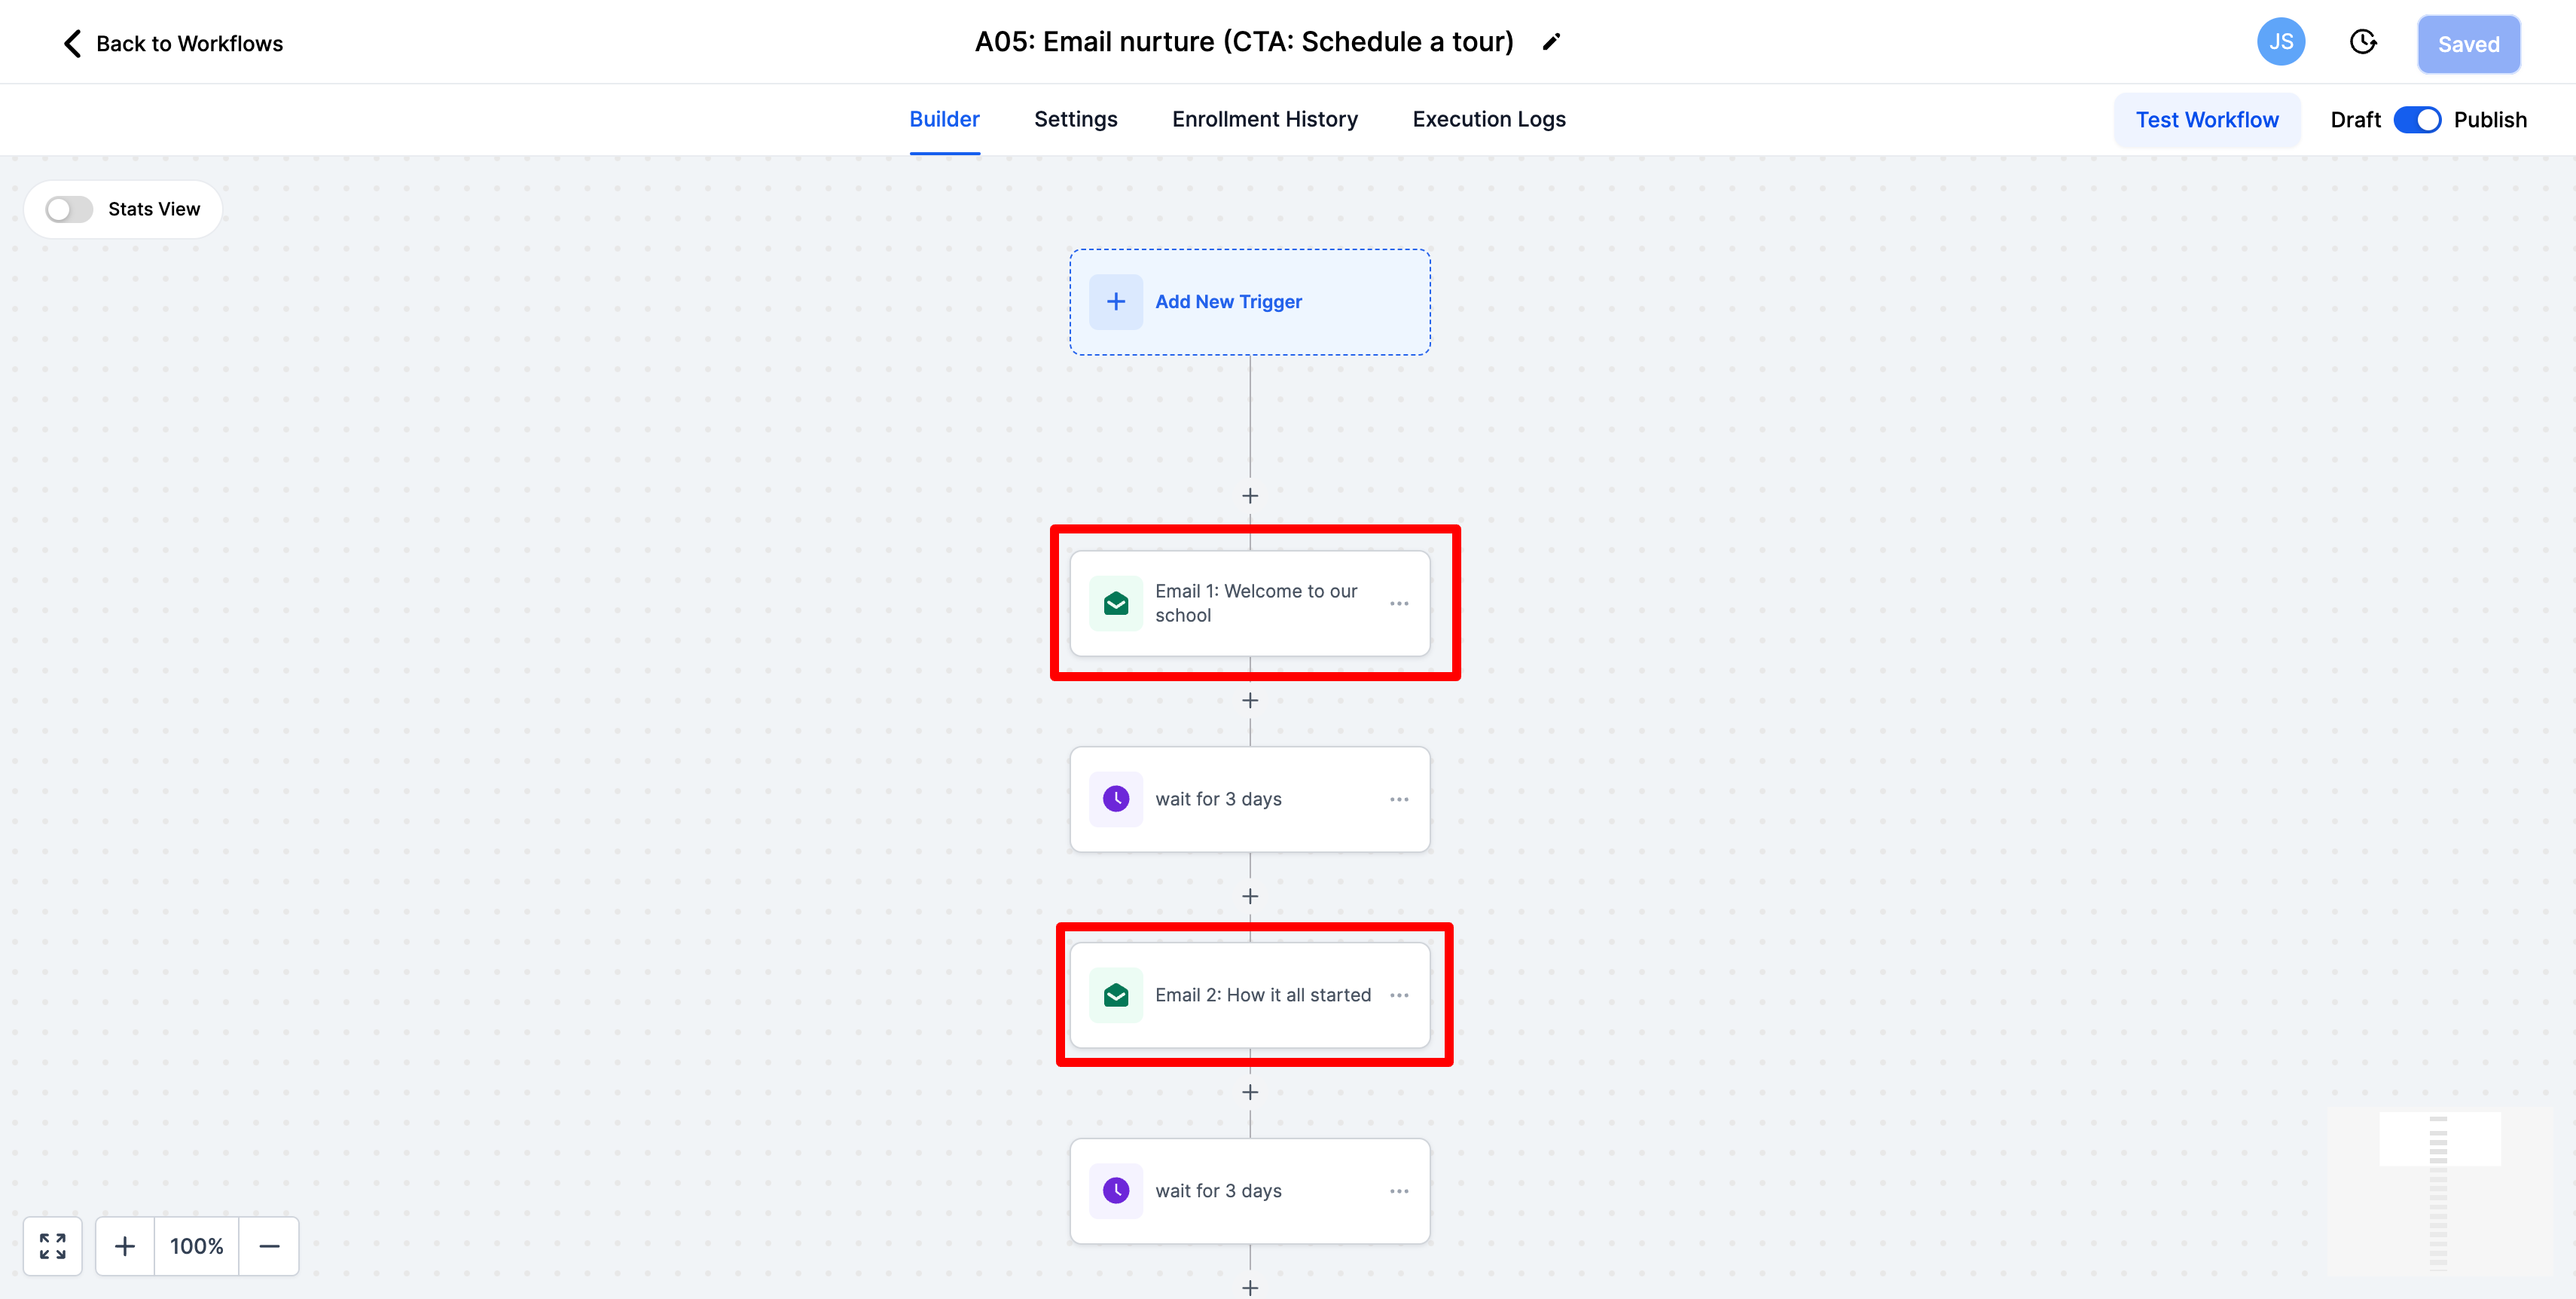
7.Now we will customize the emails
-
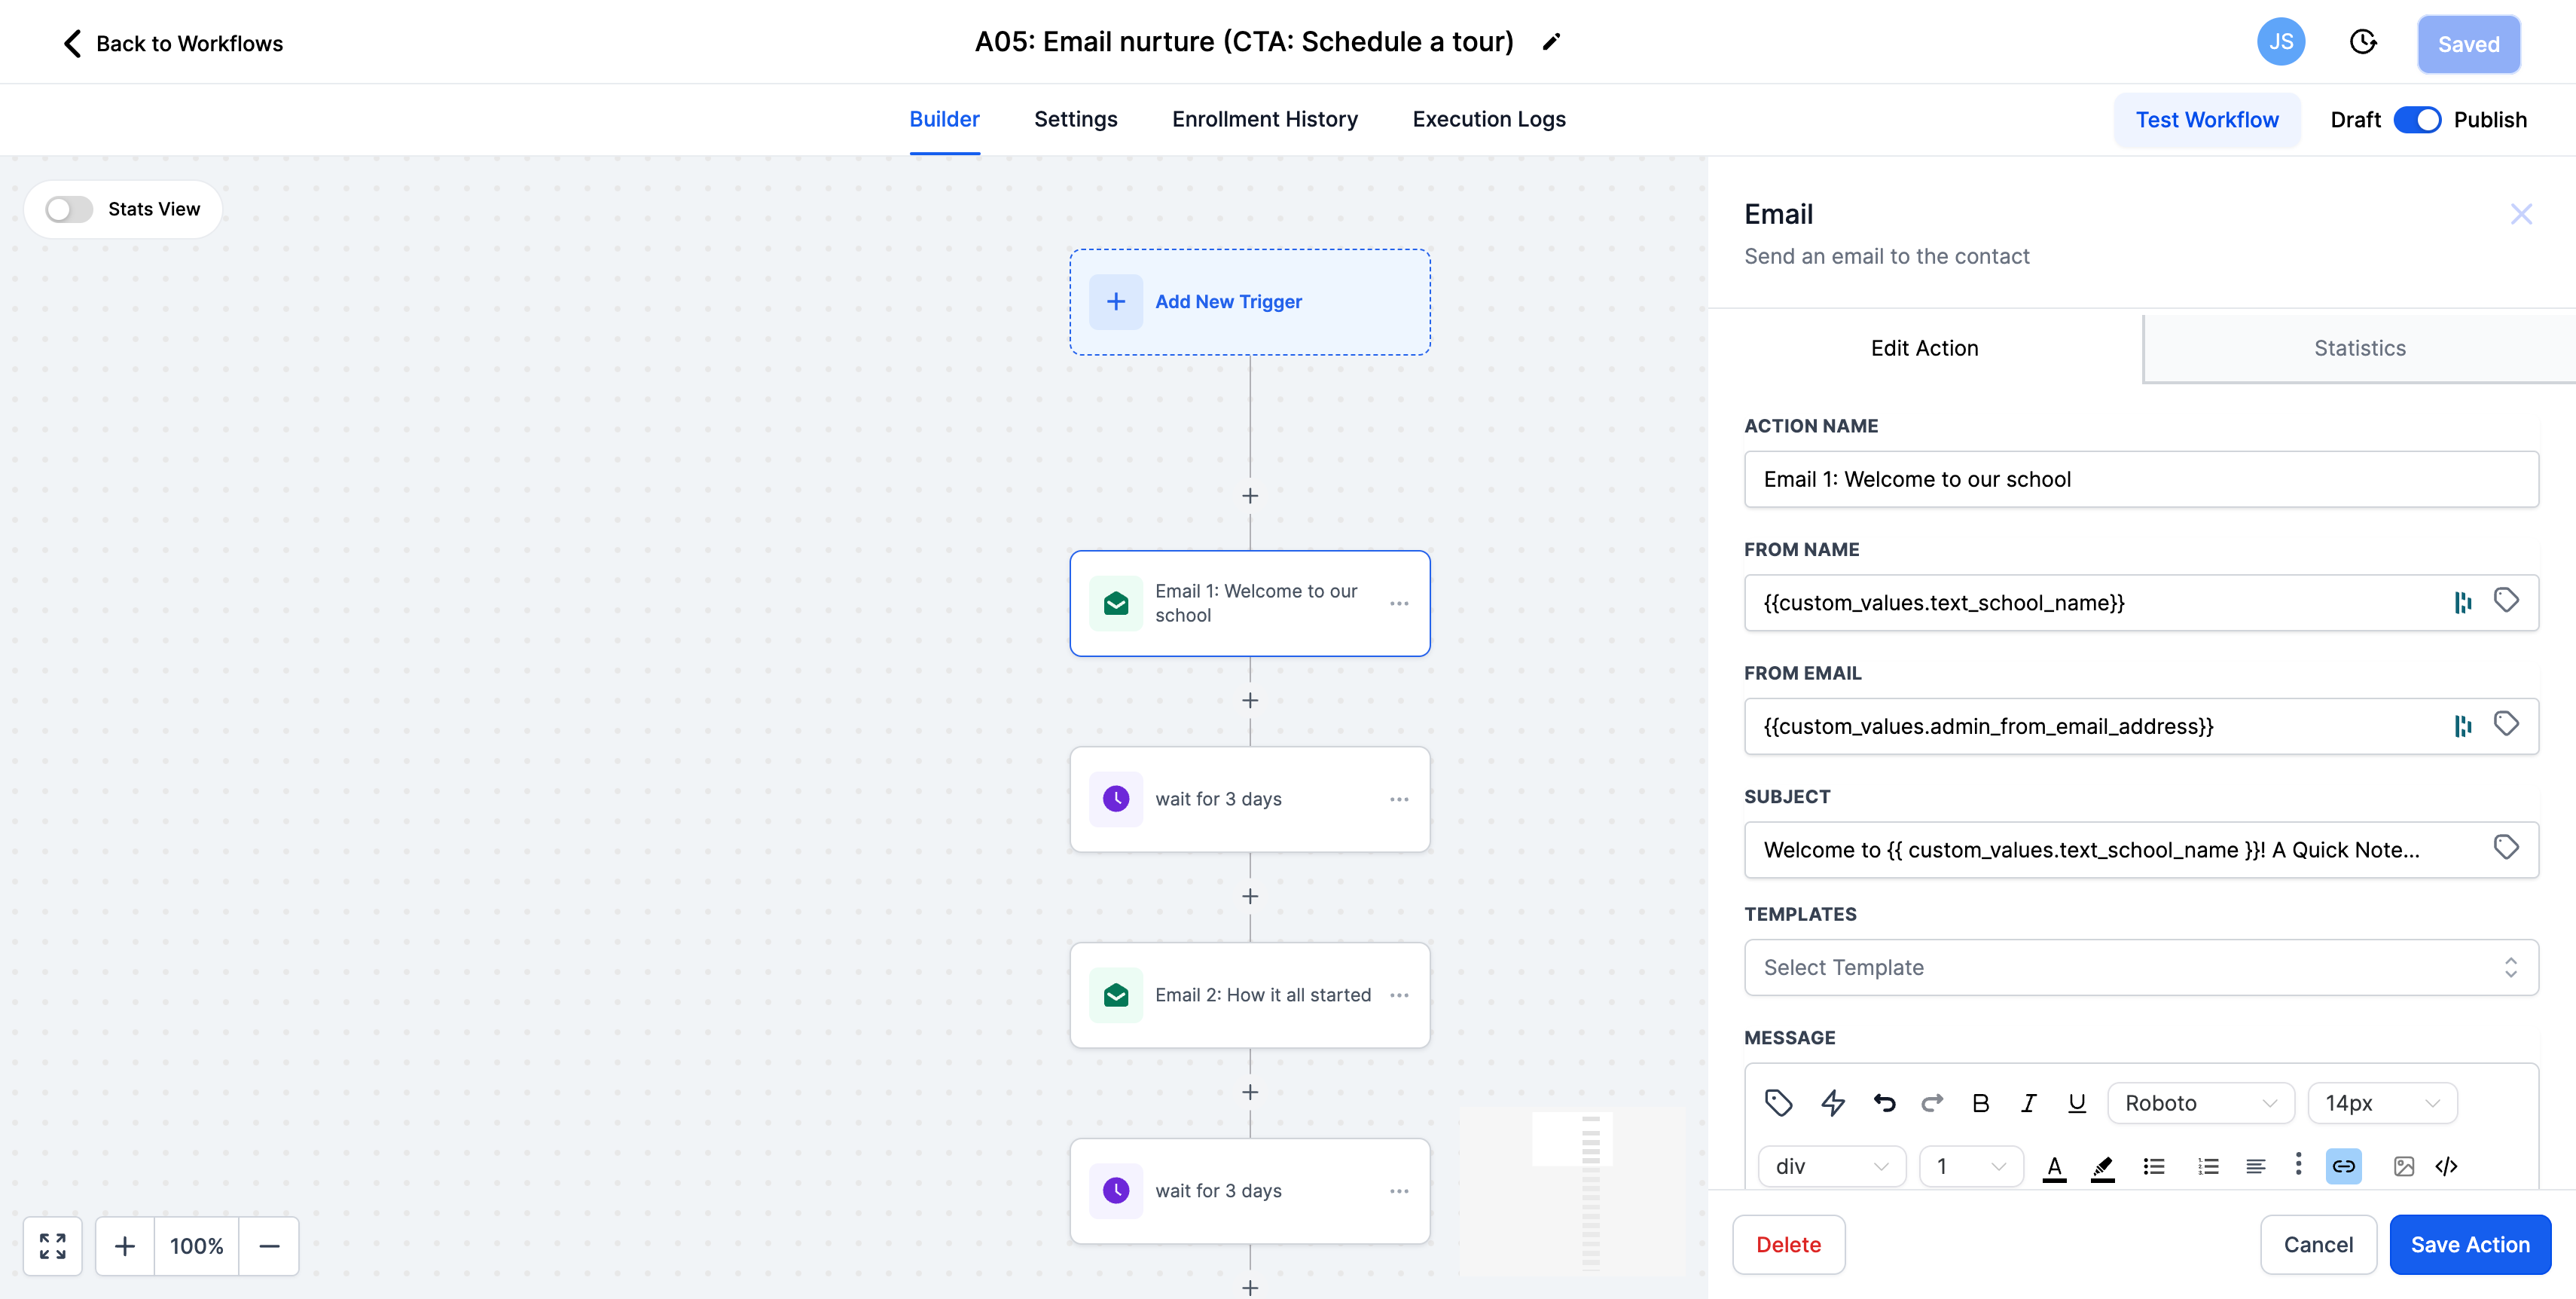
Click on the first email in the workflow
-
This email series is prewritten and we use a lot of custom values. We recommend adding your own voice to these emails if you would like to keep what is prewritten. All of the custom values that you will see are already completed from earlier in this onboarding course. If you would like to rewrite all of the copy you are welcome to do that as well.
-
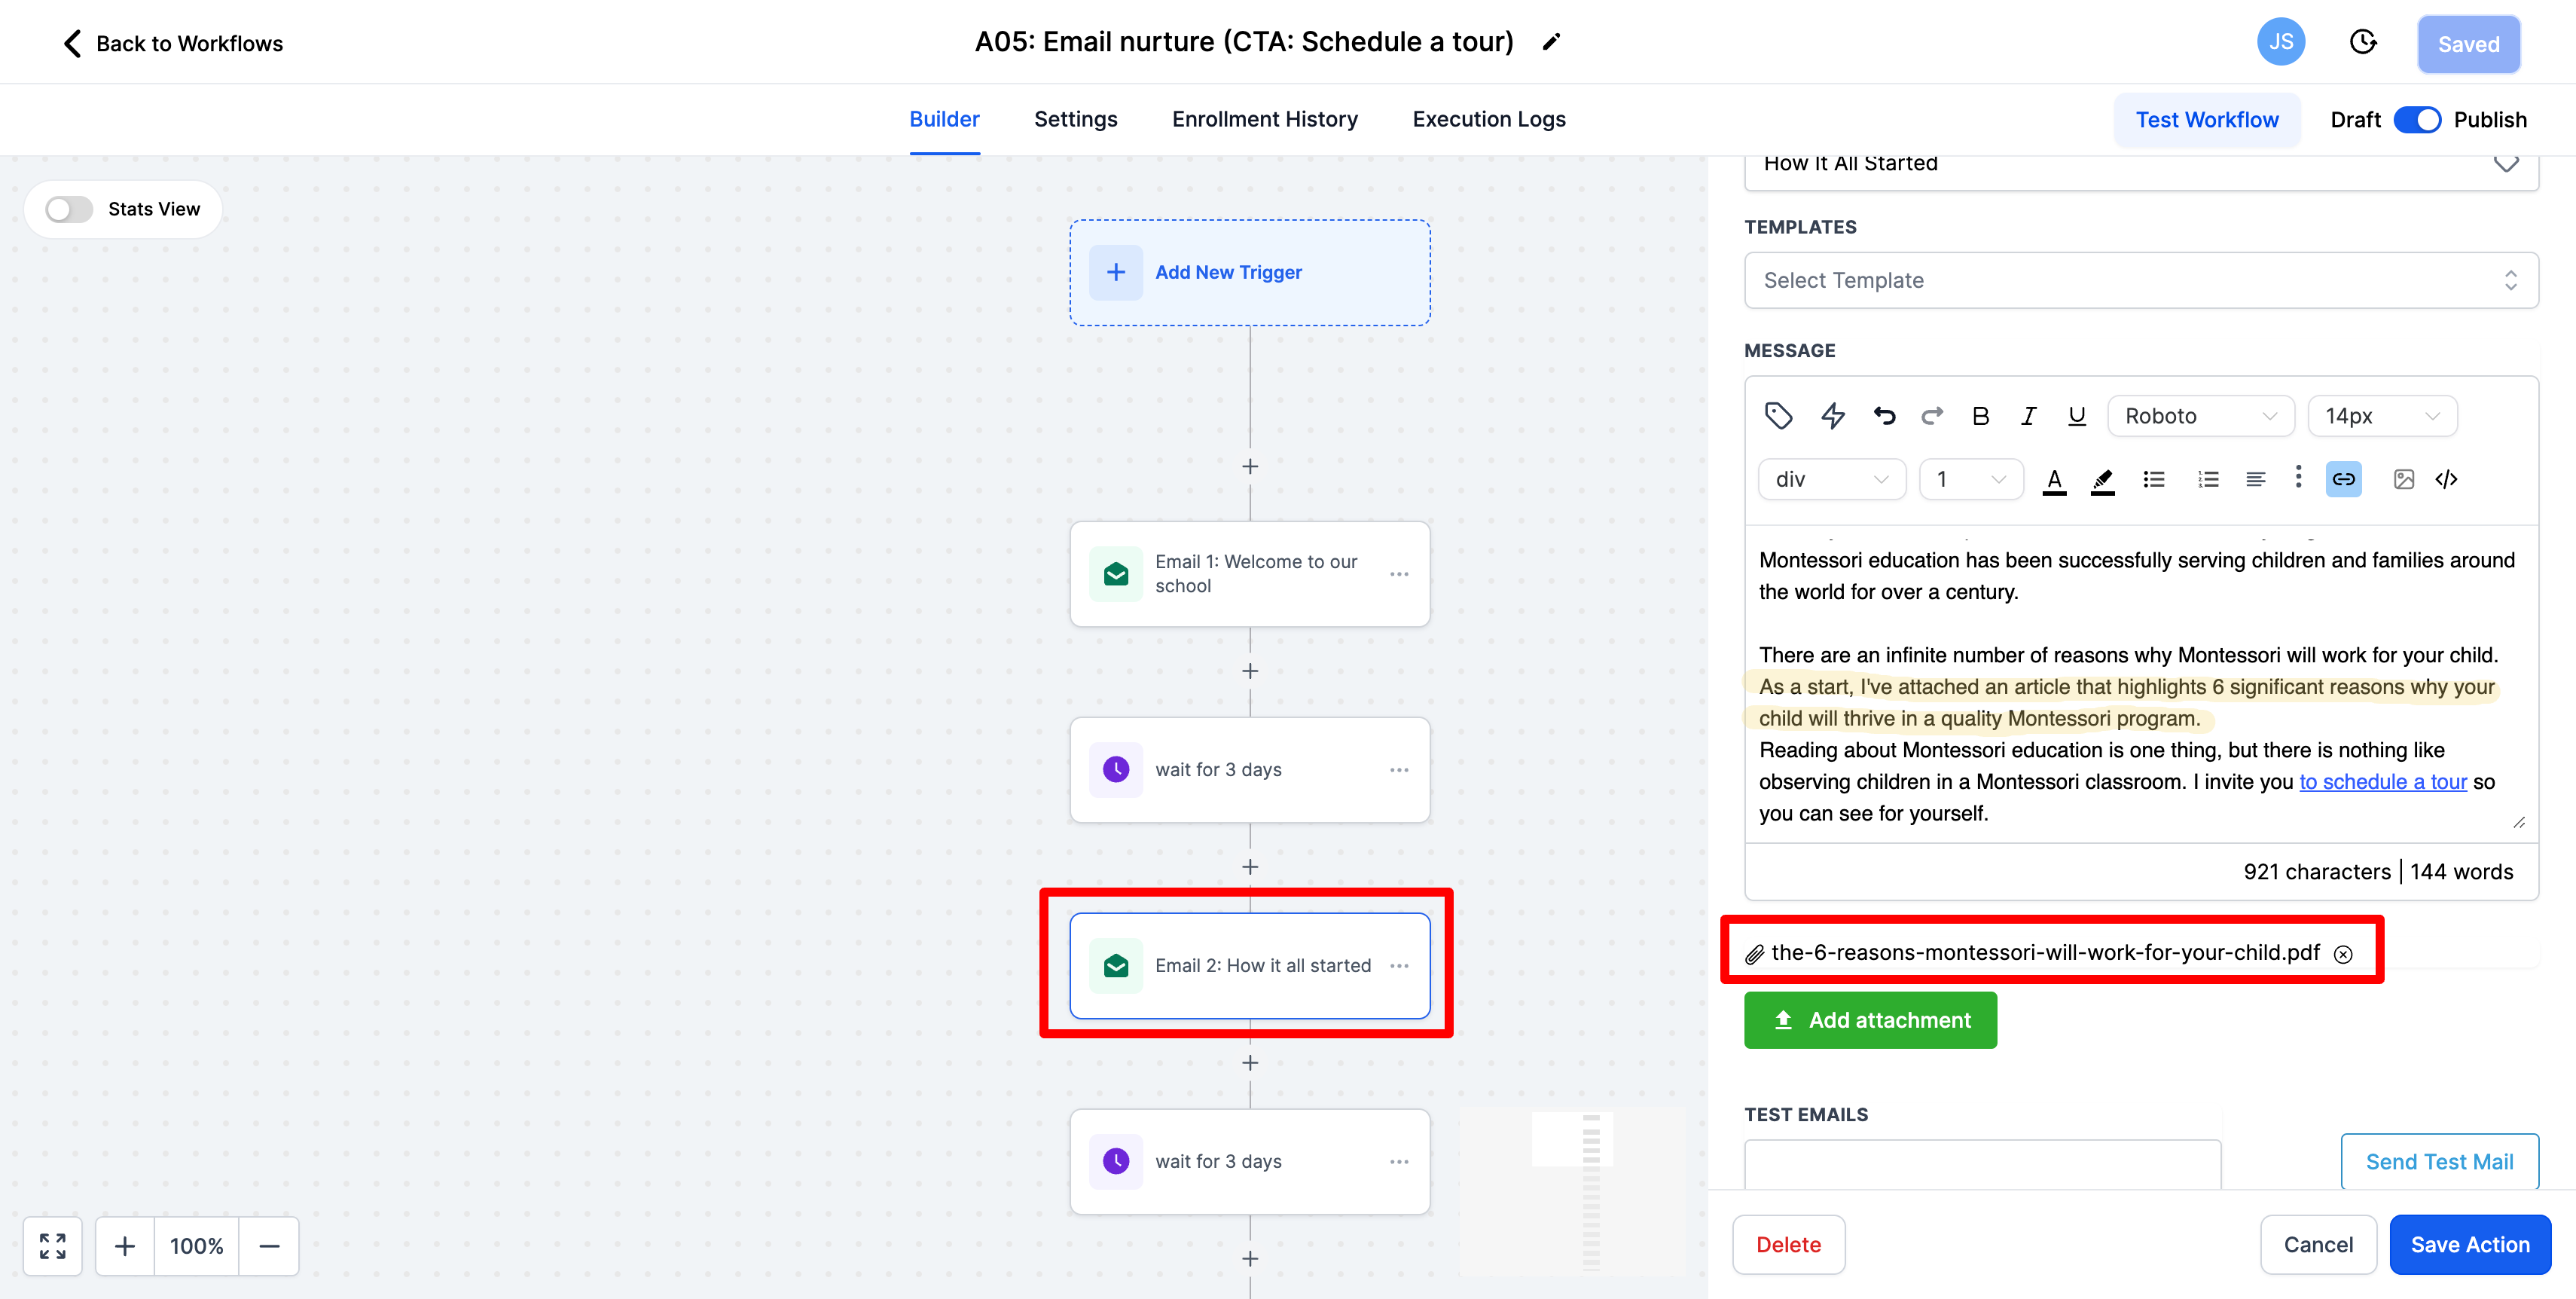
Some of the emails also have attachments or articles that are references. Please review those or add your own as well. Note: If you subscribe or are subscribed to our graphic design service we can update the look and feel of your documents to match your school's branding.
-
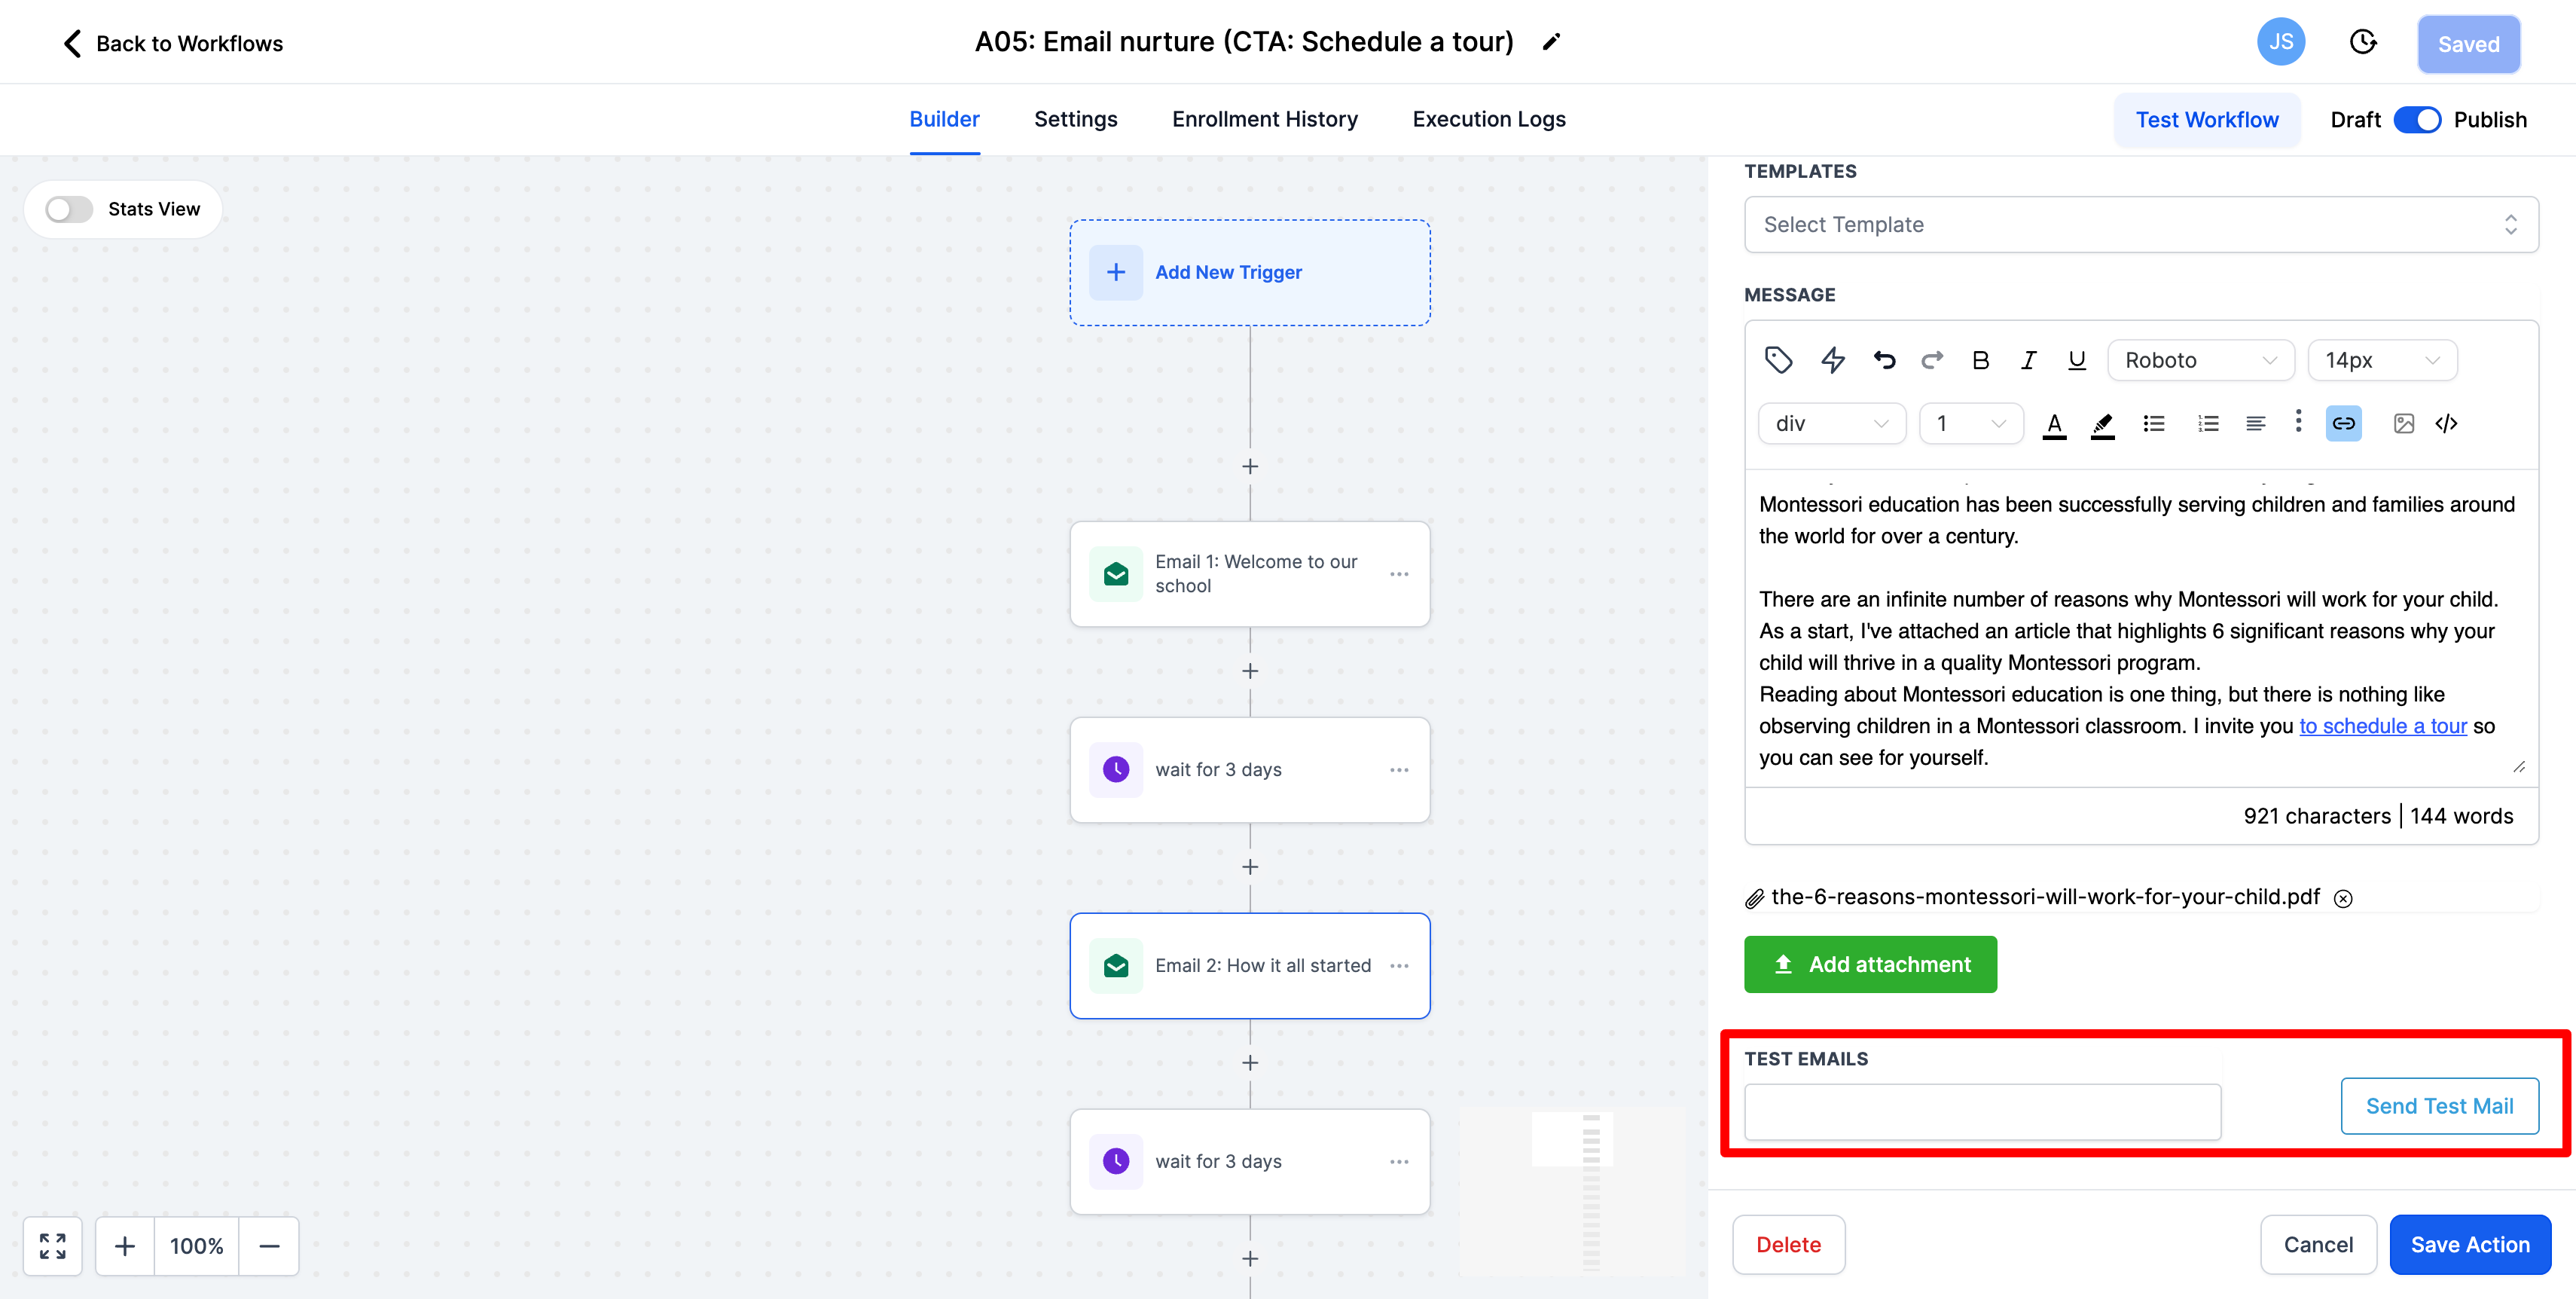
Testing to see what you've created will look like to a prospective parent is suggested as well. You can do that by entering your email in the test email field.
-
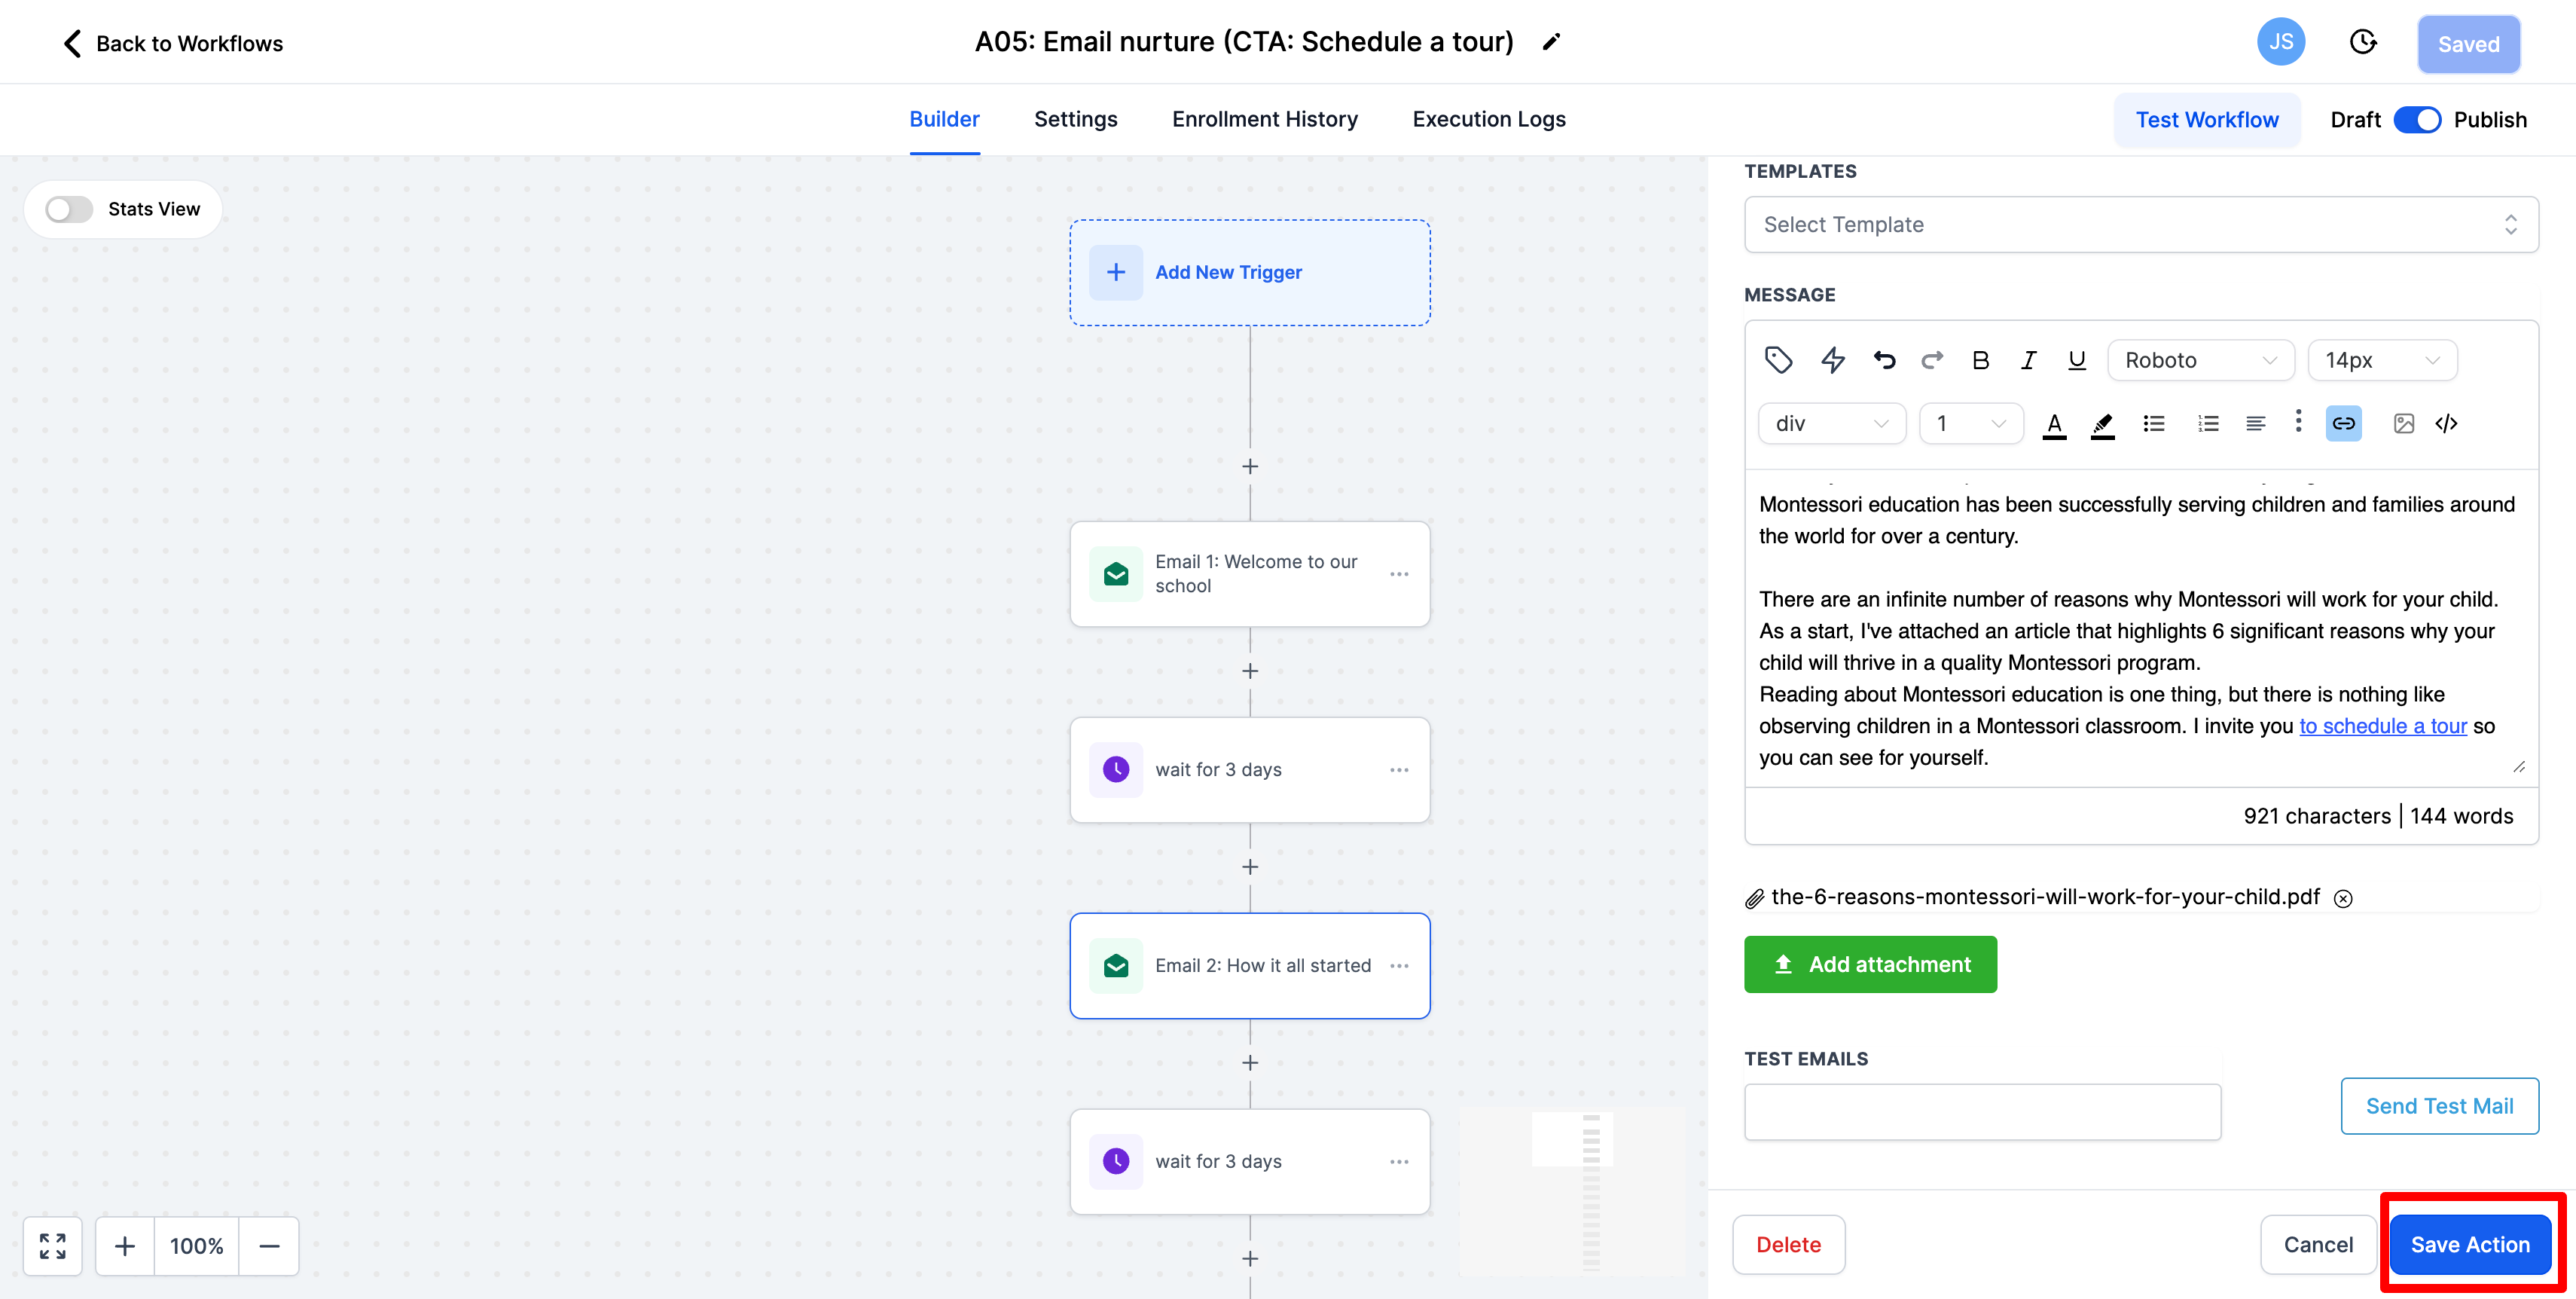
Be sure to click the save action button after you have edited each email!
-
Go through all 7 of the emails and be sure they are customized to your liking.
-
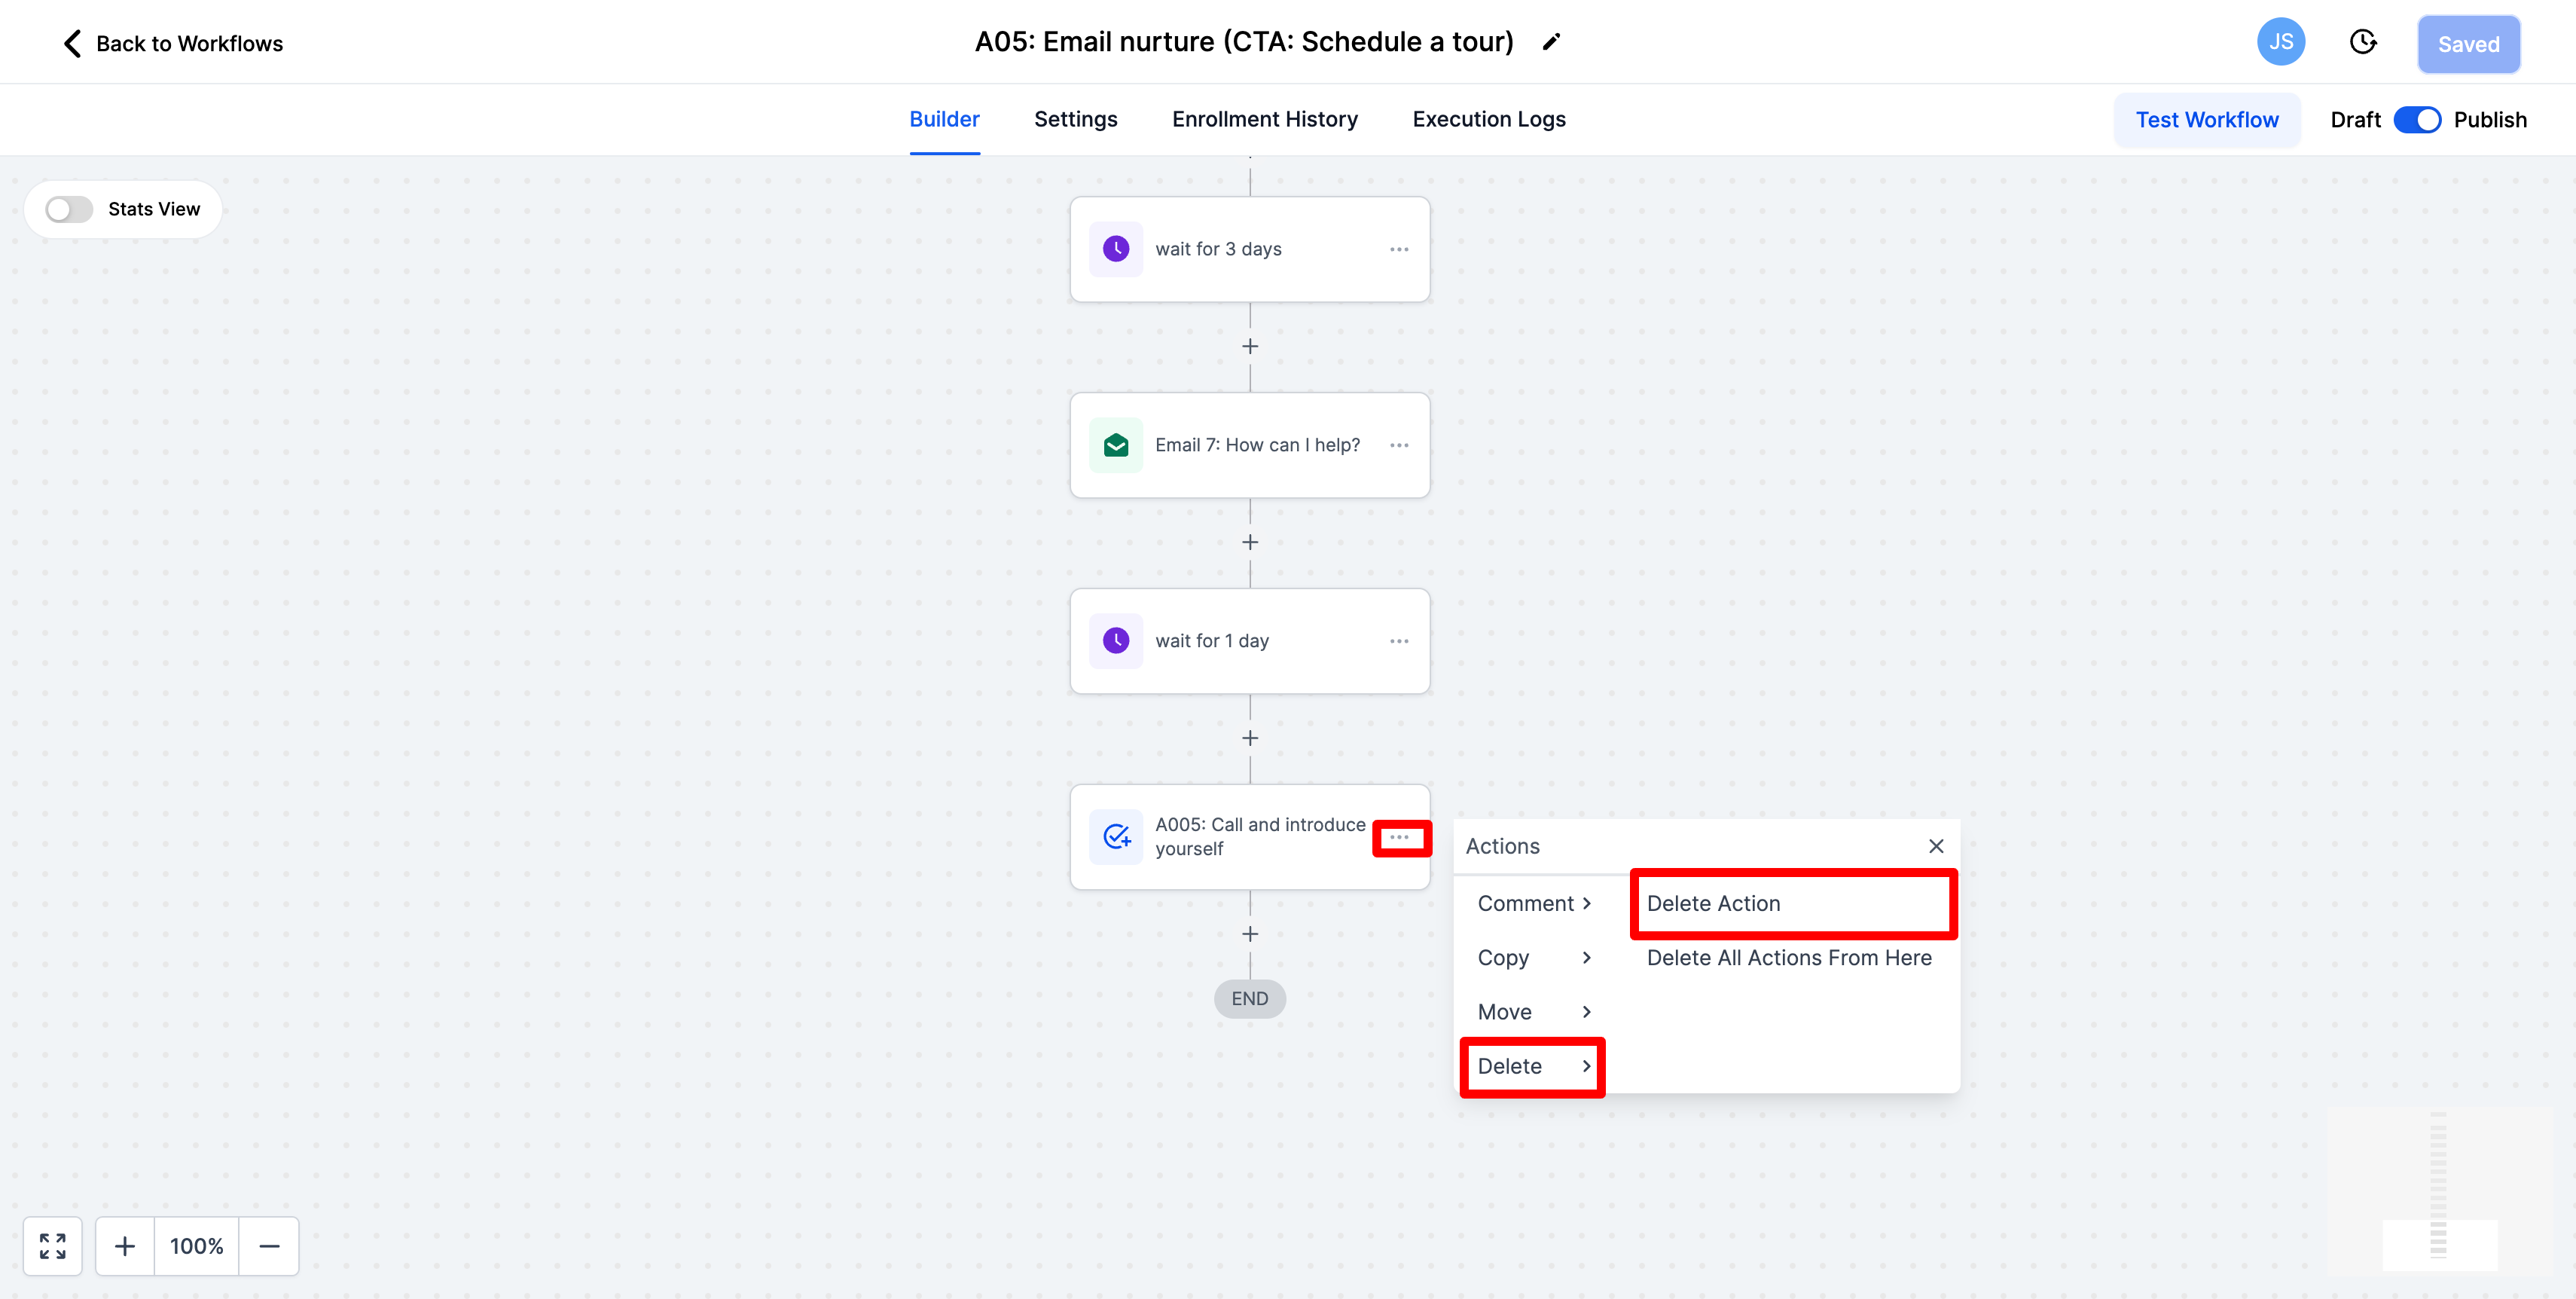
Once again we recommend having the last step be to call and introduce yourself to the prospective parent. You have gone through the work of sending these emails for 7 days and they still haven't scheduled a tour. It may be worth reaching out personally to introduce yourself and see if they have any questions about Montessori, your school, or you. If you would not like to do that it is easy to remove that step. Click the 3 dots, select delete, then delete action.
-
You also may want to add more to this. If this is the case please reach out to your client manager to have them help you add actions to this workflow.
-
We also have automation set up to remove prospective parents from this nurture as soon as they schedule a tour. So if someone schedules a tour they will stop receiving these emails.
-
Once you are done customizing this email nurture please add "(COMPLETE)" to the top name and save that action. This tells our team that you have reviewed this and are ready for it to be published.
